Gtir Motorsport club
Would you like to react to this message? Create an account in a few clicks or log in to continue.
Gtir Motorsport club

Welcome to the largest Nissan Pulsar & Sunny GTI-R Forum. Masses of info, friendly members, cars for sale, lots of spares. Best forum on the net by far. Everything your gtir needs is here.


You are not connected. Please login or register

Restoration Project

+19
Cosmic73
toaster55
wrc
Stu
robins
MartyMG
Mr B
Andy Sunny Gti
mikewazowski
Ajay.
gtir_woody
PartyPete
knights of nee
Gaz GTiR
nomad
buckym120
GTI-R US
johnny gtir
burrows1980
23 posters

Go to page : Previous  1, 2, 3, 4, 5, 6  Next

Go down  Message [Page 2 of 6]

26Restoration Project - Page 2 Empty Re: Restoration Project 20th January 2015, 10:38 am

Mr B

Mr B
gtir technician
gtir technician

Finish on that epoxy looks really good, how many litres you use & did you find it easy to spray ...

27Restoration Project - Page 2 Empty Re: Restoration Project 20th January 2015, 11:01 am

burrows1980

burrows1980

It'll be even better when Ive top coated underneath Cool I've seam sealed the floor pan with white tiger seal, looks messy at the moment.

Thanks for the comments guys, makes it worth while when the works appreciated, keeps me motivated..

took delivery of a Mirka DA electric sander today, expensive but apparently really good, starting the body prep nxt week.

Gaz

28Restoration Project - Page 2 Empty Re: Restoration Project 20th January 2015, 11:08 am

burrows1980

burrows1980

Mr B wrote:Finish on that epoxy looks really good, how many litres you use & did you find it easy to spray ...

Just under 1 tin mate around 4ltr ish, still got some left out of 5ltr. You can brush it on as well, I found the first coat thinned to I think 10% was slightly hard to spray out the gun, but maybe I needed to increase the air pressure, the second coat I thinned a tiny bit more and went on really well. Possibly a 2.0mm tip would make it even better, I only used a cheap gun, my devilbiss gti pro wasn't going anywhere near it!

It's had good reviews on other forums, so thought I'd give it a go.

Gaz

29Restoration Project - Page 2 Empty Re: Restoration Project 20th January 2015, 12:33 pm

Mr B

Mr B
gtir technician
gtir technician

Yes epoxy is very good option I think, better than the popular zinc primers.
You got some dedication as it takes hours to strip & prep car to that level.
What cheap gun you got, could do with a cheap lvlp gun myself ?

30Restoration Project - Page 2 Empty Re: Restoration Project 20th January 2015, 2:42 pm

burrows1980

burrows1980

It's a FMT3006 1.8mm tip, got it off flea bay. Did the job, might use it for spraying primer, not a bad gun to be fair..

What amazed me about stripping the factory green coat of paint off underneath, although it looked fine, was in places tiny lines of rust spidering out under the paint. You would never had known it was there.

gaz

31Restoration Project - Page 2 Empty Re: Restoration Project 20th January 2015, 3:50 pm

MartyMG

MartyMG

Wow! Its a full restoration project! Maximum respect for your great effort but it makes me slightly nervous! Hope mine isn't as rotted?!

32Restoration Project - Page 2 Empty Re: Restoration Project 20th January 2015, 4:05 pm

Mr B

Mr B
gtir technician
gtir technician

^ expect you will find some hidden rot .
Until you really dig into it you don't know .

33Restoration Project - Page 2 Empty Re: Restoration Project 20th January 2015, 4:35 pm

burrows1980

burrows1980

That's it, every type of car will have rust in the seams, through capillary action, the likes of tyre centres not giving a *#%# about where they jack the car up and damaging the seams where the sill meets the floor pan.. That's what happened to mine, most of the rot originated around there, ok the arches were neglect by me not undersealing properly. Not going to happen again!!

34Restoration Project - Page 2 Empty Re: Restoration Project 20th January 2015, 5:38 pm

robins


burrows1980 wrote:It's a FMT3006 1.8mm tip, got it off flea bay. Did the job, might use it for spraying primer, not a bad gun to be fair..

What amazed me about stripping the factory green coat of paint off underneath, although it looked fine, was in places tiny lines of rust spidering out under the paint. You would never had known it was there.  

gaz

yep can agree with above i had exactly the same was quite surprised how well it can't be spotted under the green paint so as you stripped the lot off.
wish my car was where yours is got to make a jig to flip her over is next on my list (may ask you for measurments for jig)

35Restoration Project - Page 2 Empty Re: Restoration Project 20th January 2015, 5:50 pm

burrows1980

burrows1980

I'll put the measurements up later on for you, thickness of steel etc oh and the wheels, achem thanks to a large supermarket yep your trolleys are now on bricks Laughing

36Restoration Project - Page 2 Empty Re: Restoration Project 27th November 2015, 4:52 pm

burrows1980

burrows1980

I think it's time for a well over due update to this restoration thread!  A lots happened over the past 12ish months, lots of tears, laughs and even more tears but there is some light at the end of the tunnel.

I like to start in thanking everyone on this forum for the advice and general helpfulness, really appreciate it! Now get a brew made or beer ready as this is a long update Laughing

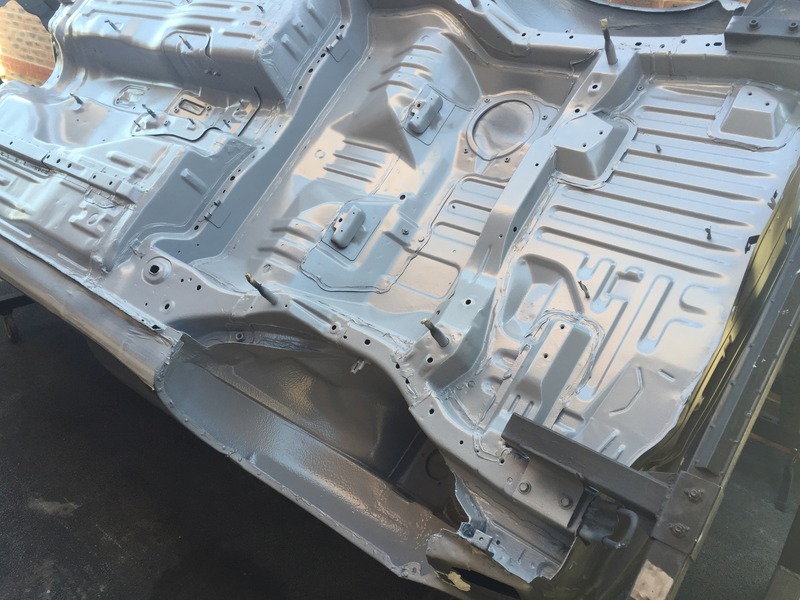
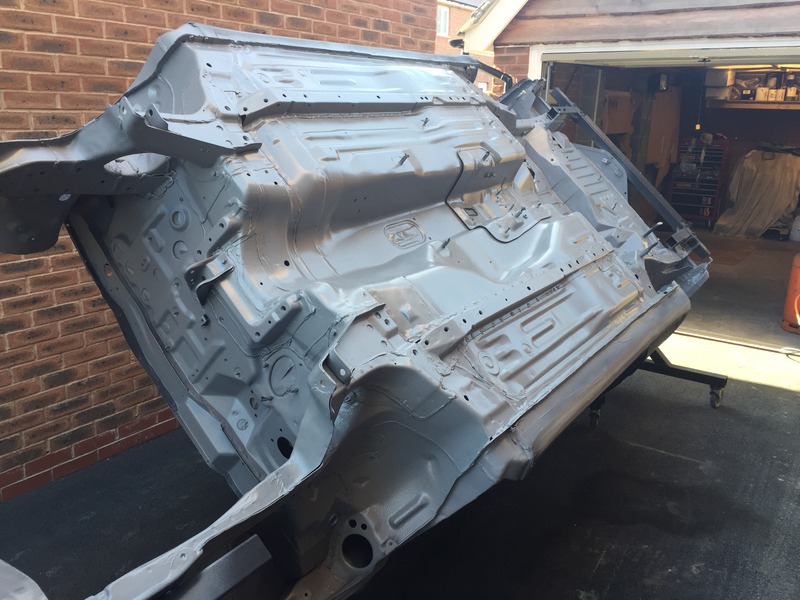
So the last update I had finished the underside prep and painted it in an epoxy paint, she  was looking pretty smart, didn't do much after that for a few months, Xmas and all that.

Got back going early March.  I really wanted to paint the car myself and invested in some expensive gear, £500 compressor, a lot of copper pipe and Norgren filter/regs, two devilbiss guns GTi Pro Lite and a FLG 5, plus countless other guns for various stages, Dura block sanding blocks from America, Mirca electric DA sander (awesome bit of kit, ace for decorating in the house too!)… List goes on..

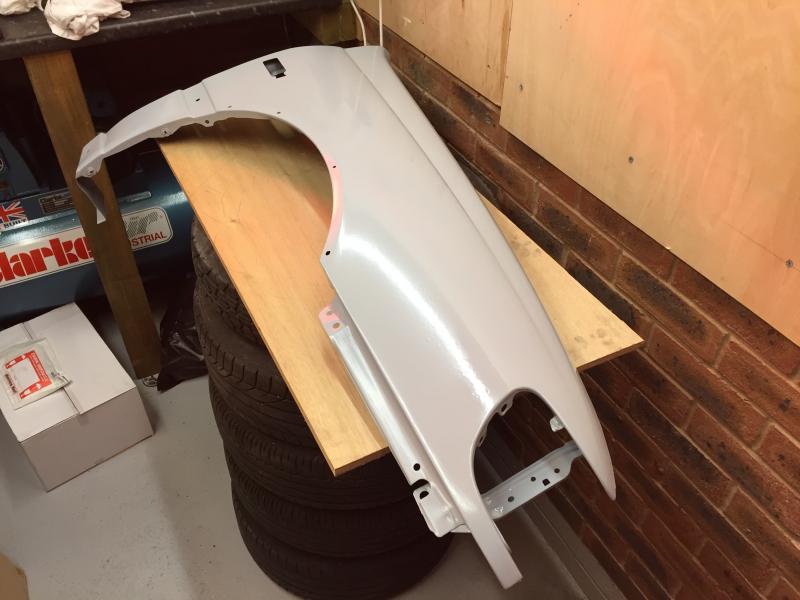
After spending a lot of time reading on http://www.mig-welding.co.uk I thought I had found the perfect paint I could safely use at home and still get outstanding results! So I decided to trial all this on a wing first.. Started to sand wing back and soon realised the R has already been resprayed in Japan! Doh, later discovered every panel has had work done, filler! Not mega amounts, talking little dings here and there. I'm wondering if  it was a track car and spent a lot of time in gravel traps!

Restoration Project - Page 2 IMG_0282_zps39ddf815

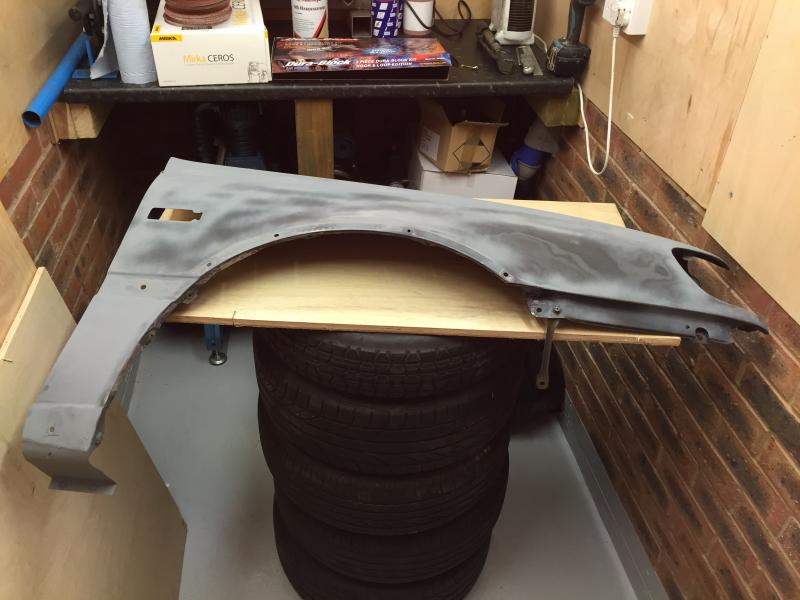
Anyway back to the wing, got it back pretty much to bare metal and straight, proceeded to spray the primer (lechler Epoxy 2k) ace stuff doesn't contain the nasty iso’s as its epoxy, and doesn't take on moisture like other primers..

Restoration Project - Page 2 IMG_0286_zps21c9eaaf

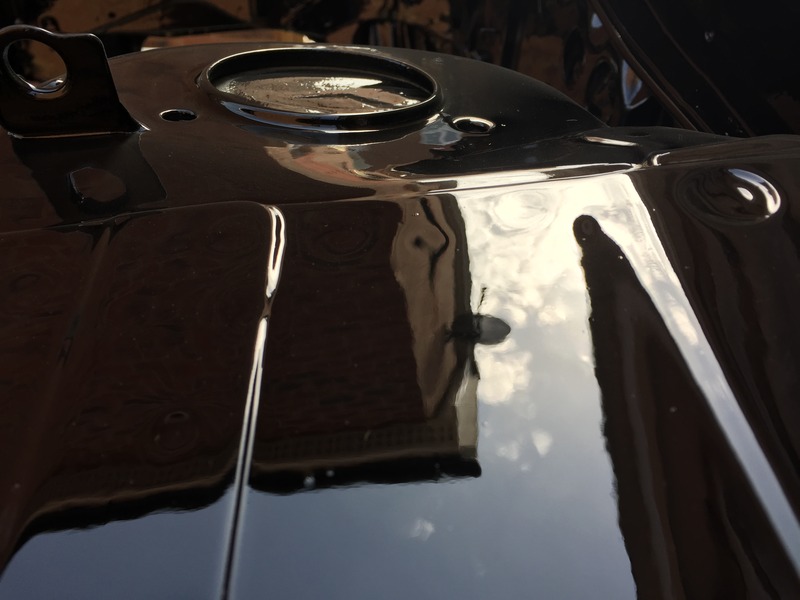
Sanded that ready for my carefully selected wonder paint! Can't believe everyone's not using this stuff Shocked yep looked truly epic apart from the random fly stuck to it!

Restoration Project - Page 2 IMG_0315_zpswsxfzeqm

Restoration Project - Page 2 IMG_0314_zpsdt3jr9vh

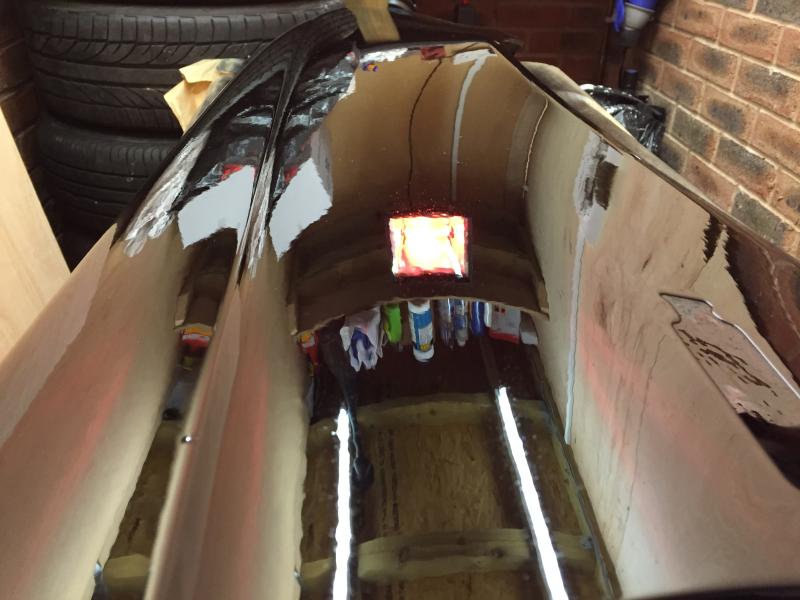
So let that dry, and that's where the problem started… It doesn't dry hard! Paint in question is non ISO 2k, instead of 2k hardener you mix it with a non ISO hardener, and more 2k thinner as the hardener is thicker. Was truly deflated, but thought maybe the conditions were wrong etc so proceeded to keep trailing the stuff:

http://www.mig-welding.co.uk/forum/threads/isocyanate-free-2k-paint.35709/page-4

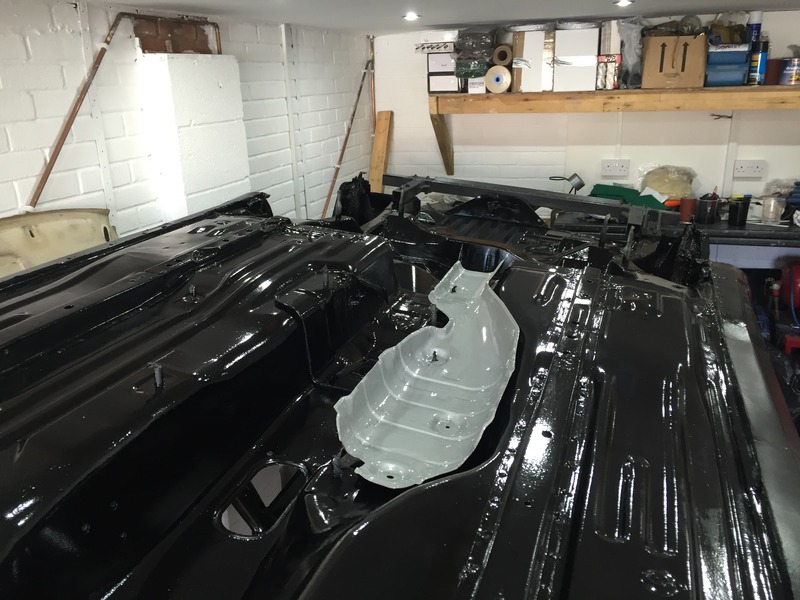
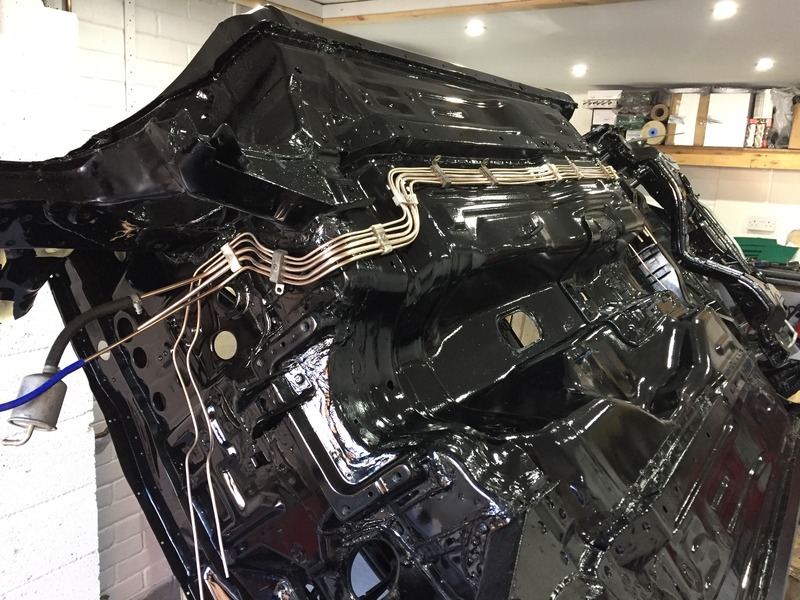
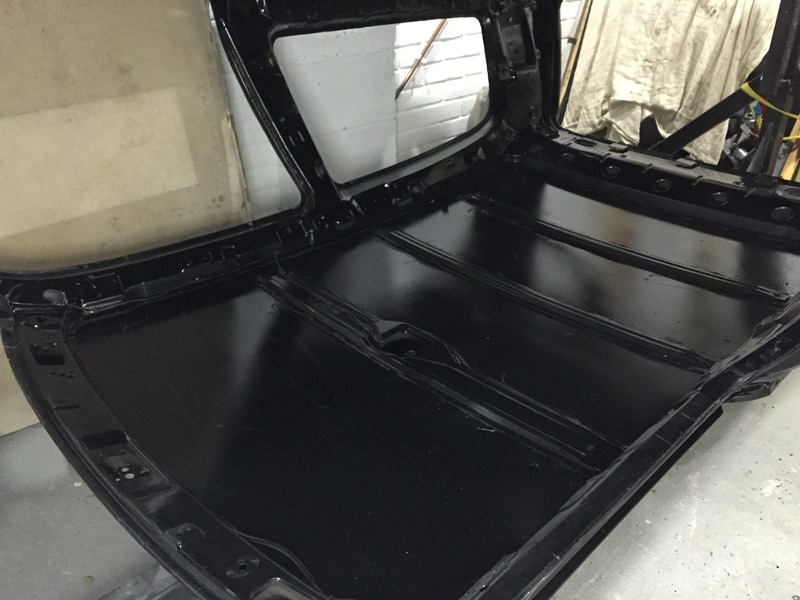
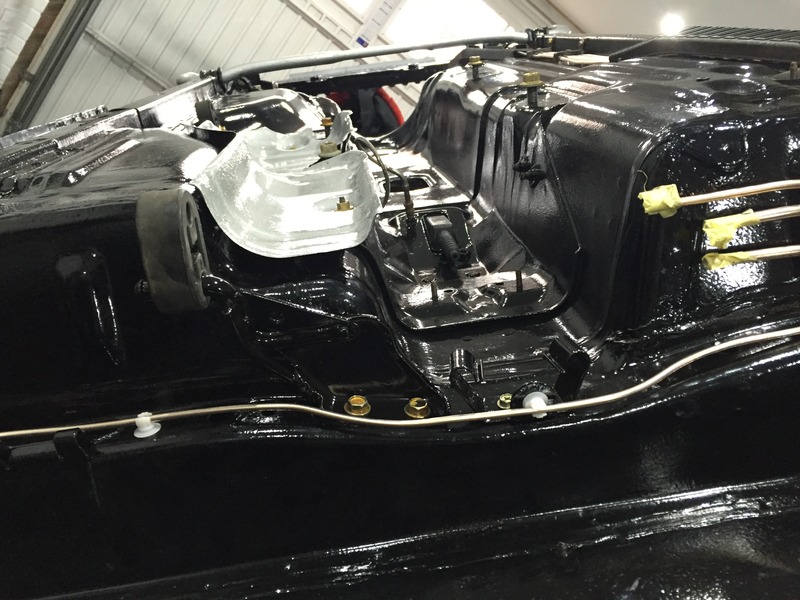
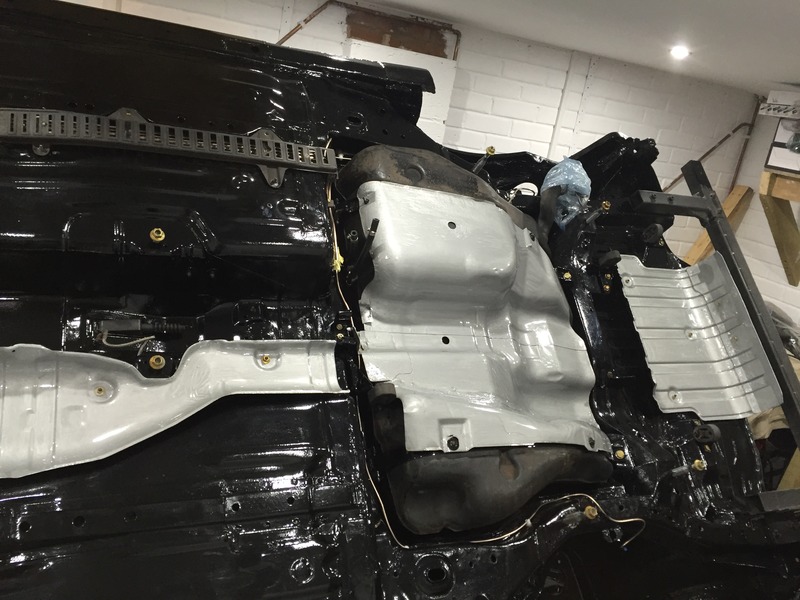
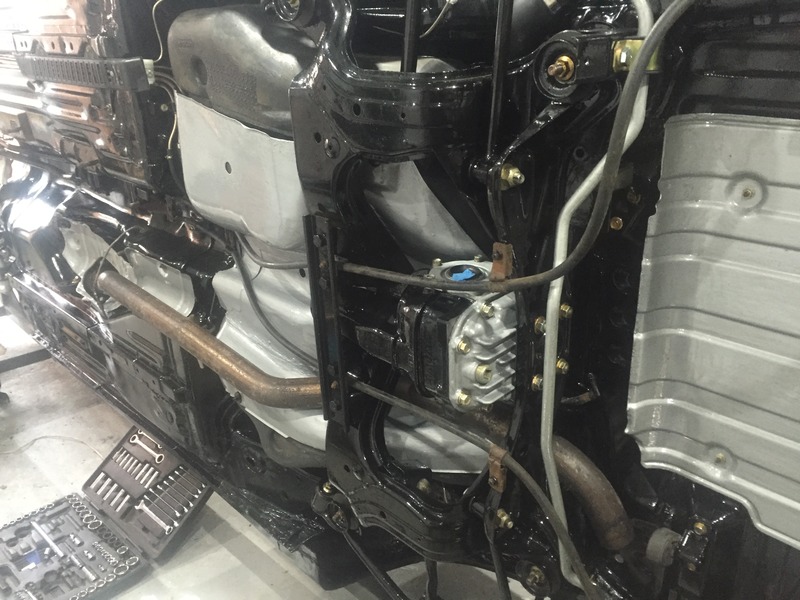
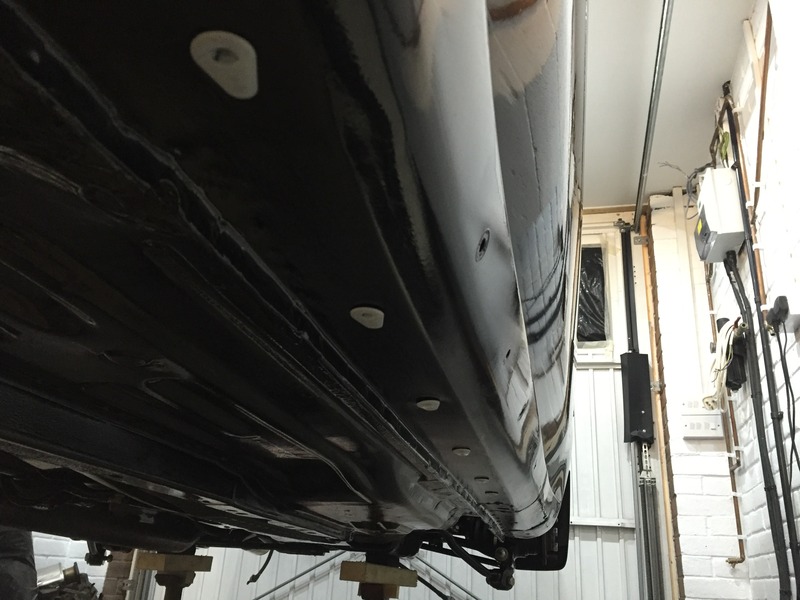
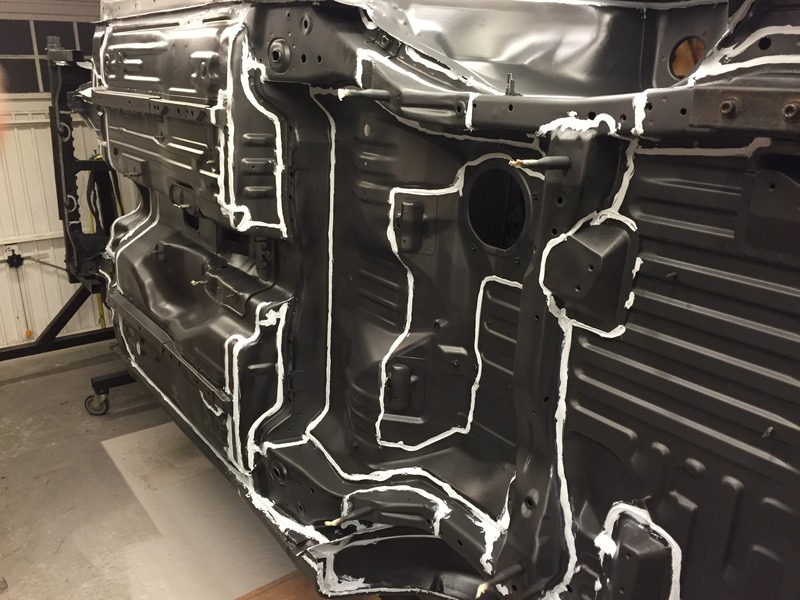
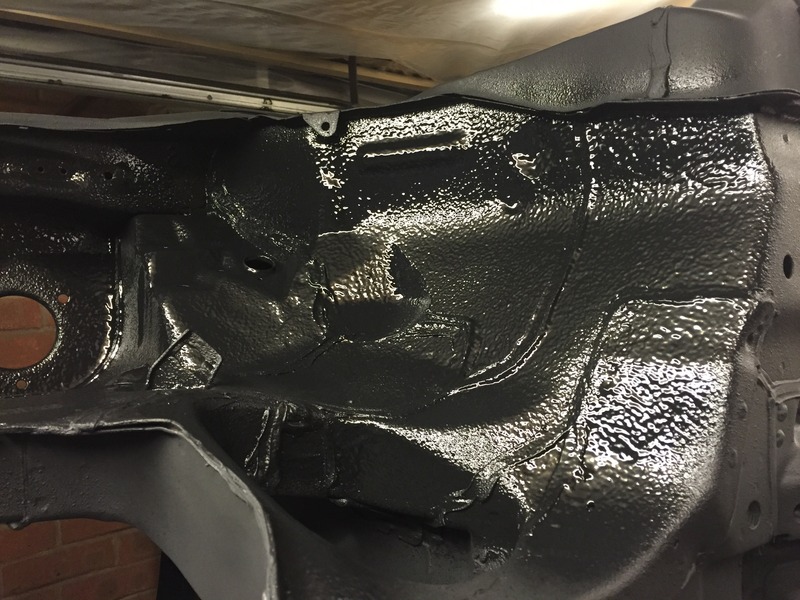
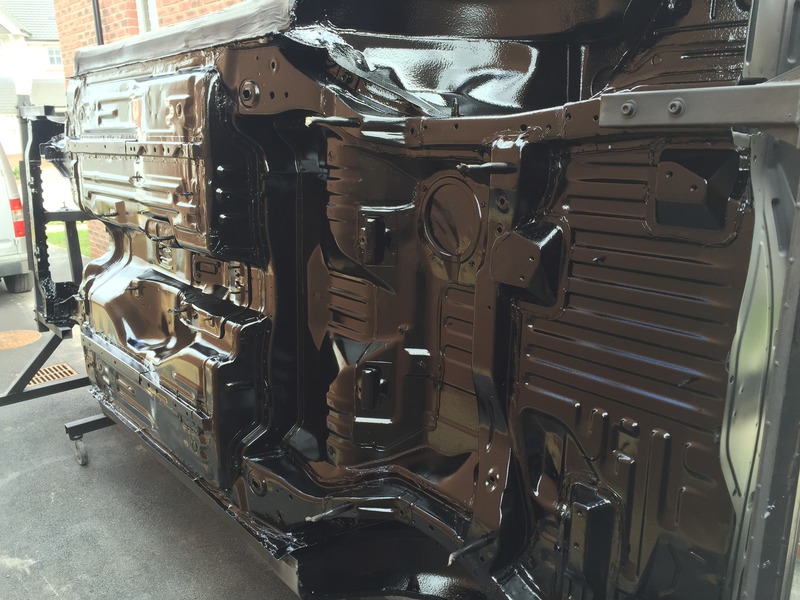
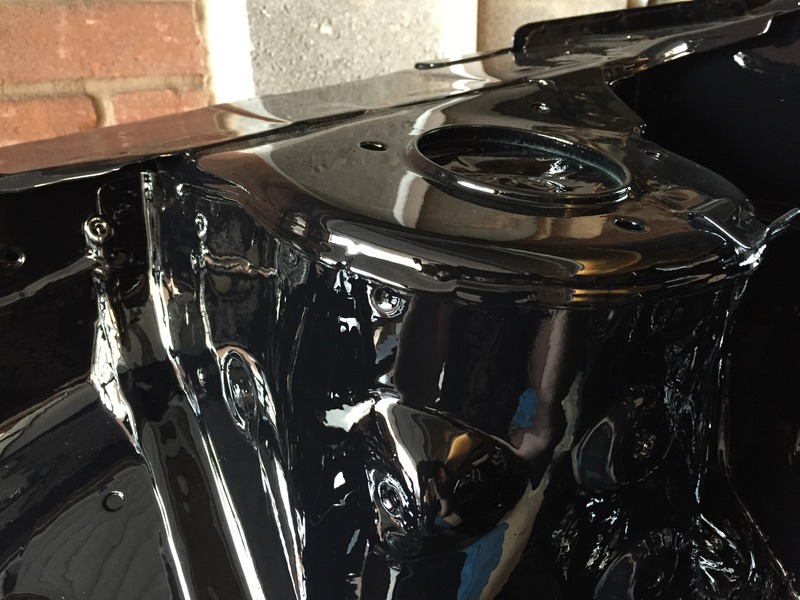
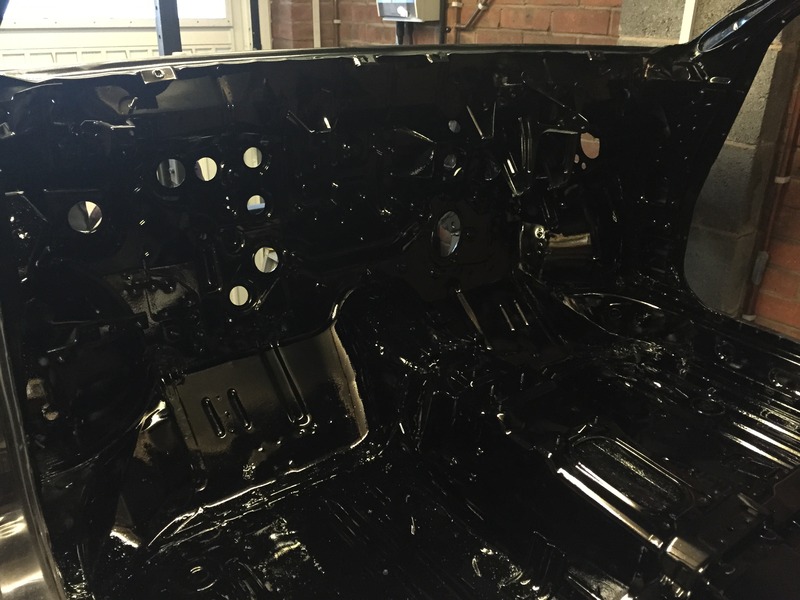
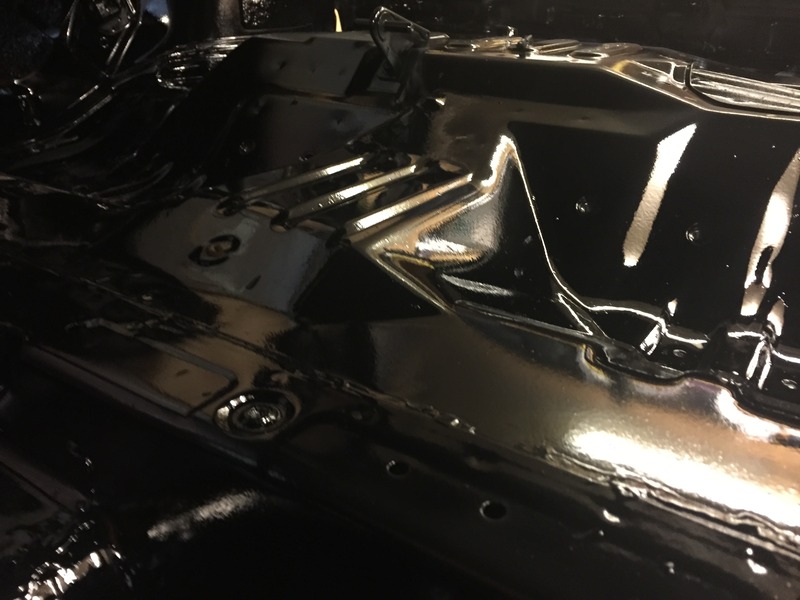
I turned back to the underside, getting that finished. I seem sealed over every seam from factory after gouging out all the old crusty stuff plus over any of my seem welds (both sides were possible) then applied Upol Gravitex stone chip. Used a 2.5mm tip spray gun on the  floor pan for a smoother finish and slutz gun inside the arches for a thicker covering.  Once this had dried I sprayed the Lechler epoxy primer over this, the Lechler KH3 base colour, then lacquer over the top. I also sprayed the engine bay but got a crap finish due too the amount of lacquer in the air, it was like a thick fog  in the garage Laughing when it settled on the car left little dimples in the paint.

Once dry sanded engine bay back again and primered.

Restoration Project - Page 2 IMG_0415_zpschs8u4zz

Restoration Project - Page 2 IMG_0451_zpsf3umu6os

Restoration Project - Page 2 IMG_0449_zpszxyobmdk

Restoration Project - Page 2 IMG_0450_zpswf2iyb9f

Restoration Project - Page 2 IMG_0506_zpsqbj9vsci

Restoration Project - Page 2 IMG_0503_zpsxqmkjvd0

Restoration Project - Page 2 IMG_0505_zpsh69uqvem

Restoration Project - Page 2 IMG_0525_zpsvolkf7gj

Restoration Project - Page 2 IMG_0527_zpssgjxyffr

Restoration Project - Page 2 IMG_0572_zps1clu9cpu

Restoration Project - Page 2 IMG_0570_zpsefy8k4vj

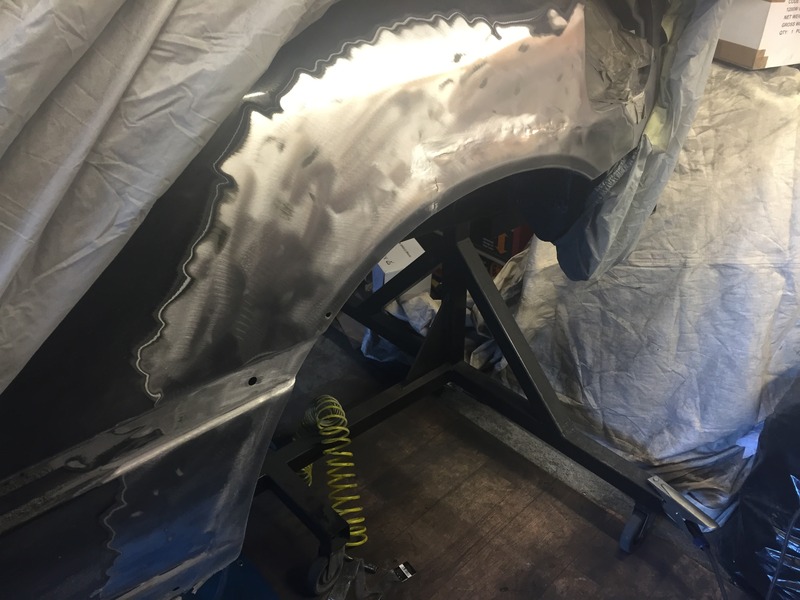
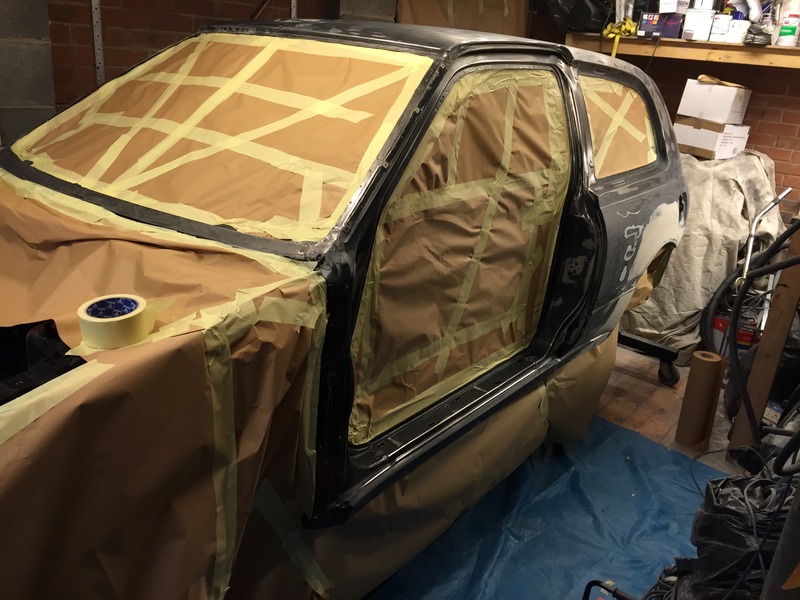
Decided to carry on prepping car in the mean time while I waited for advice from the forum about the non ISO stuff but did still keep trialling it. Time to apply filler to the arches, been dreading this from day one of starting this project, I always knew it was going to be hard trying to get the curves back to factory finish, but Christ it's hard!

Restoration Project - Page 2 IMG_0826_zpscbx0pubo

Restoration Project - Page 2 IMG_0830_zpsodynmddl

Restoration Project - Page 2 IMG_0827_zpshlg6pekv

Restoration Project - Page 2 IMG_0832_zps5rctrbcb

Restoration Project - Page 2 IMG_0859_zpsy8r8grln  

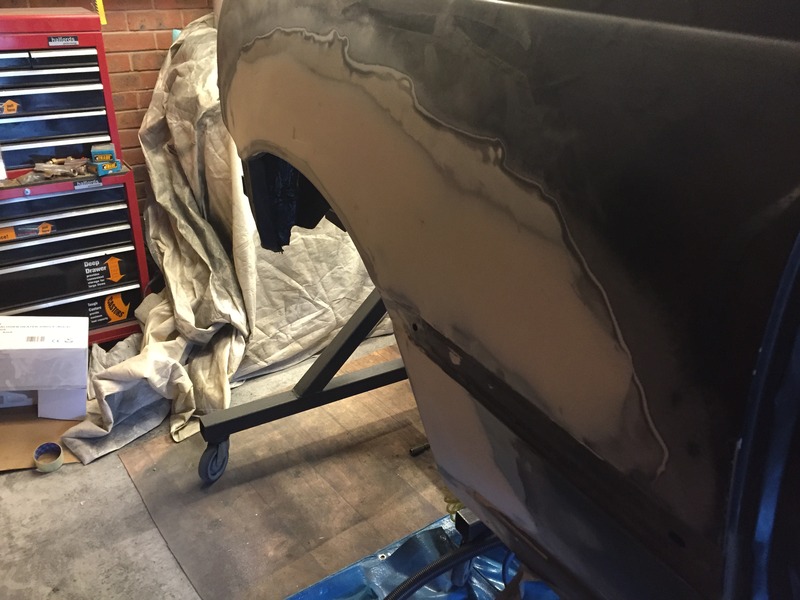
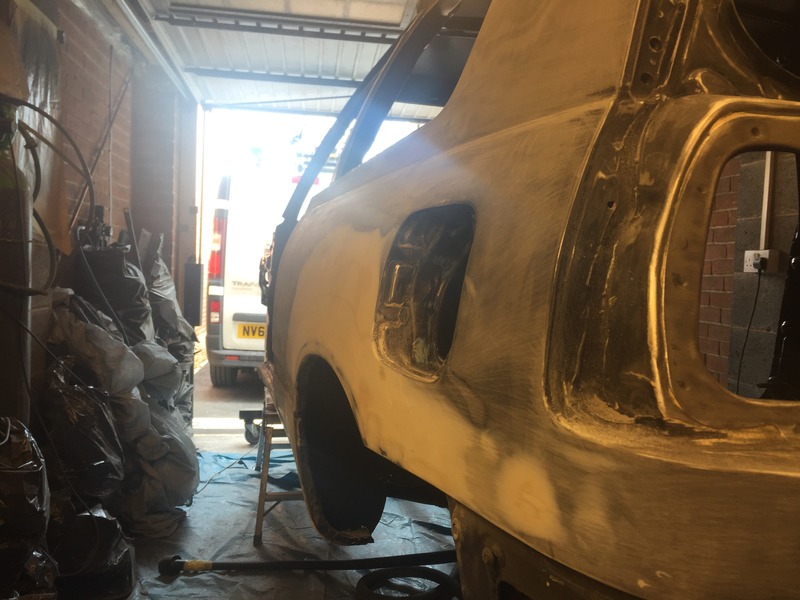
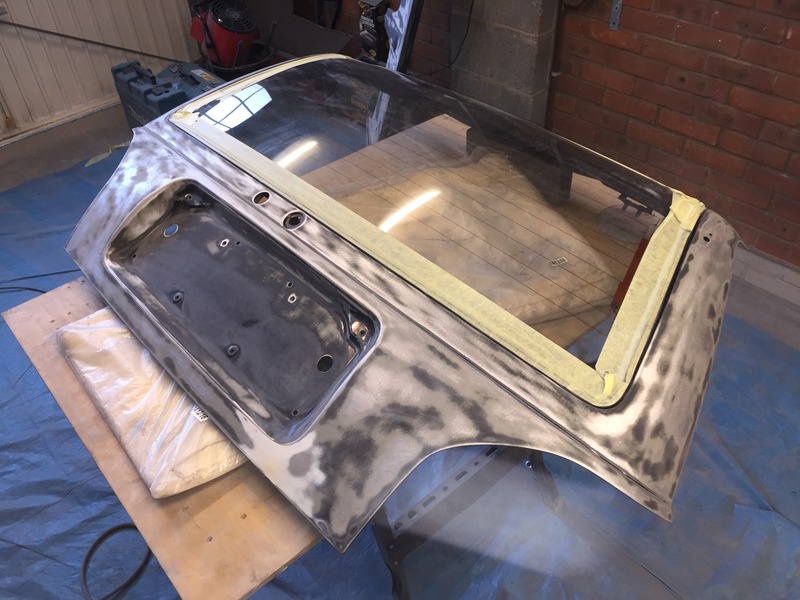
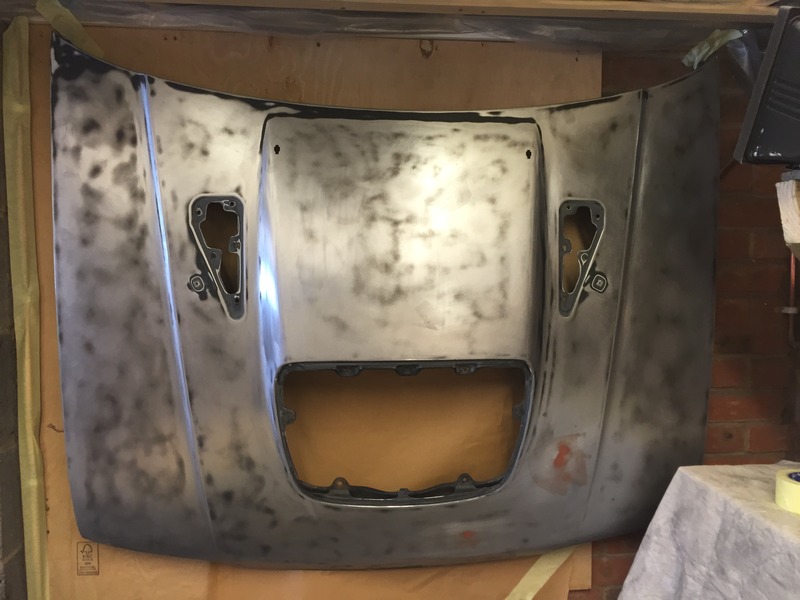
Sanded the whole car, with the DA then proceeded to block the car, pain staking job but satisfying when all imperfections are gone.  I got it near perfect, once primered I would be able to see how far out I actually was. The other good thing about the Lechler  primer is its got a sheen to it so you can see flaws to some degree.

Restoration Project - Page 2 IMG_0854_zps4uiwj2i8

Restoration Project - Page 2 IMG_0855_zpskbgw6s7d

Restoration Project - Page 2 IMG_0856_zpsum5ec3xh

Restoration Project - Page 2 IMG_0871_zpssb9gv5wb

Restoration Project - Page 2 IMG_0980_zpsrywzoand

Restoration Project - Page 2 IMG_1015_zpsr1wo7m9y

So back to trialling the paint, taking on board the advice from the forum and what I'd found out myself from trail and error proceeded to spray the engine bay. Again the results were epic, mirror finish. Left it a week came back and it seemed hard, woohoo!

Restoration Project - Page 2 IMG_0629_zpsrldcnnto

Restoration Project - Page 2 IMG_0632_zps7dwk297d

Restoration Project - Page 2 IMG_0634_zps5wllhbhy

Restoration Project - Page 2 IMG_0778_zpsowwvh9js

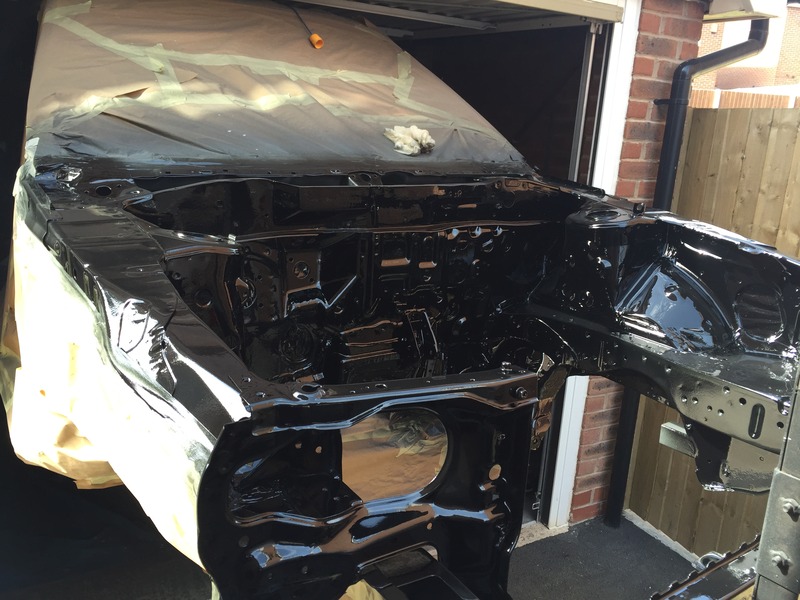
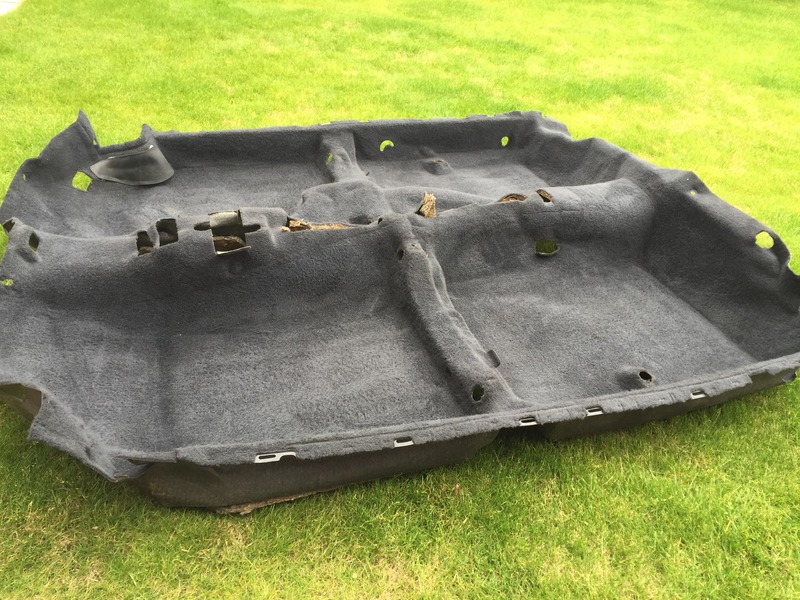
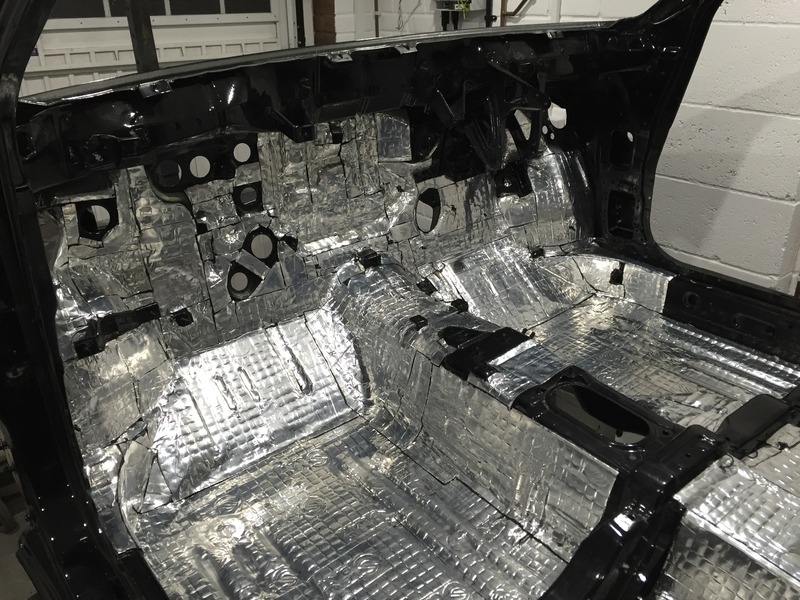
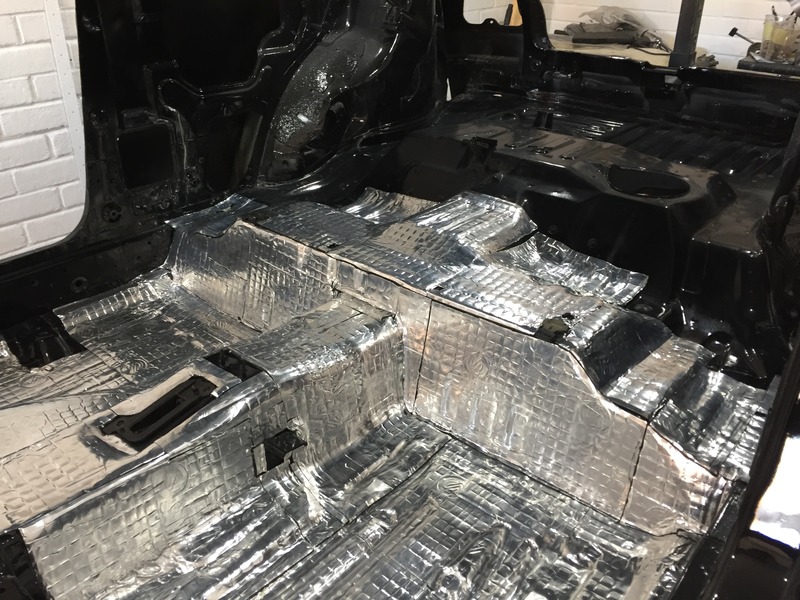
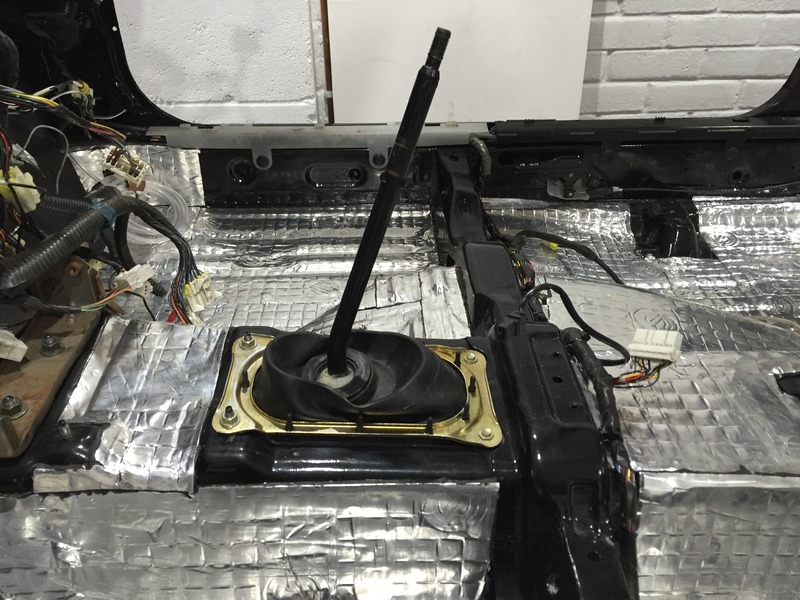
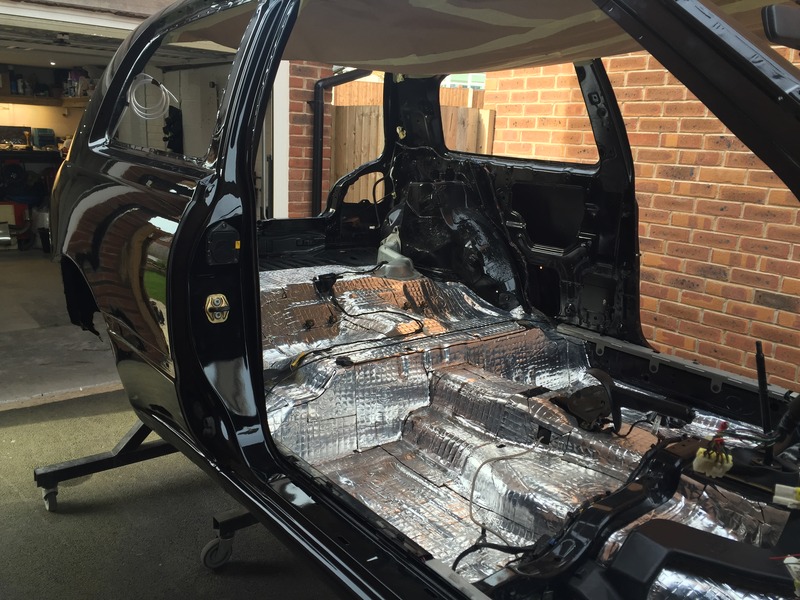
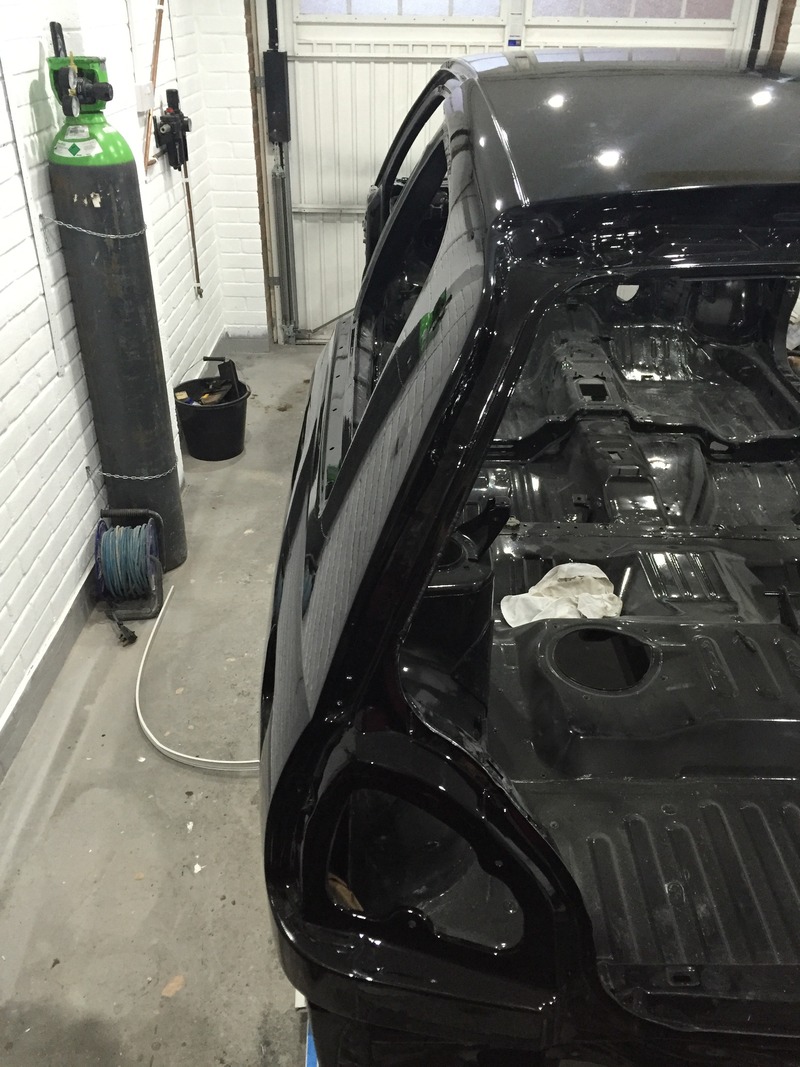
Thought right here goes might as well spray inside the car with it, so started to mask the holes up engine bay side save the overspray going through. Sprayed the inside, not the best of finishes mainly because of the dust and crap in there, was never that bothered about the finish most of it would be covered by sound deadening anyway.

Restoration Project - Page 2 IMG_0774_zpsttqoyxwp

Restoration Project - Page 2 IMG_0773_zpskrohmpop

Restoration Project - Page 2 IMG_0769_zpsn7ai0nh3

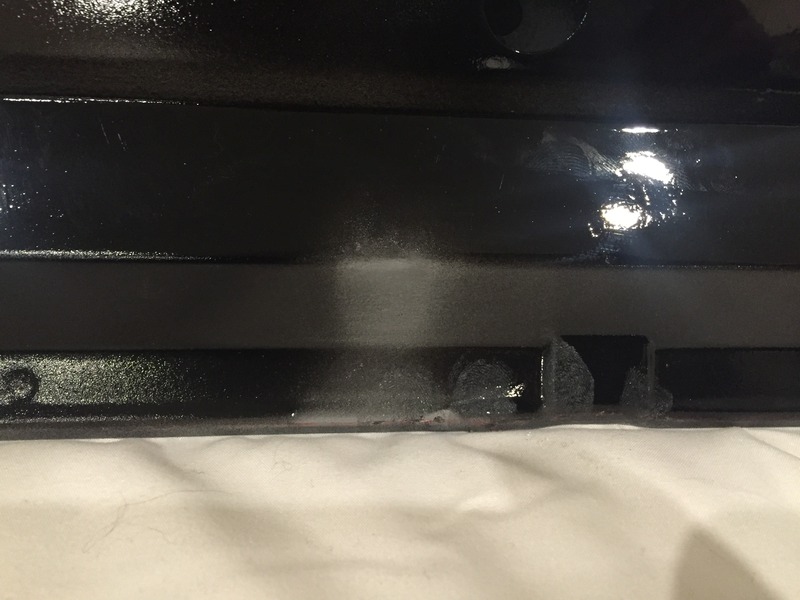
Started to peel masking tape off engine bay, to my horror this happened Evil or Very Mad

Restoration Project - Page 2 IMG_0779_zps9ggeiosv

Yep more tears and swearing, at this point I decided to rule the paint out completely!  Its totally crap! Main problem now was I need to sand the engine bay again but as the paints still soft made it impossible to sand, so Starchem paint stripper to the rescue! Took it straight back to bare metal Crying or Very sad

Restoration Project - Page 2 IMG_1012_zpsgvjan3qz

Restoration Project - Page 2 IMG_1014_zpsturpoe6x

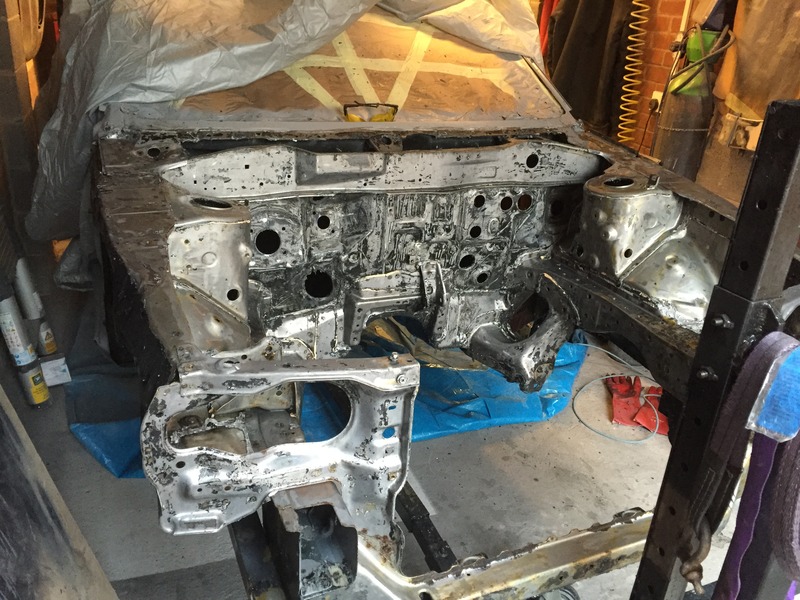
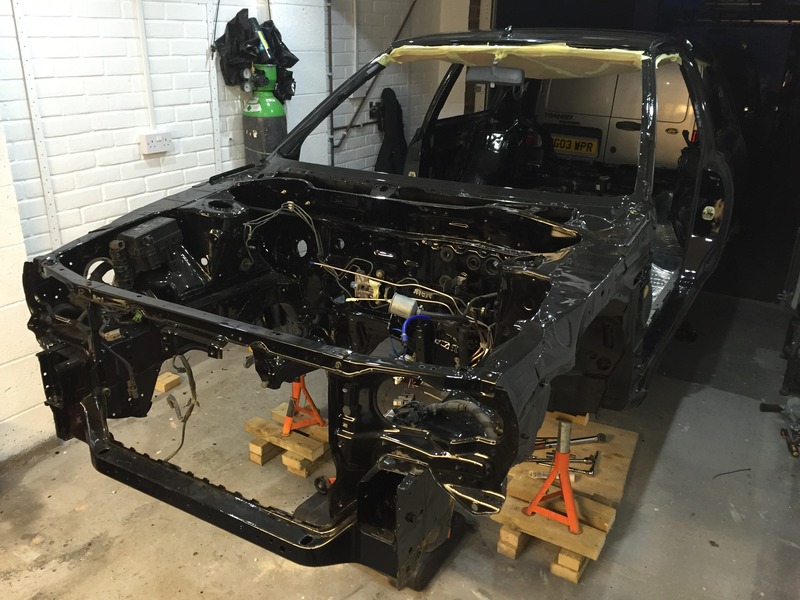
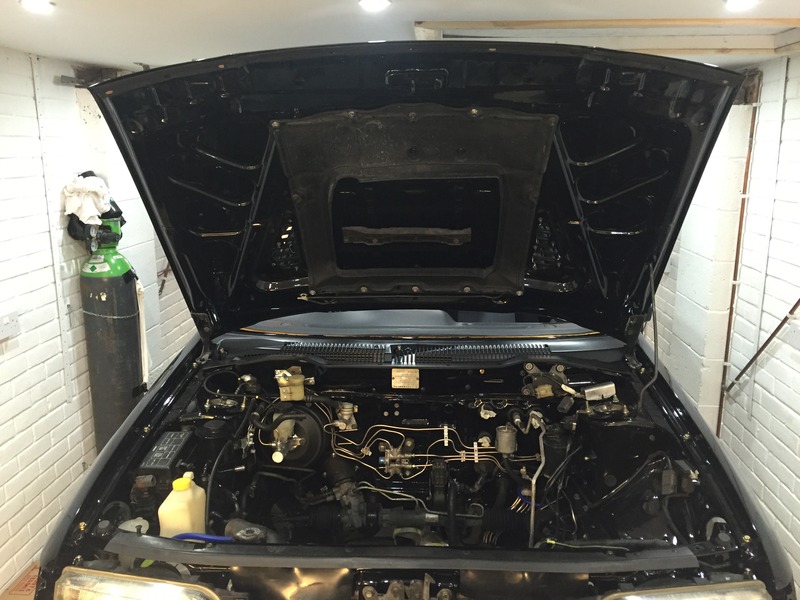
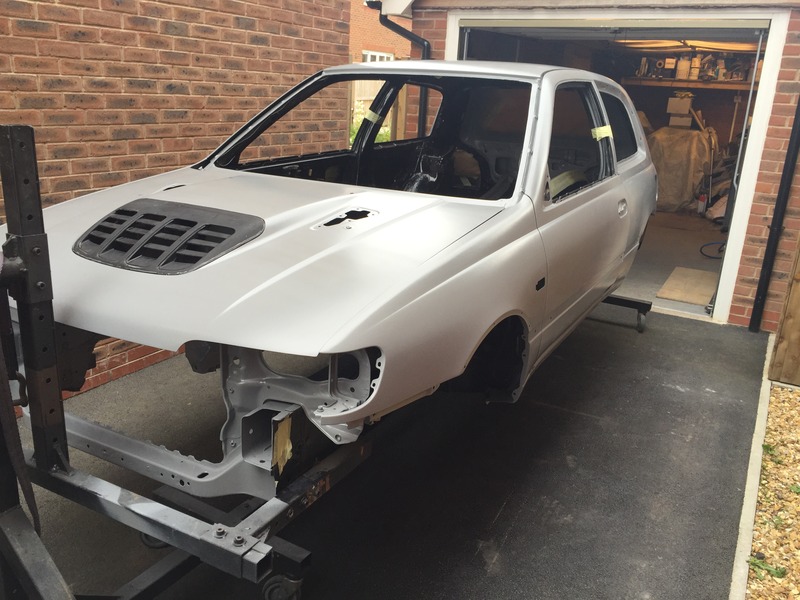
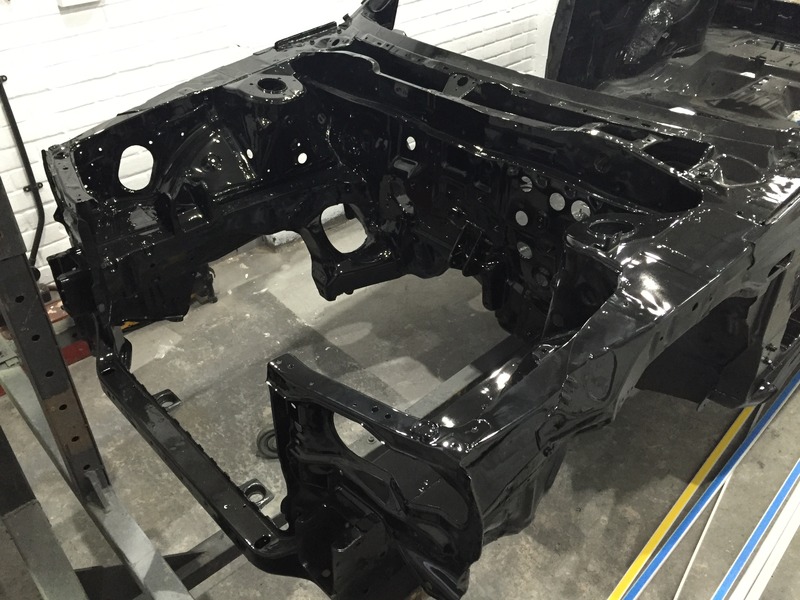
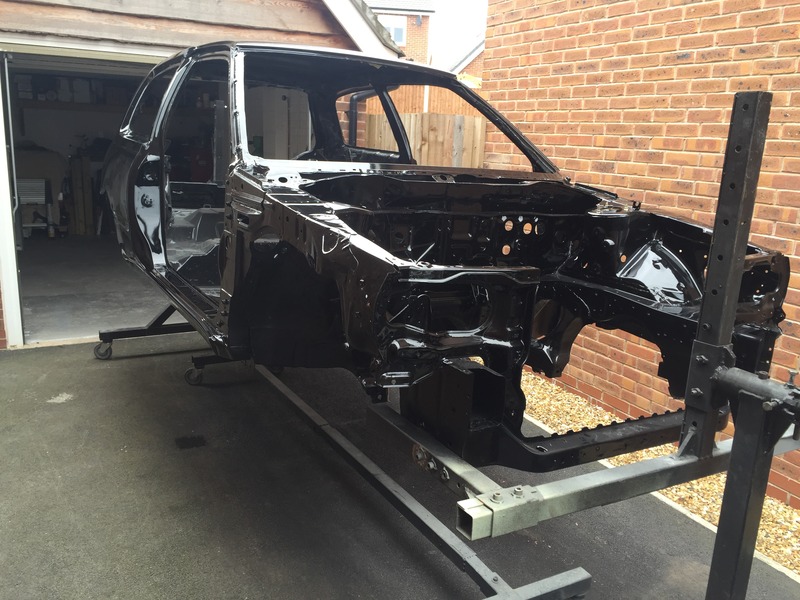
Professional paint job is my only option now, not taking the risk using 2K with all the associated health risks, plus my neighbour was pregnant at the time, not worth the risk.. Sprayed the engine bay again with primer. By this point I had already primered all the panels and body kit.

Restoration Project - Page 2 IMG_1021_zpsrezxnpz4

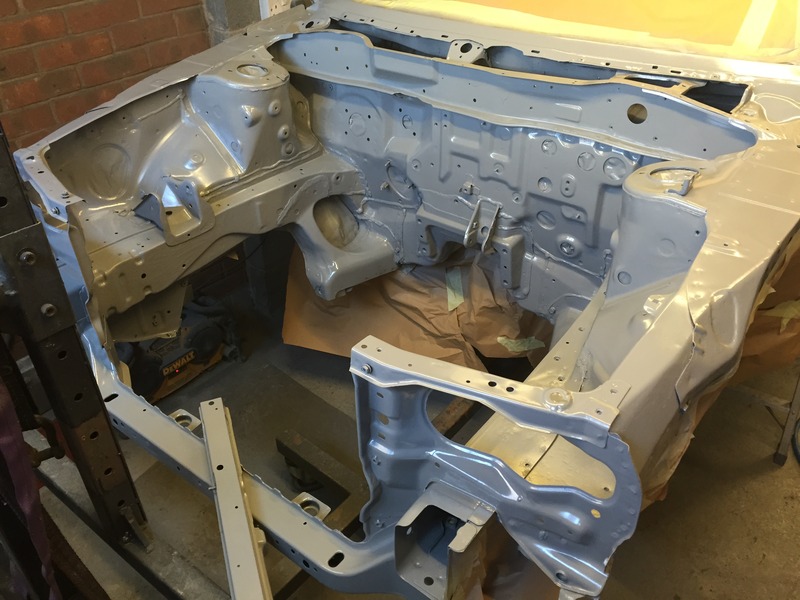
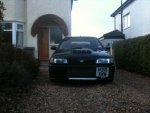
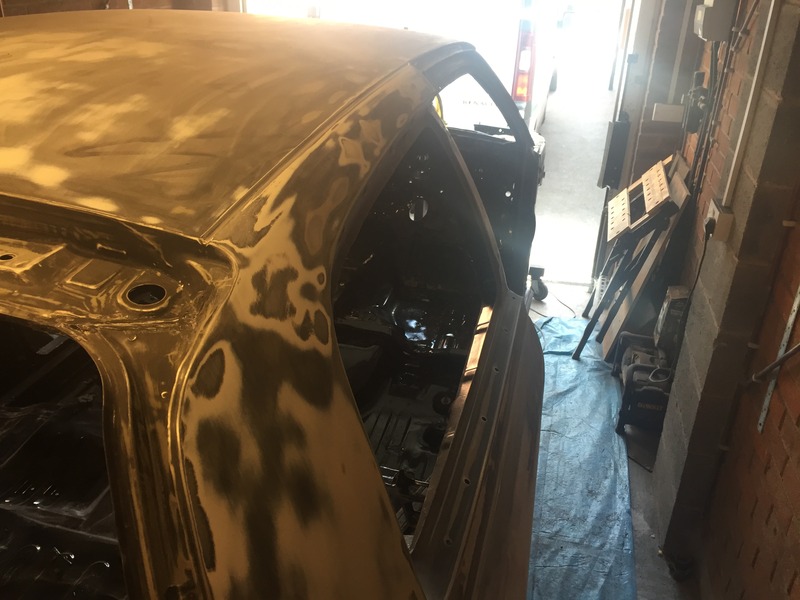
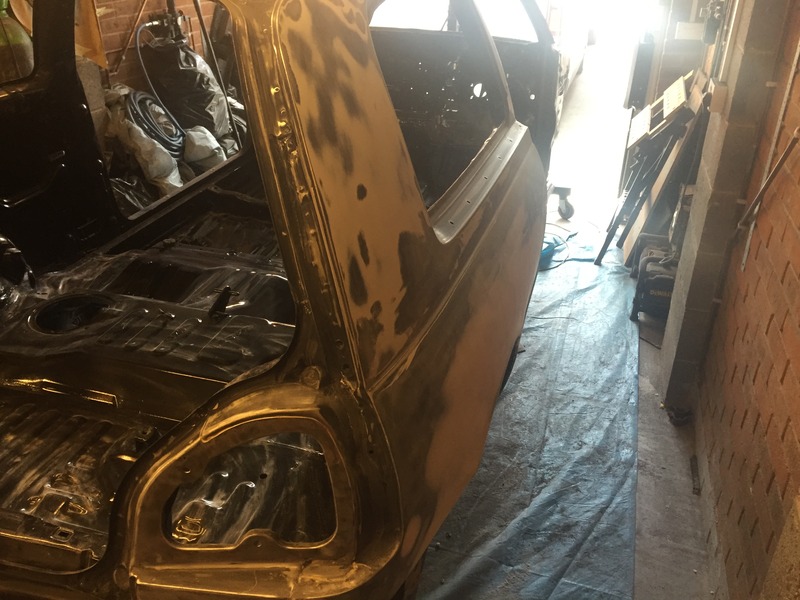
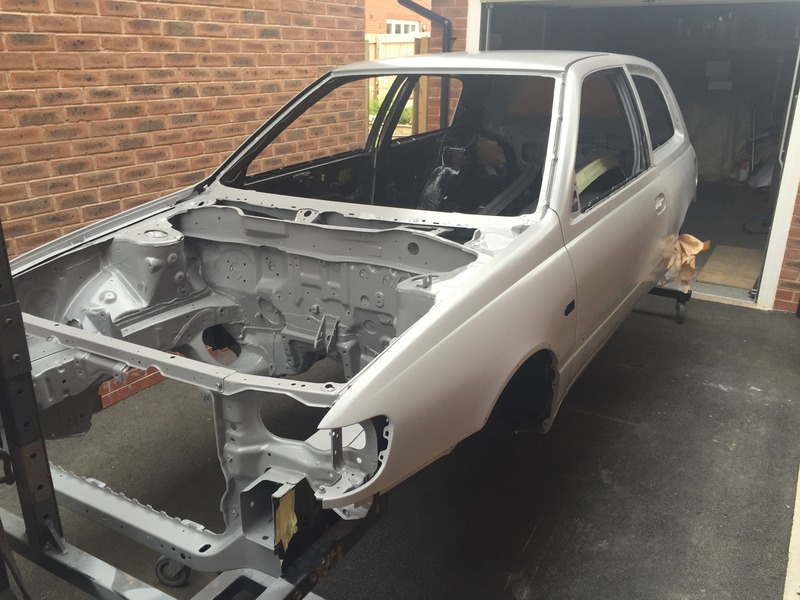
I did start to get excited seeing it in primer and with all the panels back on, couldn't wait to get it back from spray shop! But that would be a few months away, need to find the money first, and not knowing the cost of a respray was scary.

Restoration Project - Page 2 IMG_1045_zpsdvavhrov

Restoration Project - Page 2 IMG_1052_zpsf5xbfuvo

Restoration Project - Page 2 IMG_1048_zpsqun7ov0c

Restoration Project - Page 2 IMG_1027_zps9safu5dz

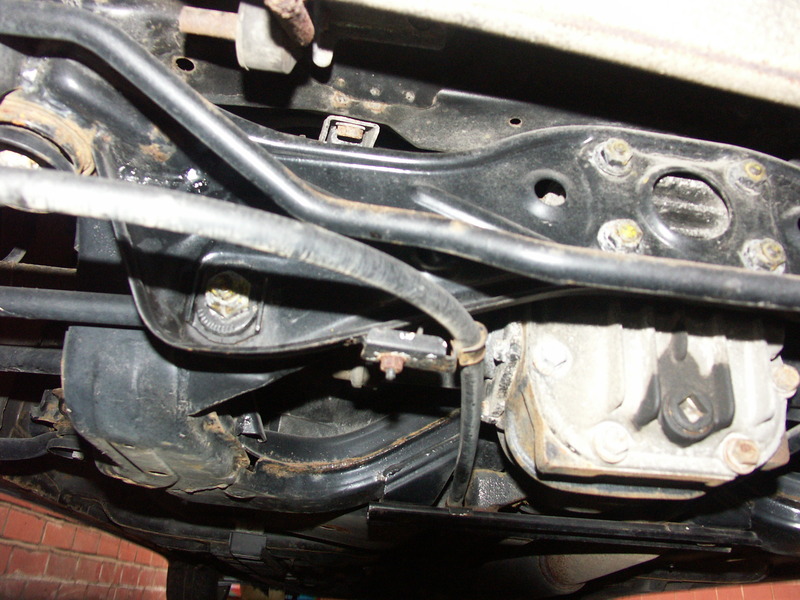
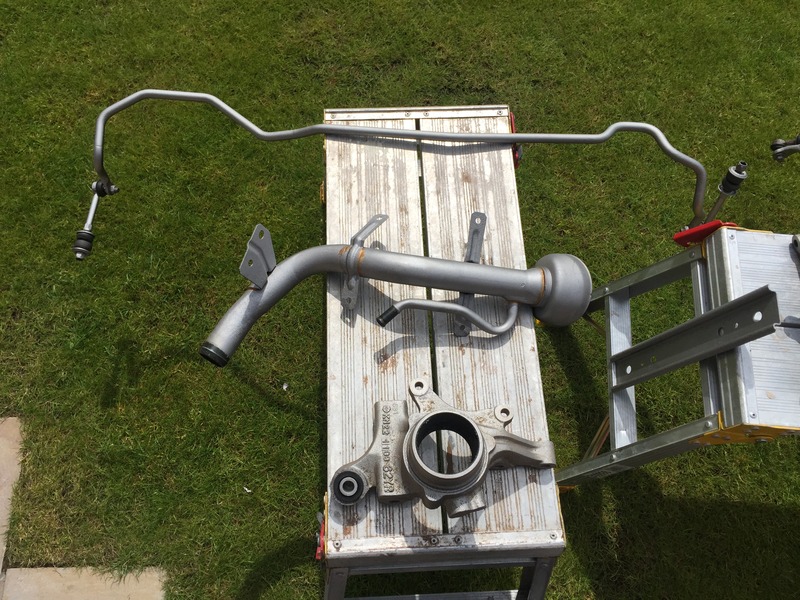
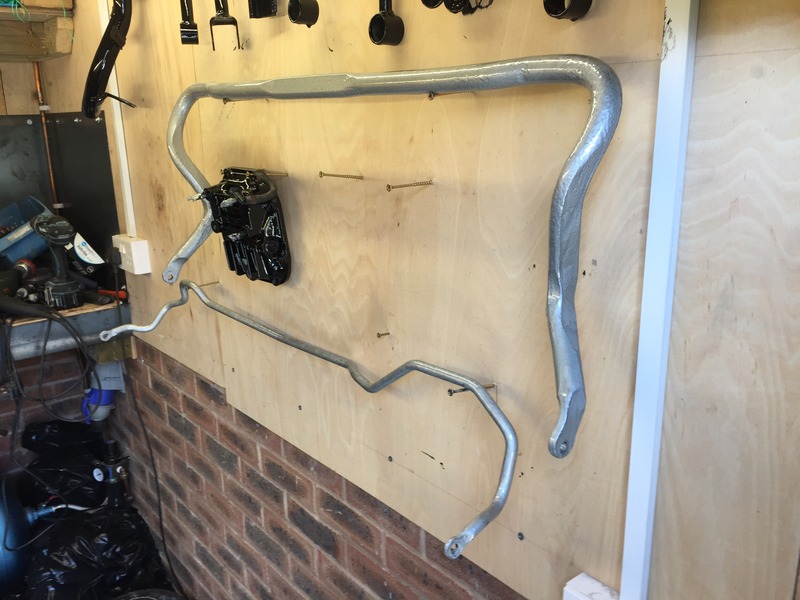
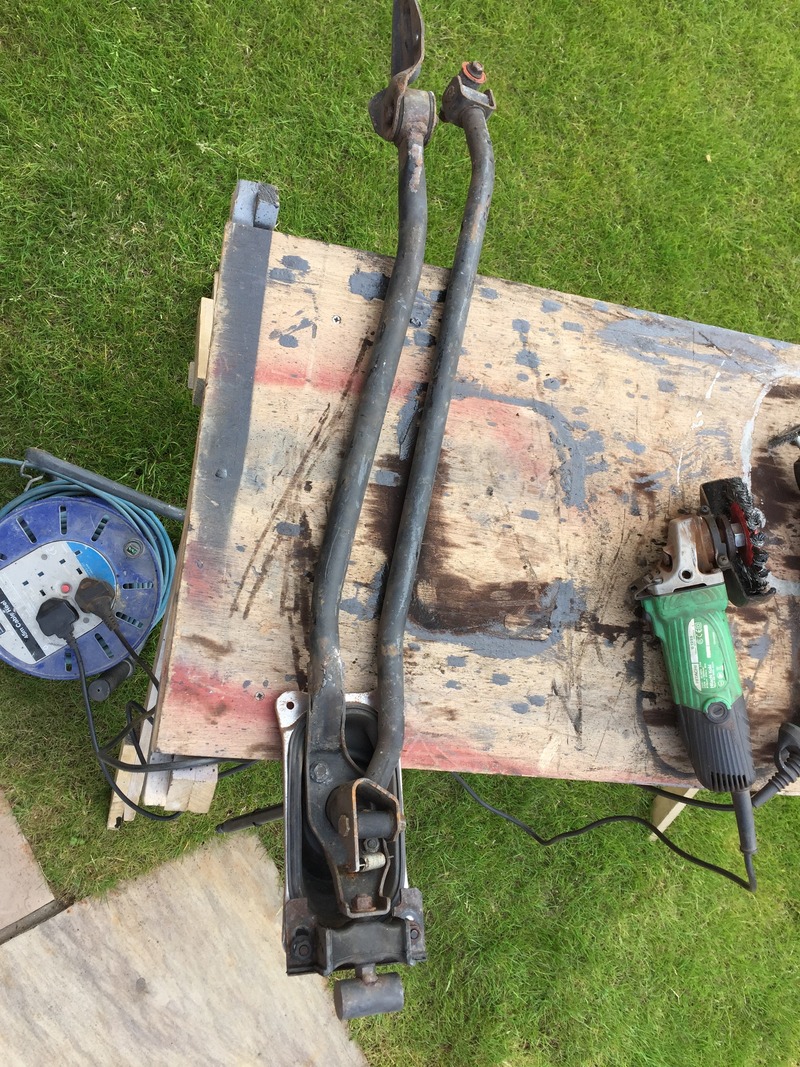
I turned to getting all the running gear sand blasted, big stuff I sent off to a local company, but trailing arms etc I got my mate to do them in work! He came across a problem with one of the front hubs, huge crack running through the track rod end fixing point:

Restoration Project - Page 2 IMG_1455_zpsbllkr4kv

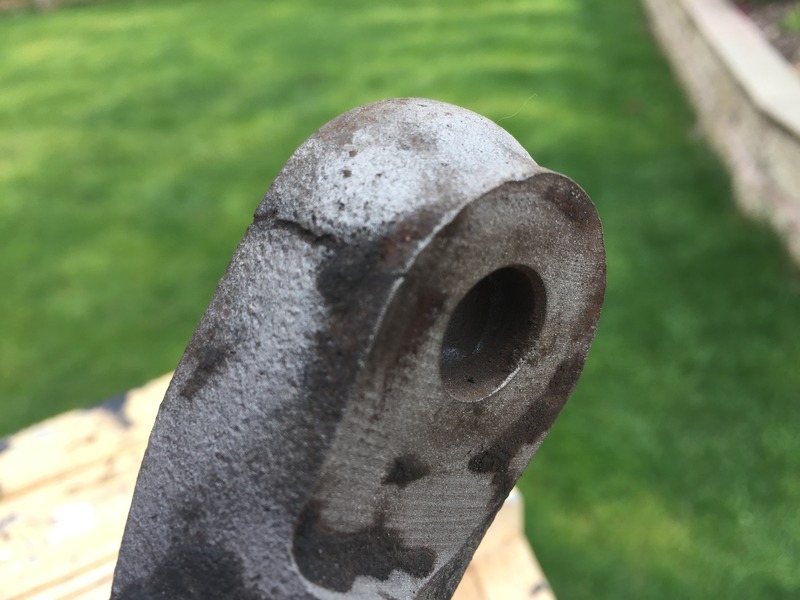
Thankfully I was going to Bobs that same week so picked up a spare one with a variety of other bits n pieces. It's like a supermarket for Pulsars Laughing

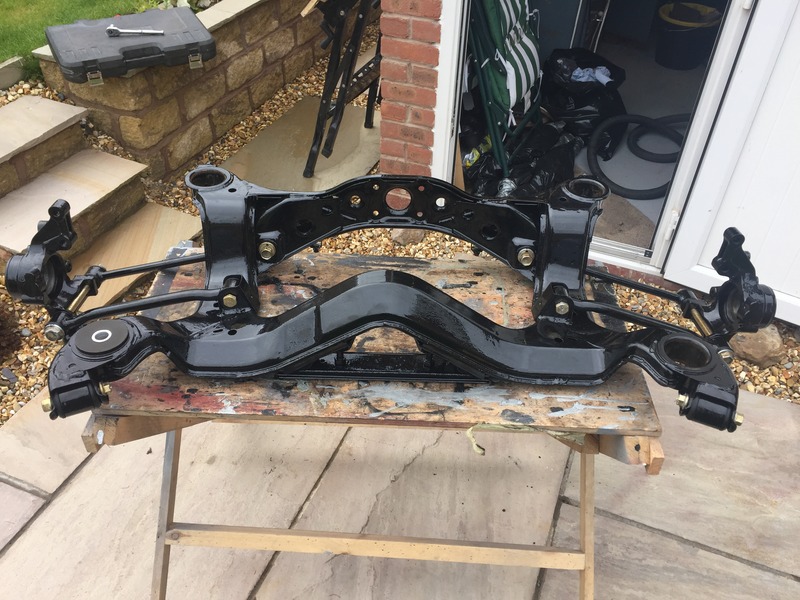
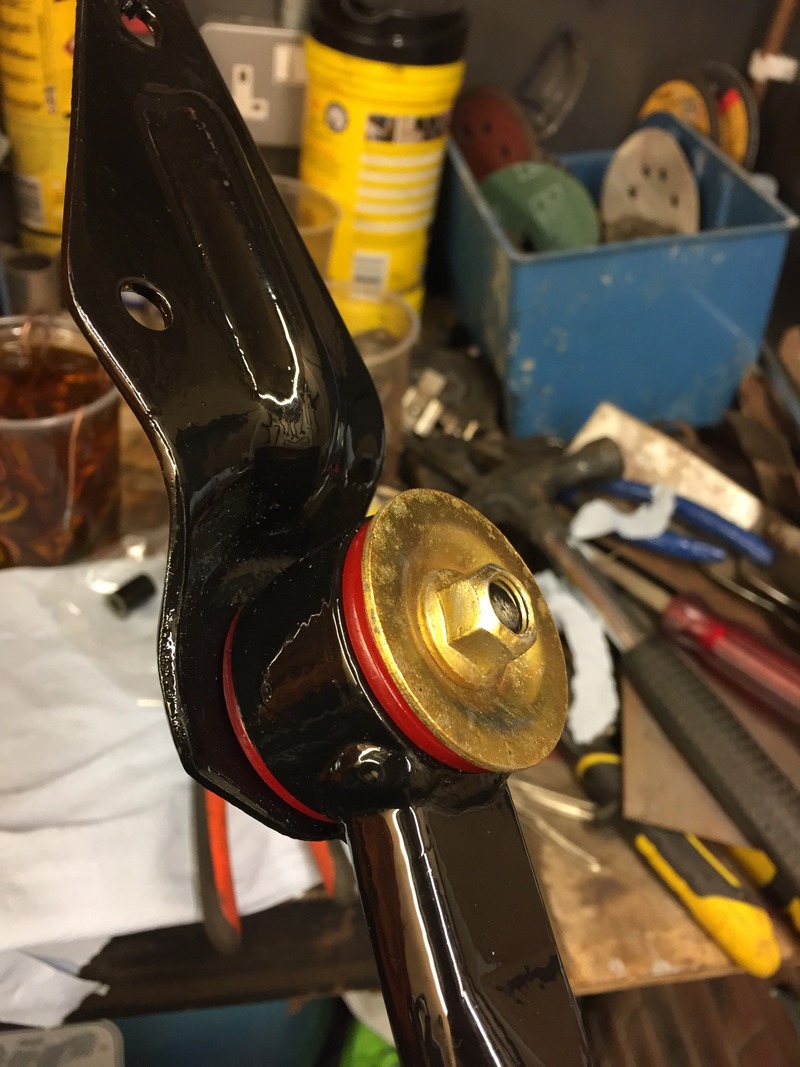
As I got pieces back I degreased them and painted with POR 15, incredible stuff providing the prep is right! The metal has to be acid cleaned and degreased otherwise it won't stick. Oh and don't get it on your skin! Takes days to come off Laughing

Restoration Project - Page 2 IMG_1299_zpsptmdbrn4

Restoration Project - Page 2 IMG_1300_zpsokvzn8ew

Restoration Project - Page 2 IMG_1301_zpsqutcp2ep

Restoration Project - Page 2 IMG_1302_zpsb7zf7rox

Restoration Project - Page 2 IMG_1303_zpsbenjdghi

Restoration Project - Page 2 IMG_1305_zpsxggfle0v

Restoration Project - Page 2 IMG_1310_zps1pbj8kpq

Restoration Project - Page 2 IMG_1343_zpshl6a5lic

Restoration Project - Page 2 IMG_1360_zpszsuhrjkb

Restoration Project - Page 2 IMG_1363_zpspddehauc

Restoration Project - Page 2 IMG_1375_zpsjfous0e7

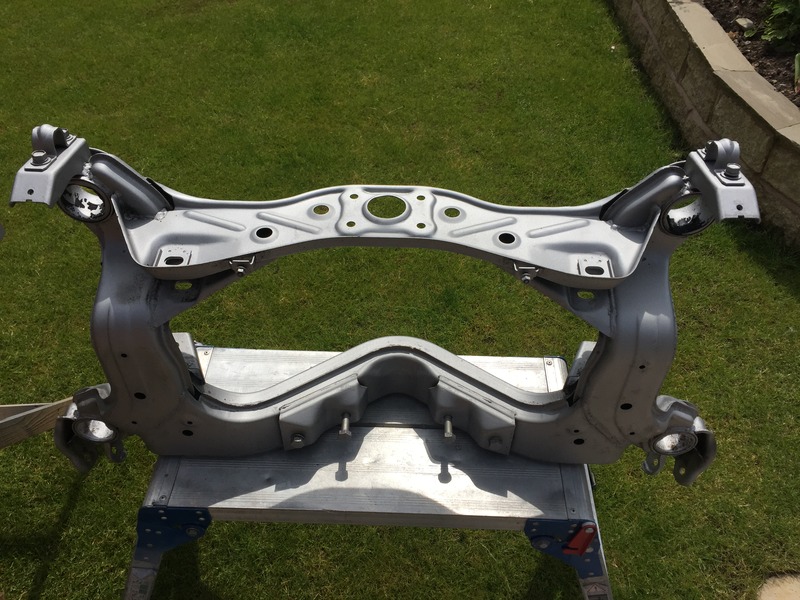
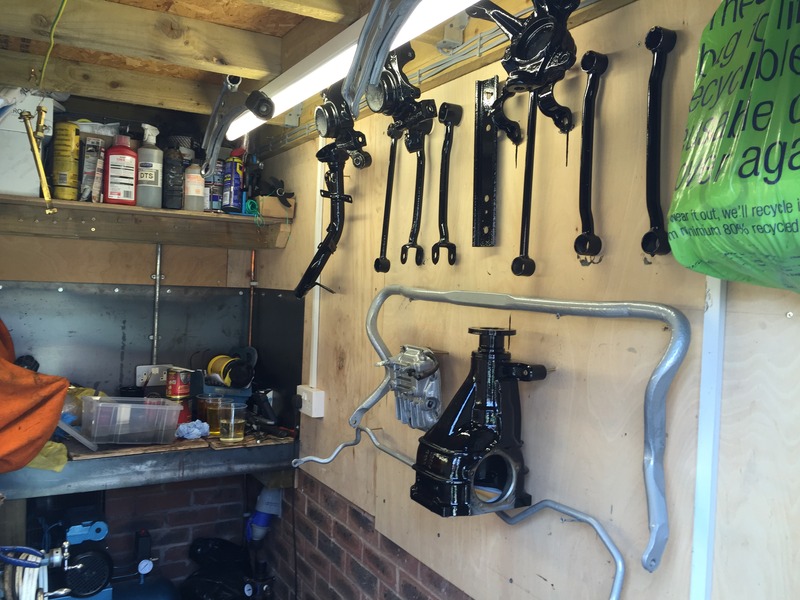
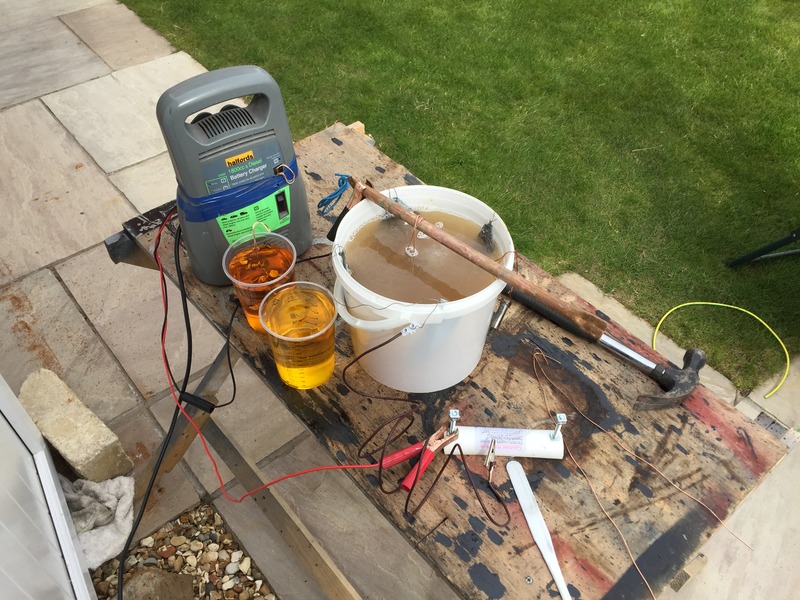
The shed became a parts drying room. I also bought a zinc plating kit, thought I give it ago, to my amazement worked really well! All bolts off the car dunked in hydrochloric acid, strong stuff not watered down builders stuff. From that into the zinc plating bath.

Restoration Project - Page 2 IMG_1418_zps2oksxhfm

Restoration Project - Page 2 IMG_1361_zpsropdj9ll

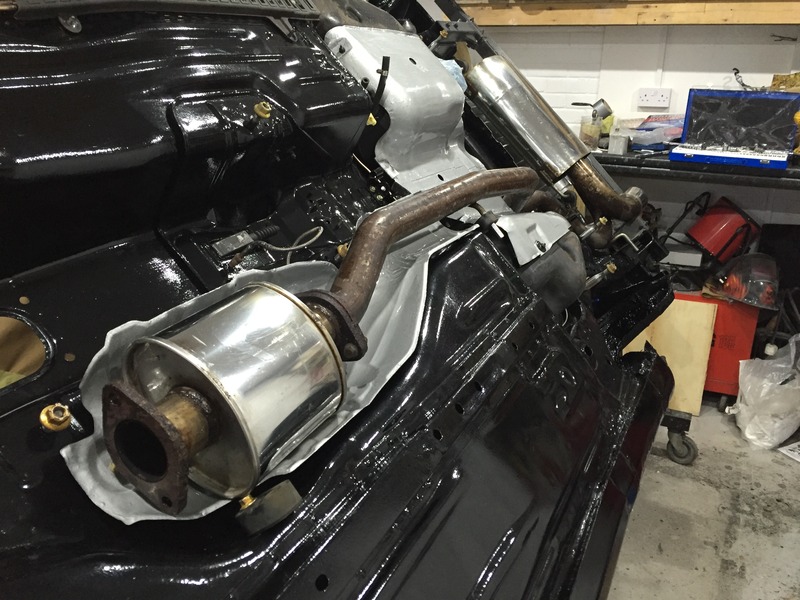
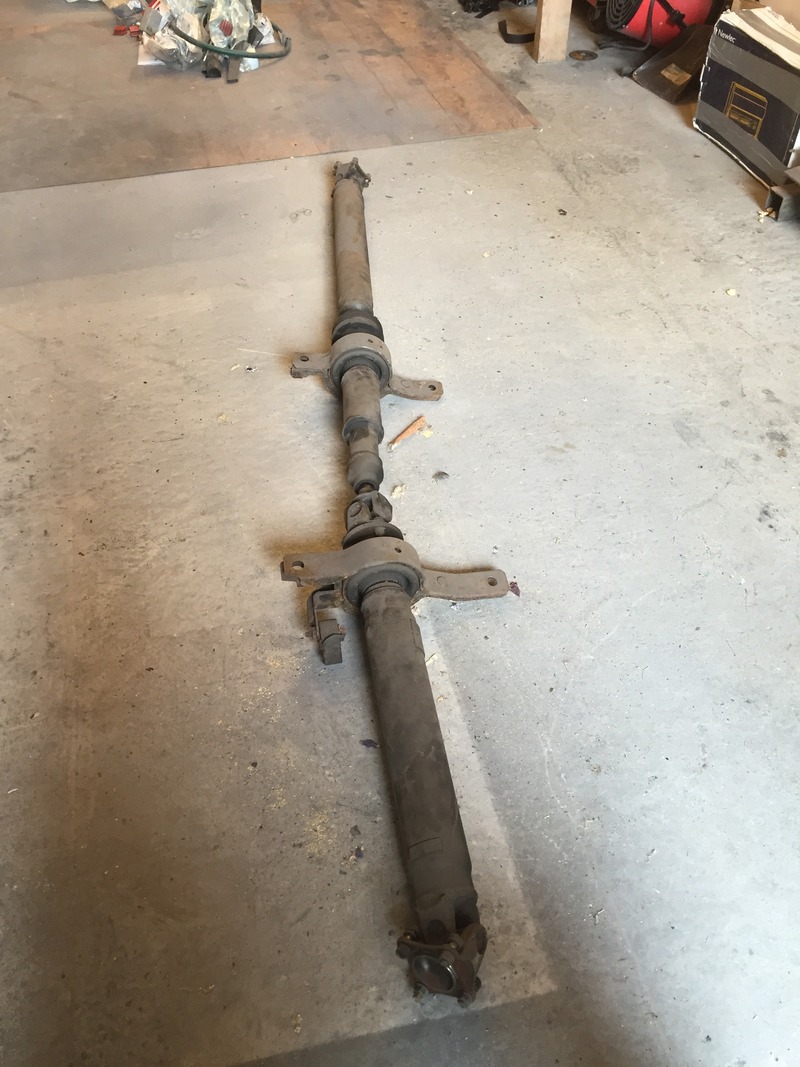
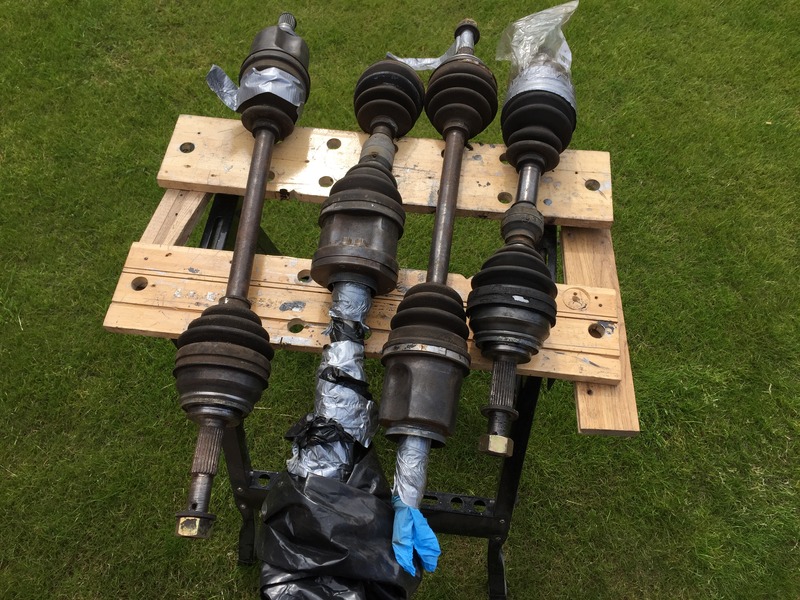
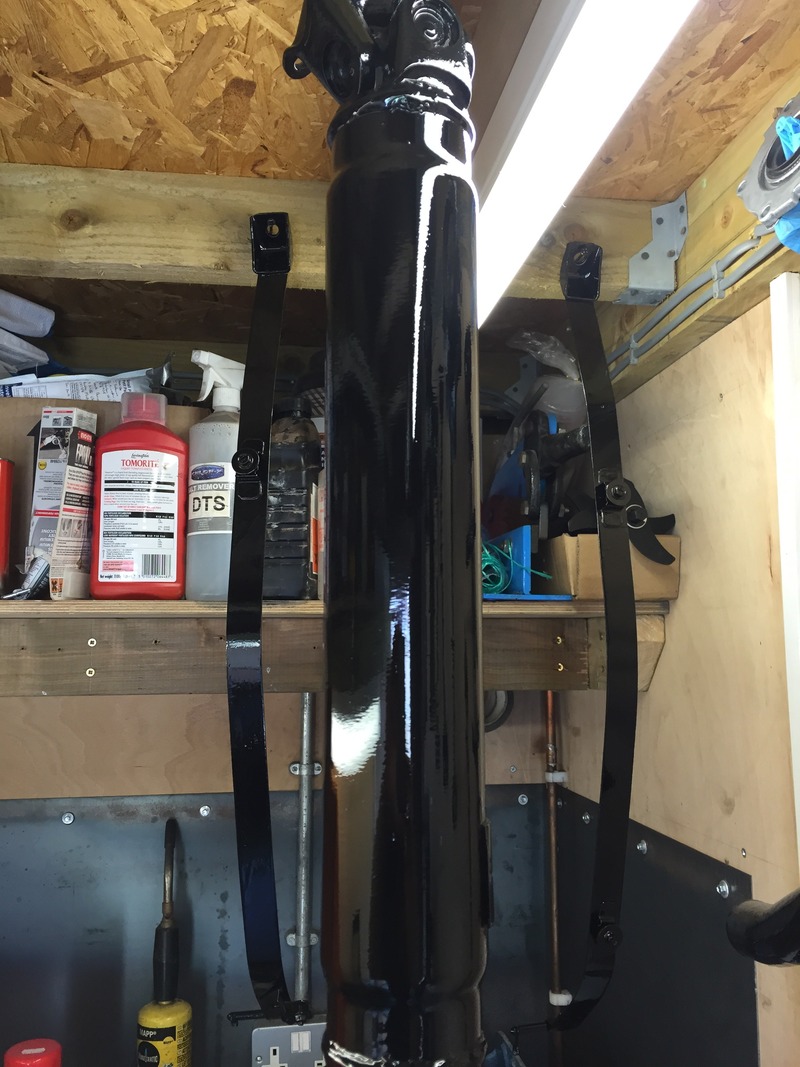
Might as well clean and paint the prop and drive shafts and gear linkage:

Restoration Project - Page 2 IMG_1402_zpsij0viocv

Restoration Project - Page 2 IMG_1403_zpsgaws0stv

Restoration Project - Page 2 IMG_1405_zpshnemkodq

Restoration Project - Page 2 IMG_1492_zpsnpetrqzk

Restoration Project - Page 2 IMG_1409_zpsoncl2kfw

Restoration Project - Page 2 IMG_1414_zpszourlhvq

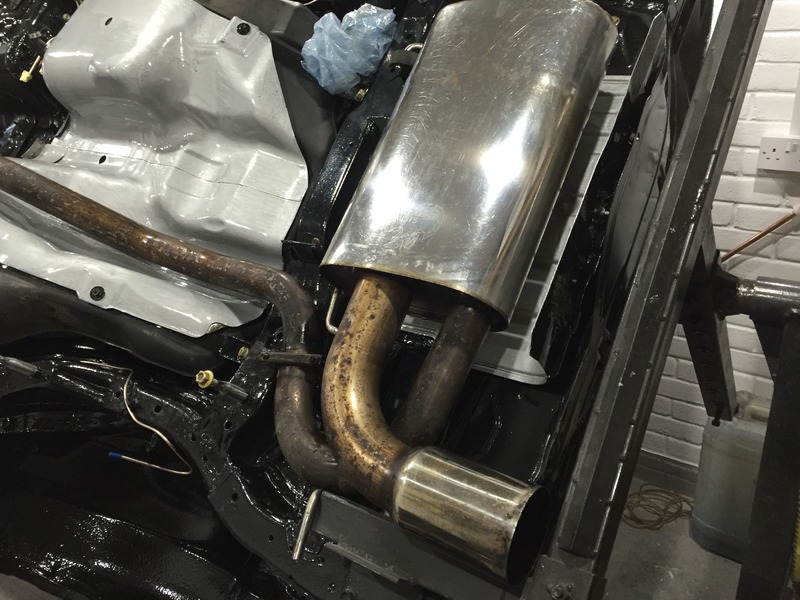
Oh and the heat sheilds Laughing

Restoration Project - Page 2 IMG_1415_zpsl6niqw8h

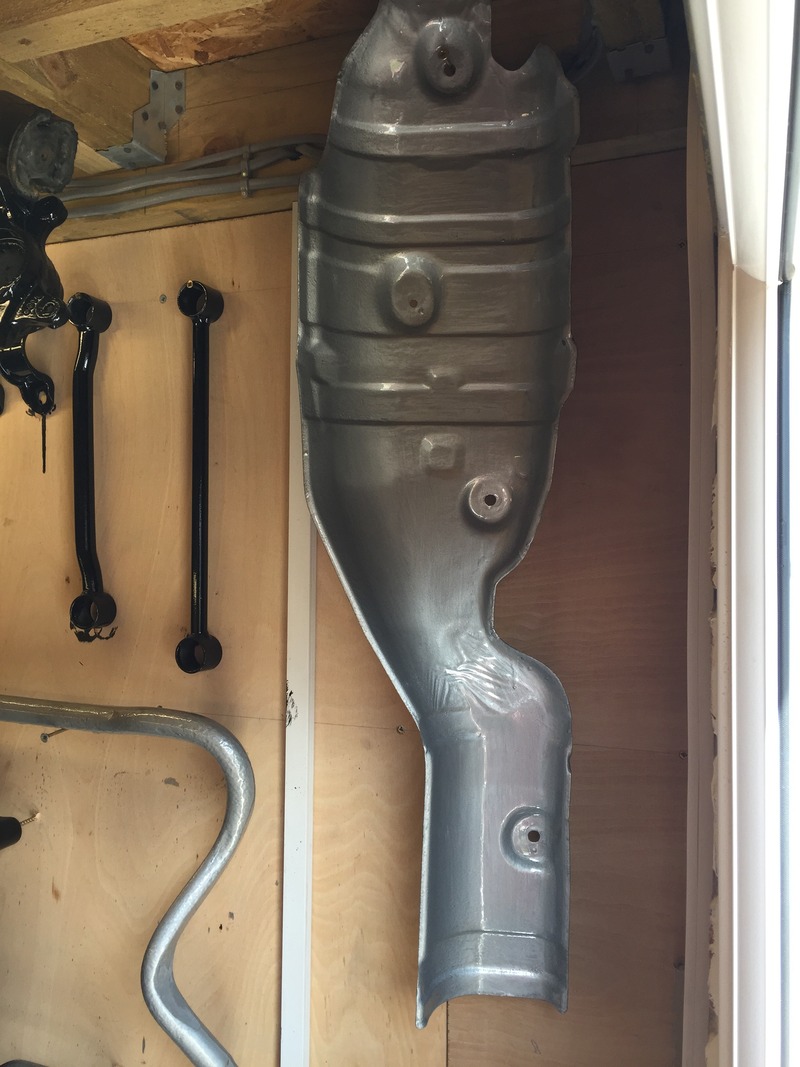
Had to make one good one out of too not so good ones

Restoration Project - Page 2 IMG_1625_zpsk54gey32

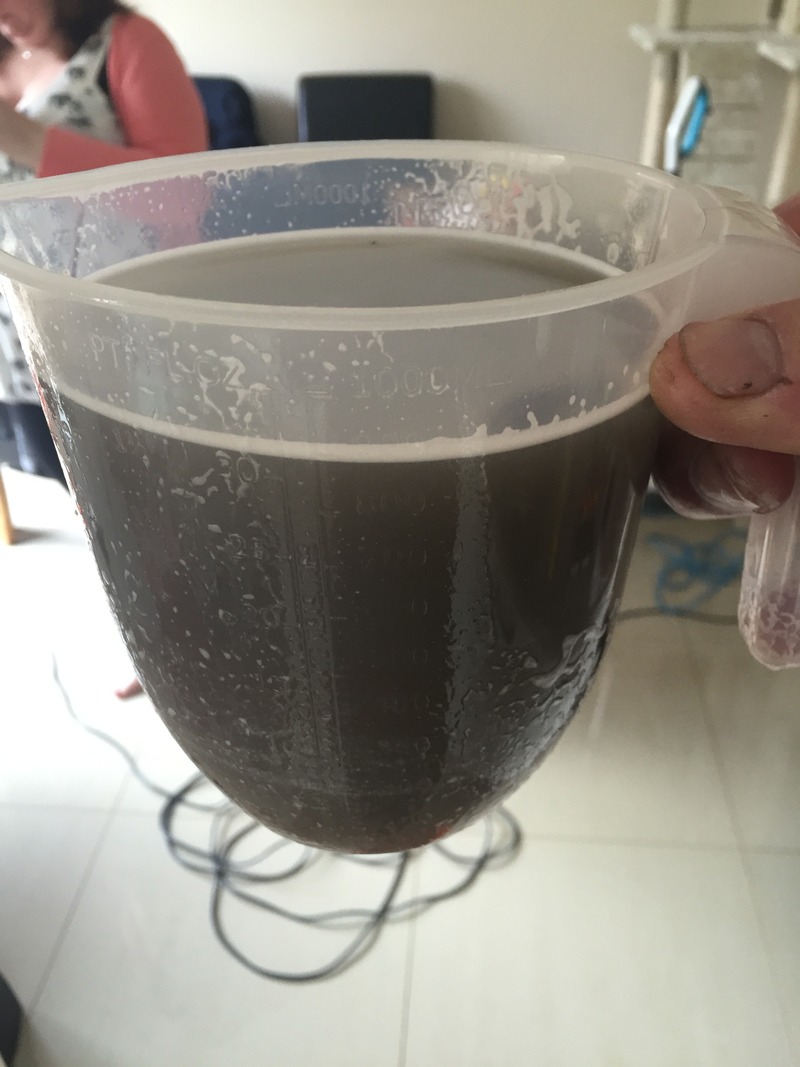
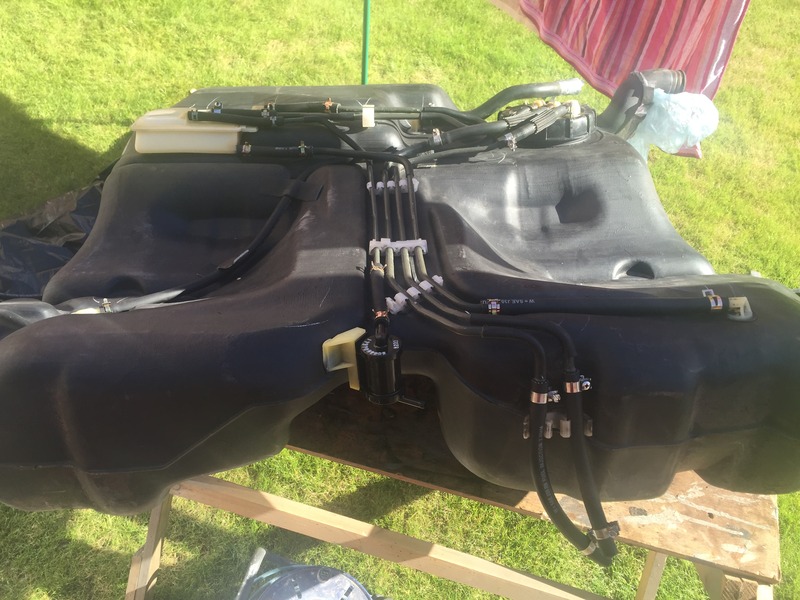
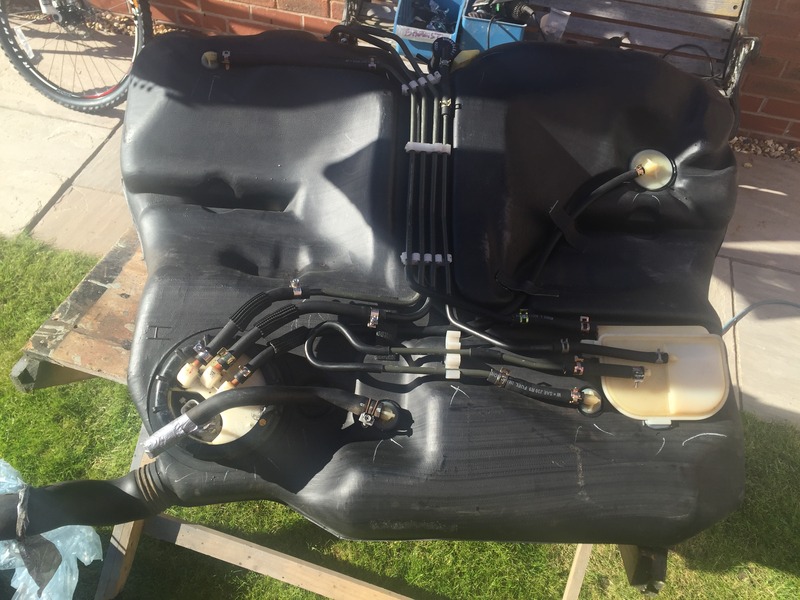
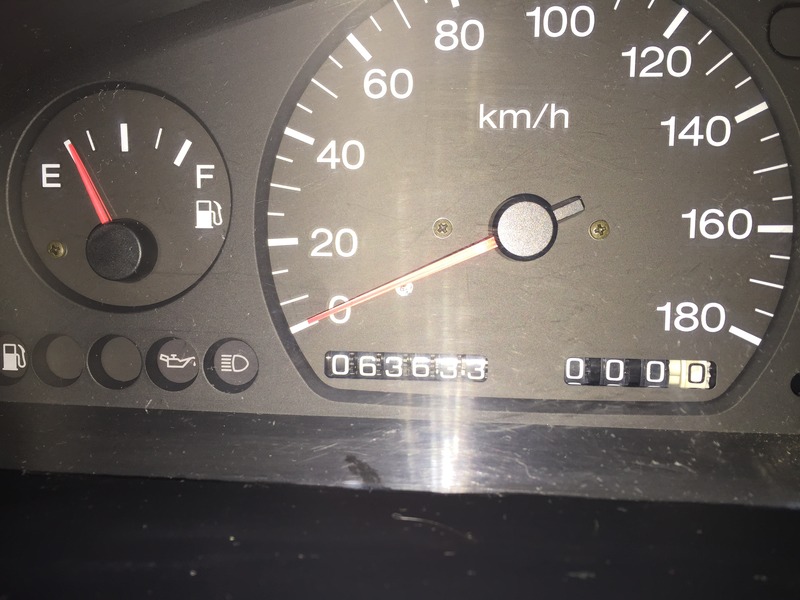
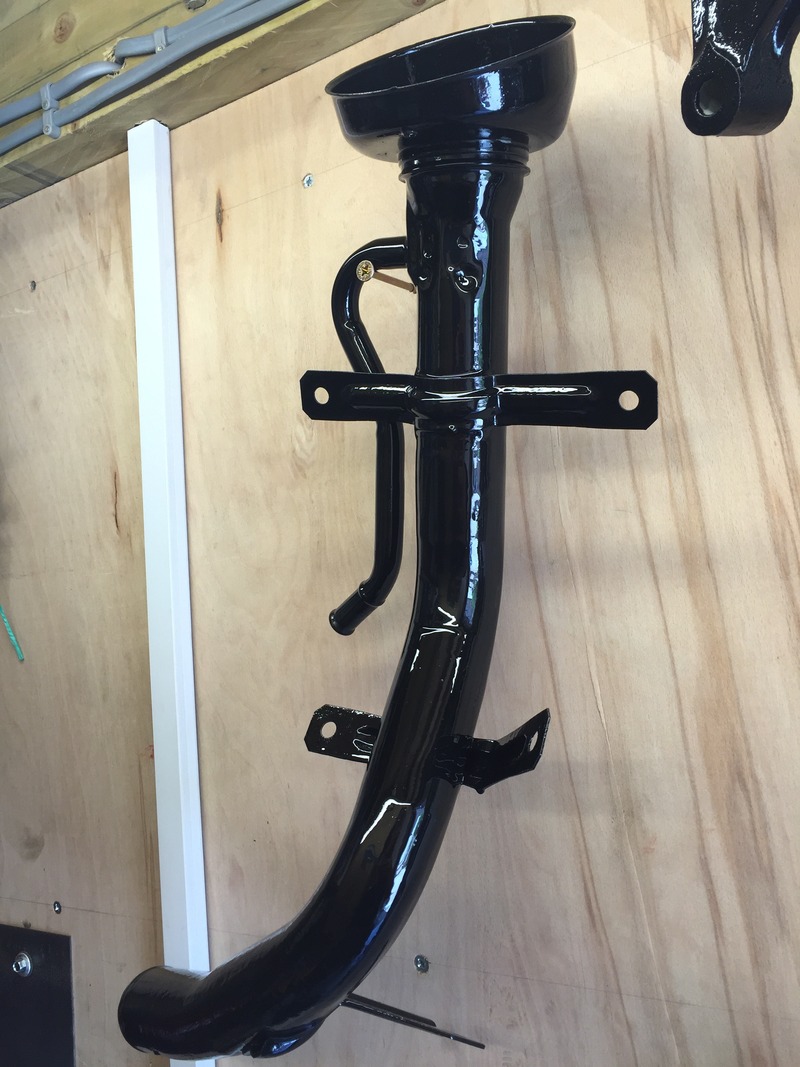
You know it gets bad when the tank gets a thorough clean

Restoration Project - Page 2 IMG_1408_zpskdsuvsij

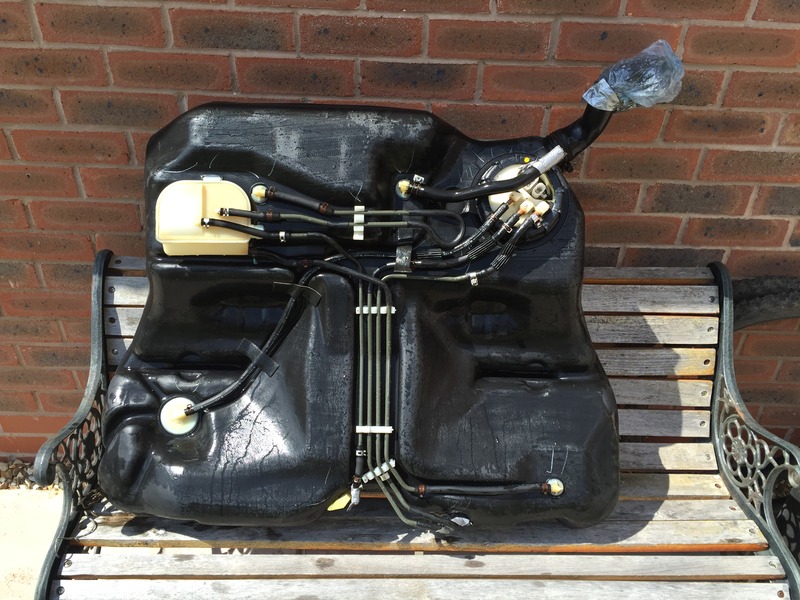
I soon realised I was becoming a bit OCD with the build!  Every nut and bolt cleaned and zinc’d, all metal prepped and painted… I'm going to be one of them sad people who never takes the car out the garage Laughing 
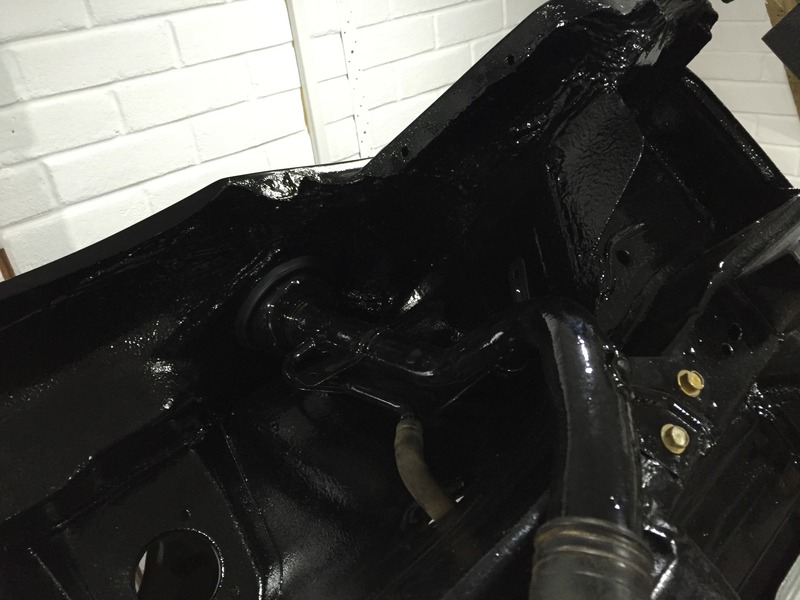
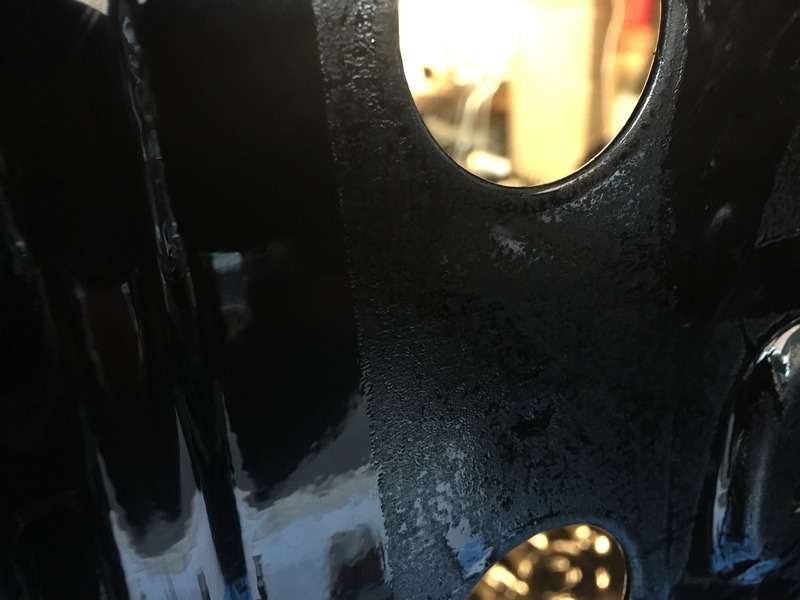
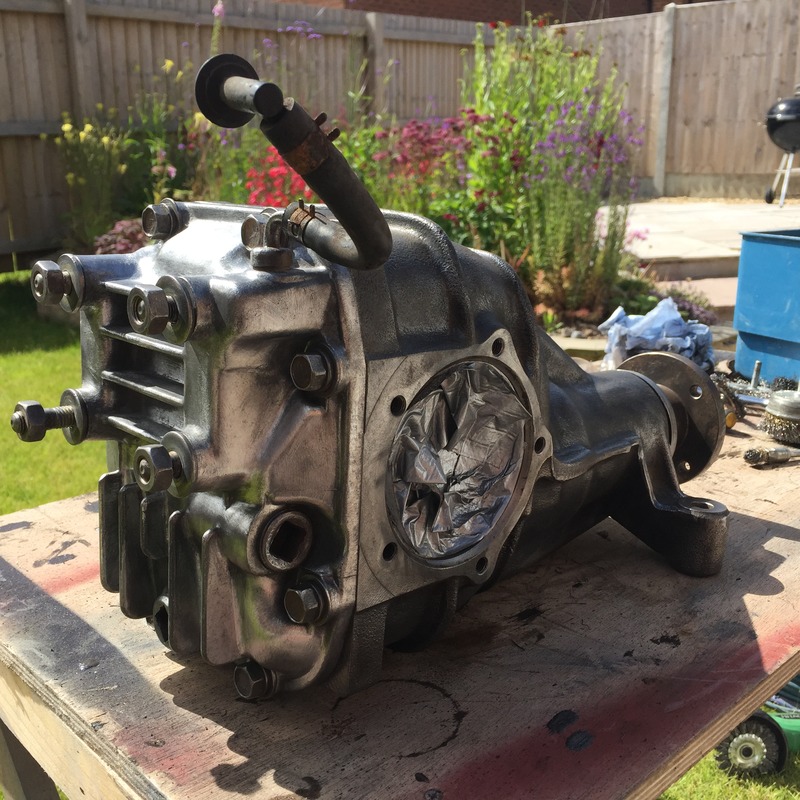
Especially when the diff looks this good

Restoration Project - Page 2 IMG_1420_zpsqaw3zhct

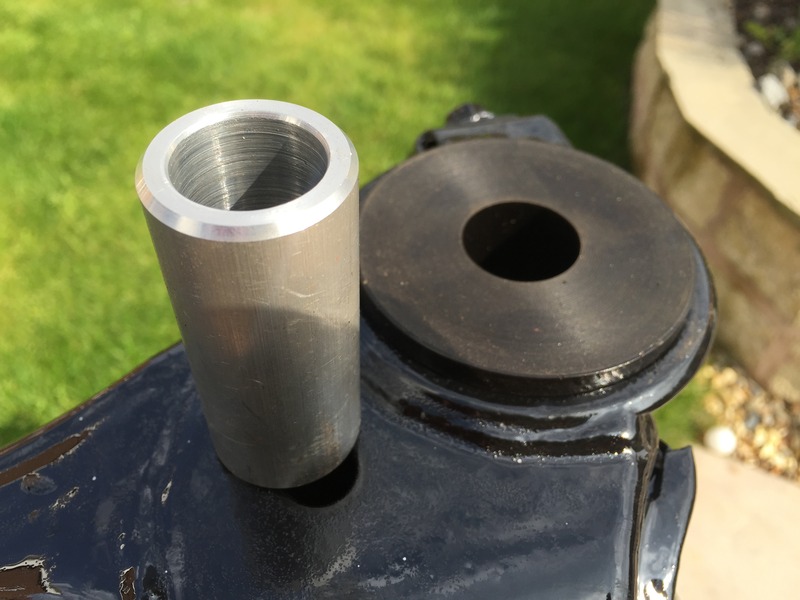
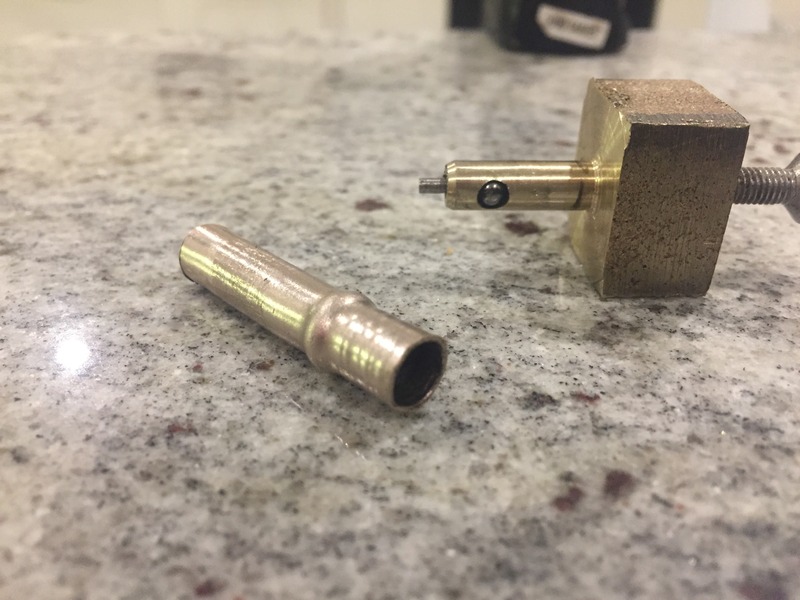
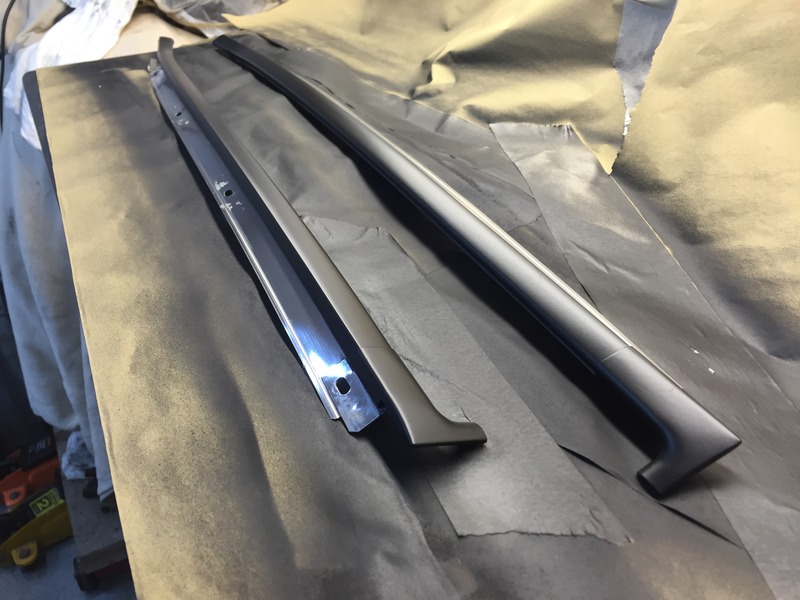
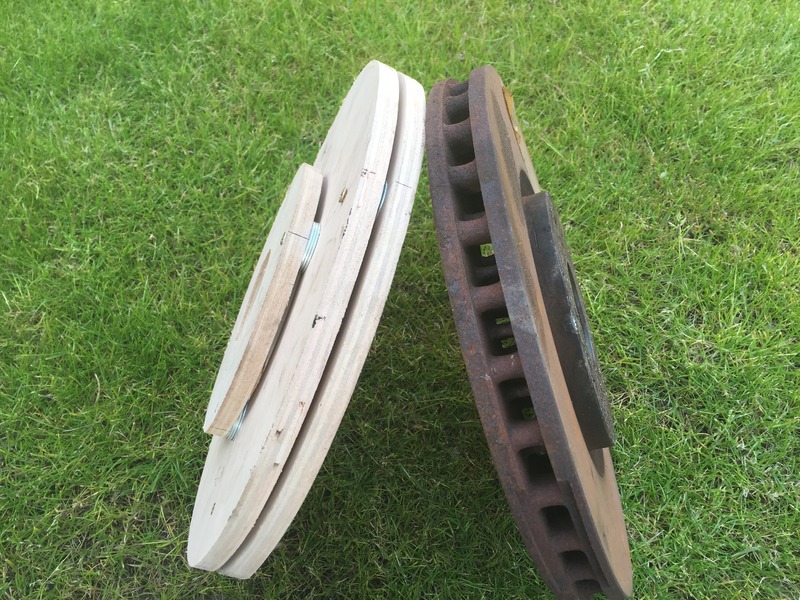
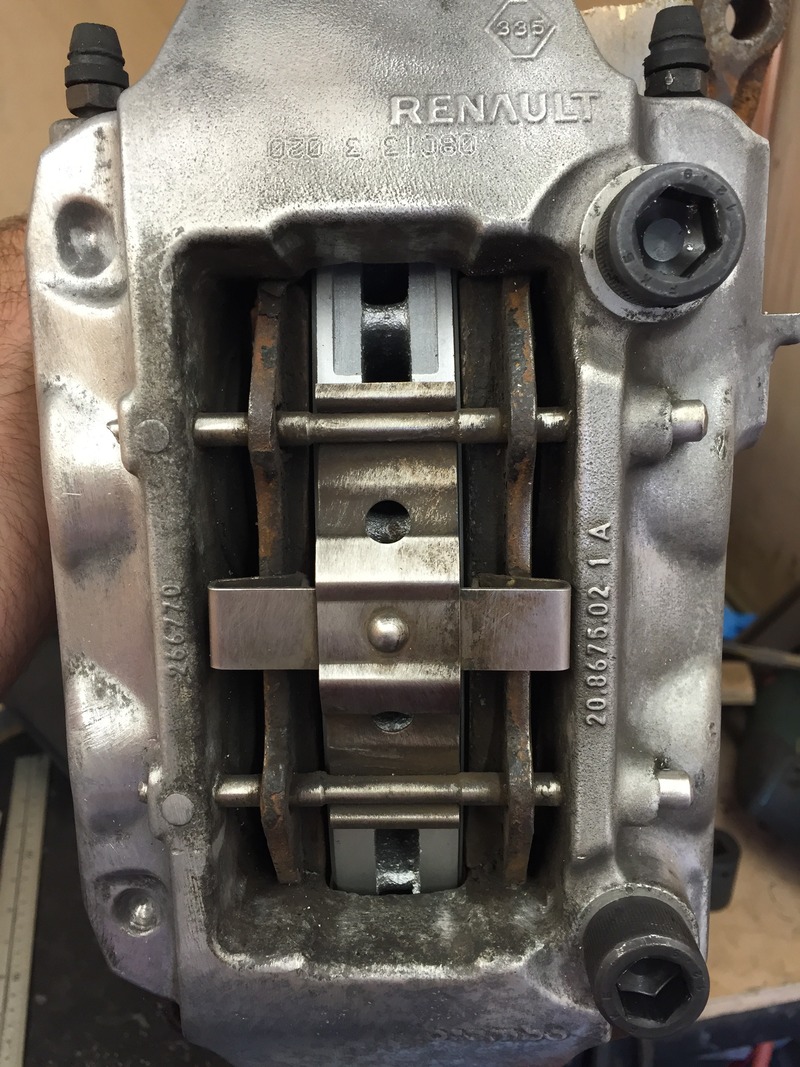
Started to look into big brake kits, as as per usually with me wanted to do it my self and make something, so got some Evo 6 calipers, and soon realised couldn't use them, far too big, so settled on some Clio RS 200 brembos, perfect fit for what I need, bought a chunk of aluminum to machine on the Miller make the brackets. Spoke to Stracher about making some custom 5 stud hubs with the centre disc support ring thing oversized for the discs I was using. Mocked up a set of discs to check clearances etc

Restoration Project - Page 2 IMG_1208_zpsikb1ooj6

Restoration Project - Page 2 IMG_1148_zpsoxjsgwmm

Restoration Project - Page 2 IMG_1144_zpswjuz8vqj

Restoration Project - Page 2 IMG_1170_zpsniwo6rrp

Restoration Project - Page 2 IMG_1169_zpsoe1saiaw

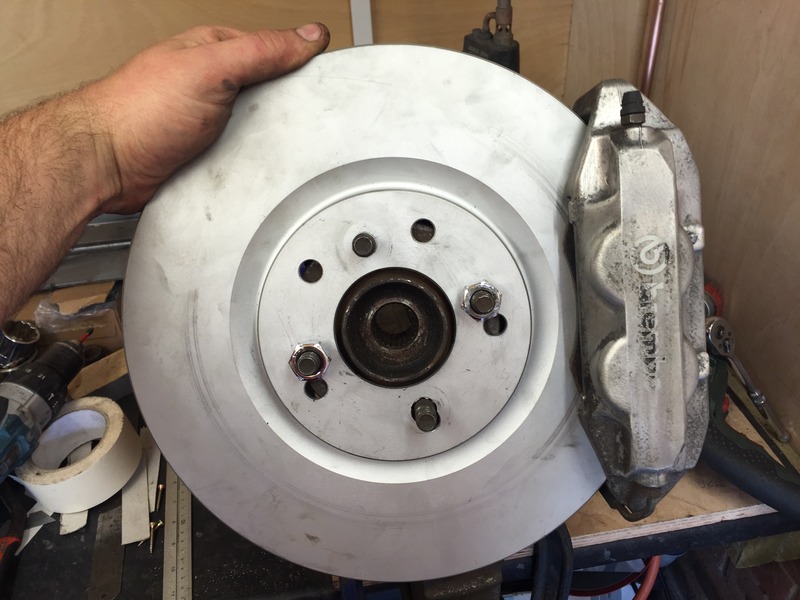
Bracket I need to machine is something like this

Restoration Project - Page 2 IMG_1171_zpsig5ayopb

Think they will work a treat but will have to go for 17’s, looking at OZ Superturismo GT in black:

http://www.ozracing.co.uk/car_wheels_var/OZ%20Racing/0/RACING/SUPERTURISMO%20GT/25500.aspx

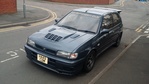
Always liked these alloys, I know it's not to everyone's taste but better than what I've currently got on it Laughing

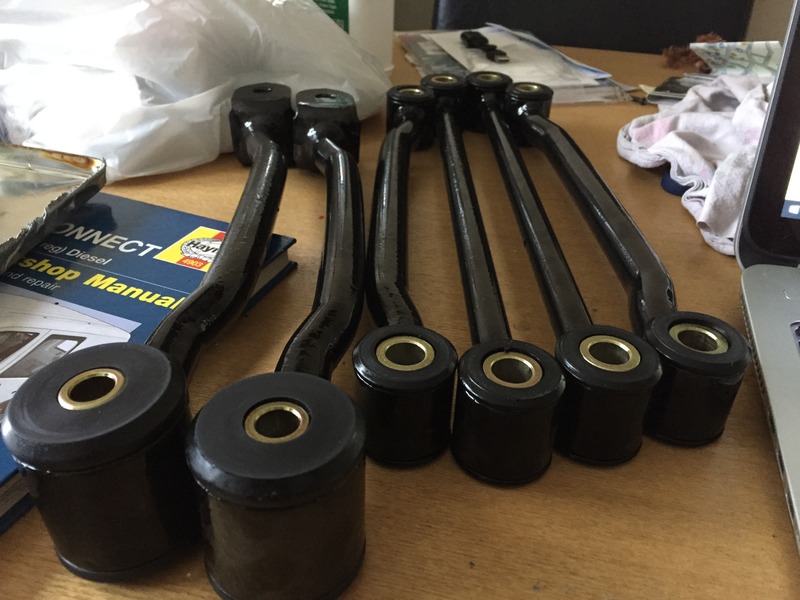
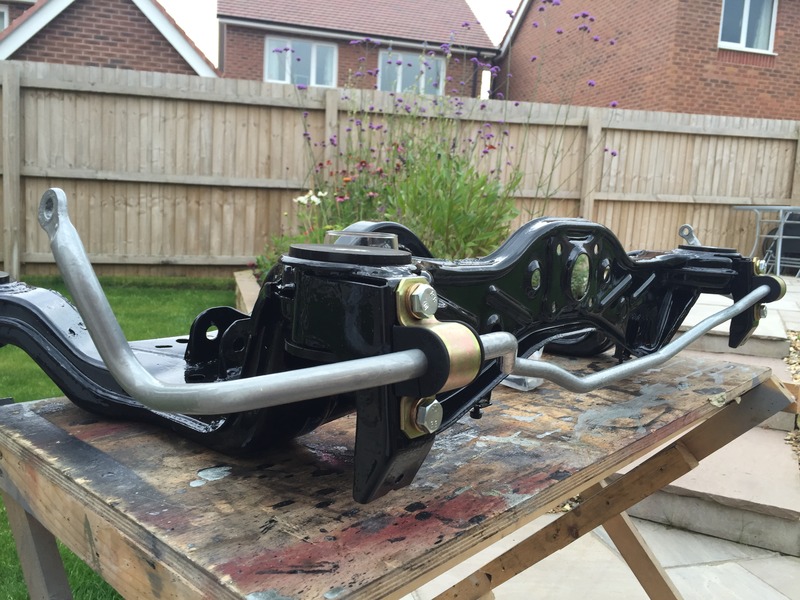
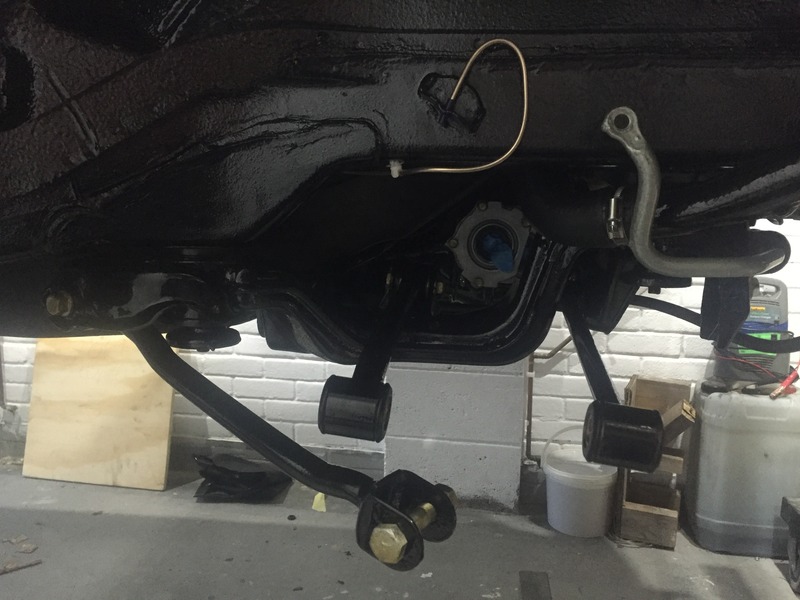
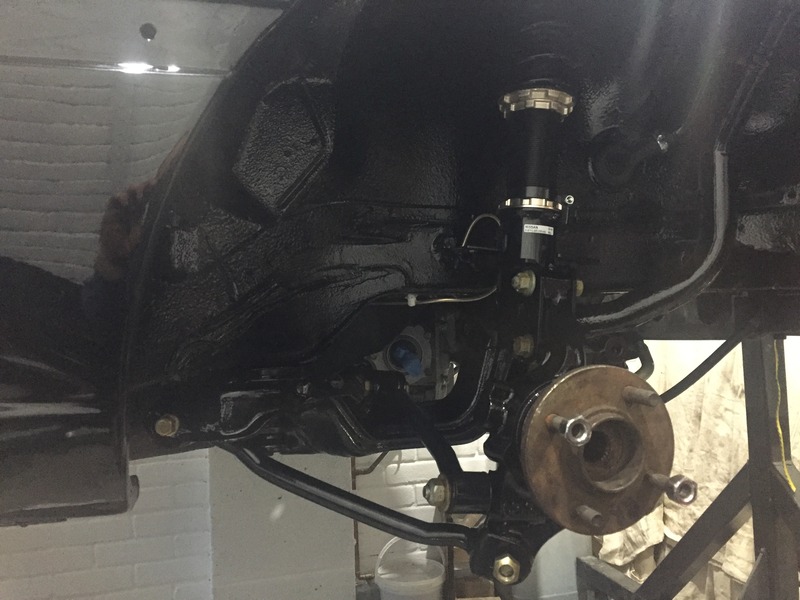
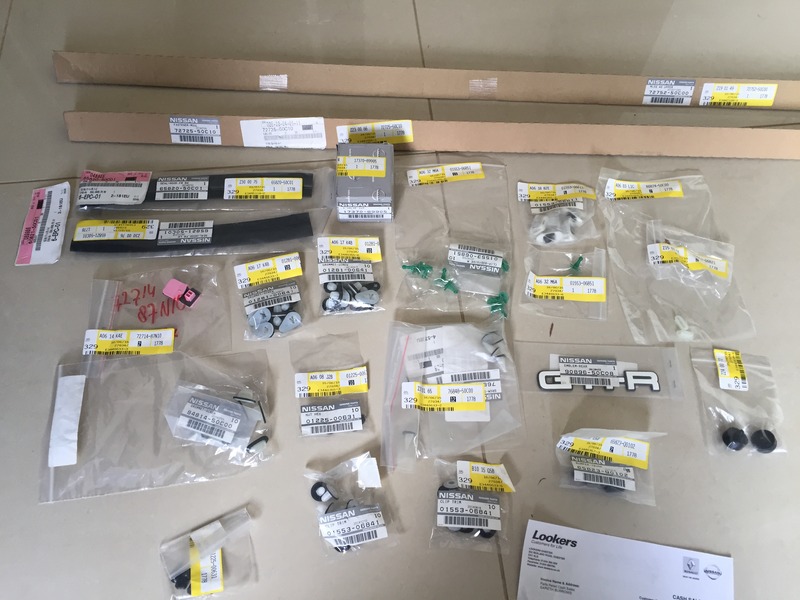
I got a full poly bush kit off VSS Irvine, in black. Parts started to arrive from Nissan, ICP and from Nengun. It was getting to the stage I needed to get the car painted, problem I had then was trying to get someone to paint it when I'd half prepped it! Not easy, and I fully understand why some painters didn't want the job.  Most paint shops are only interested in insurance jobs around me so haven't the time for a full spray job.

Restoration Project - Page 2 IMG_1459_zpsowpis9va

Restoration Project - Page 2 IMG_1453_zpshswpsdrx

Eventually I found a few paint shops that were interested, and settled with the guy who used to own one. Him and his mate came round and looked it over, we're happy with what I'd done and told me what they wanted to do etc, agreed a price, a few days later they collected her and off she went.

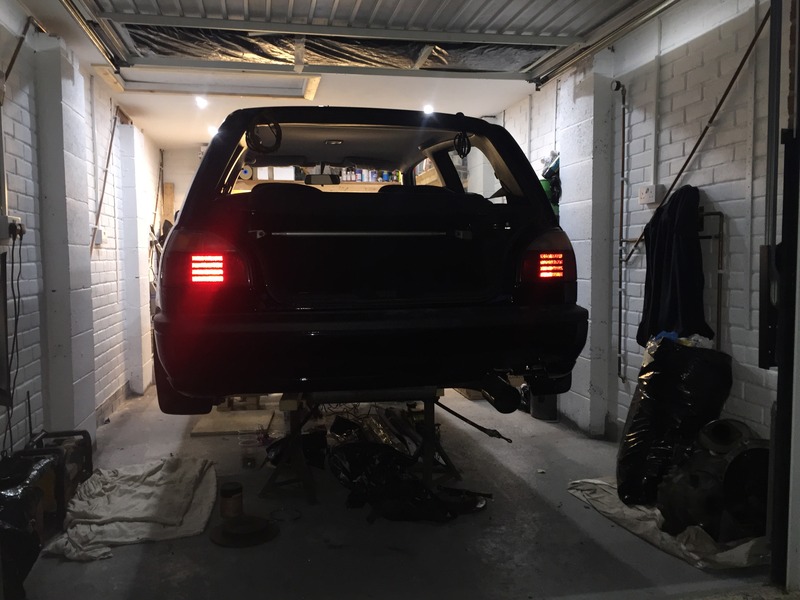
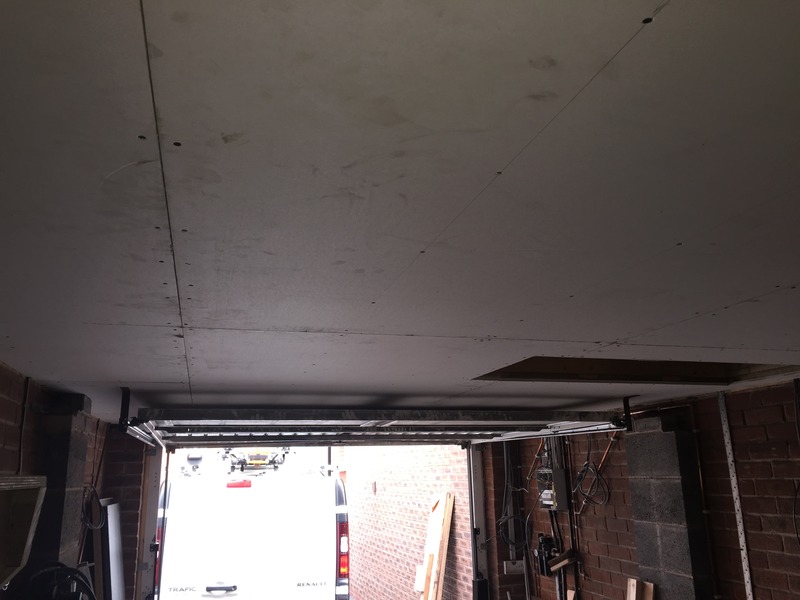
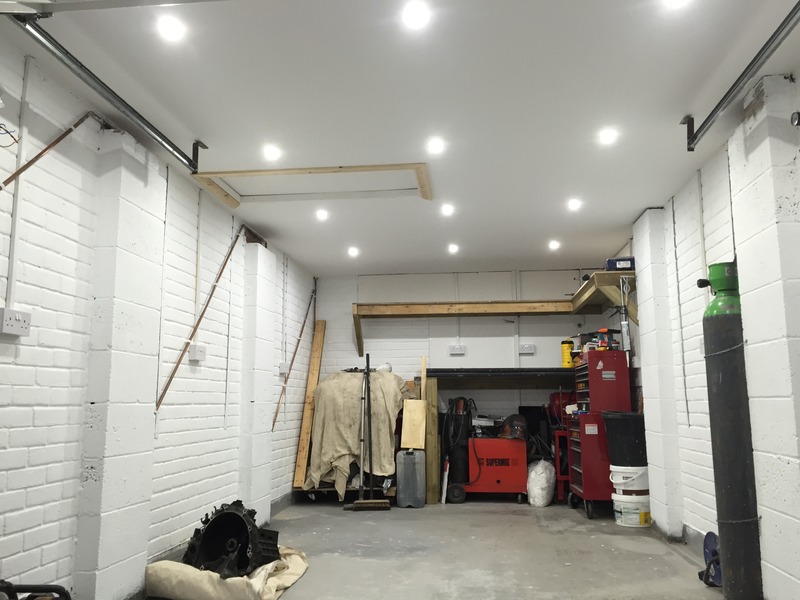
While the car was at the paint shop, I thought it was time to pimp up the garage a bit, wanted more light in there previously I had 7 Fluorescent fittings, but wanted a cleaner light output so gone for 12 cool white LED downlights.  Before that though I needed to cross baton the trusses, board and skim the ceiling, oh and a load more double sockets.  Considering I’m an electrician I’ve only had two sockets in the garage the whole time ive been doing the car Laughing and they were in a shit place!

Restoration Project - Page 2 12CF639A-19F6-4FF0-8183-9B6611DC82CB_zpsdjgxskxy

Restoration Project - Page 2 C9BB4DD1-55D3-4E77-A28A-CD3140007967_zpsavjbuduz

Restoration Project - Page 2 A41F5F59-16E1-45CF-8BF4-A9FD2AE56FC6_zpsvq2mzanj

Restoration Project - Page 2 1F1090E0-3034-43C6-A5A5-FE6AD518BEDA_zpsfyqdfcot

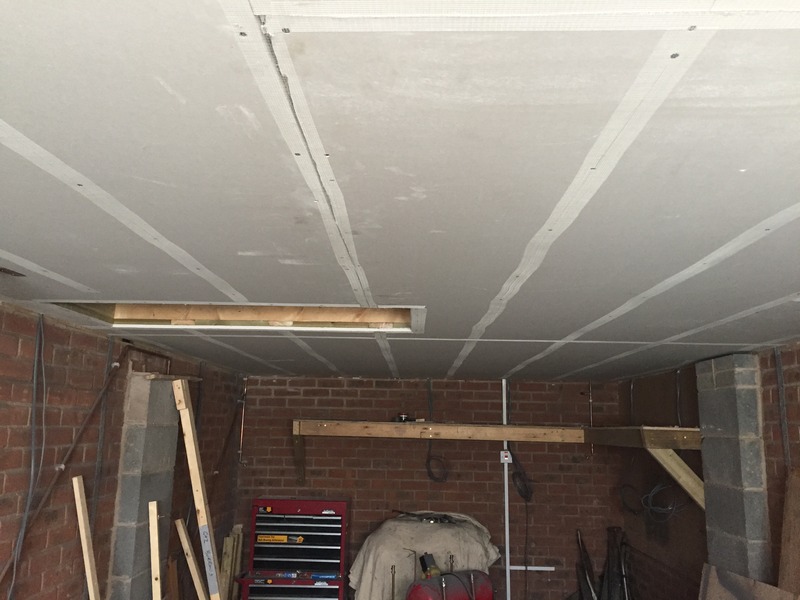
After painting the walls white, I think it’s going to be bright enough Laughing

Restoration Project - Page 2 1E23EC4B-D1C9-4857-9EC8-7A8F7A8ED876_zps0utax711

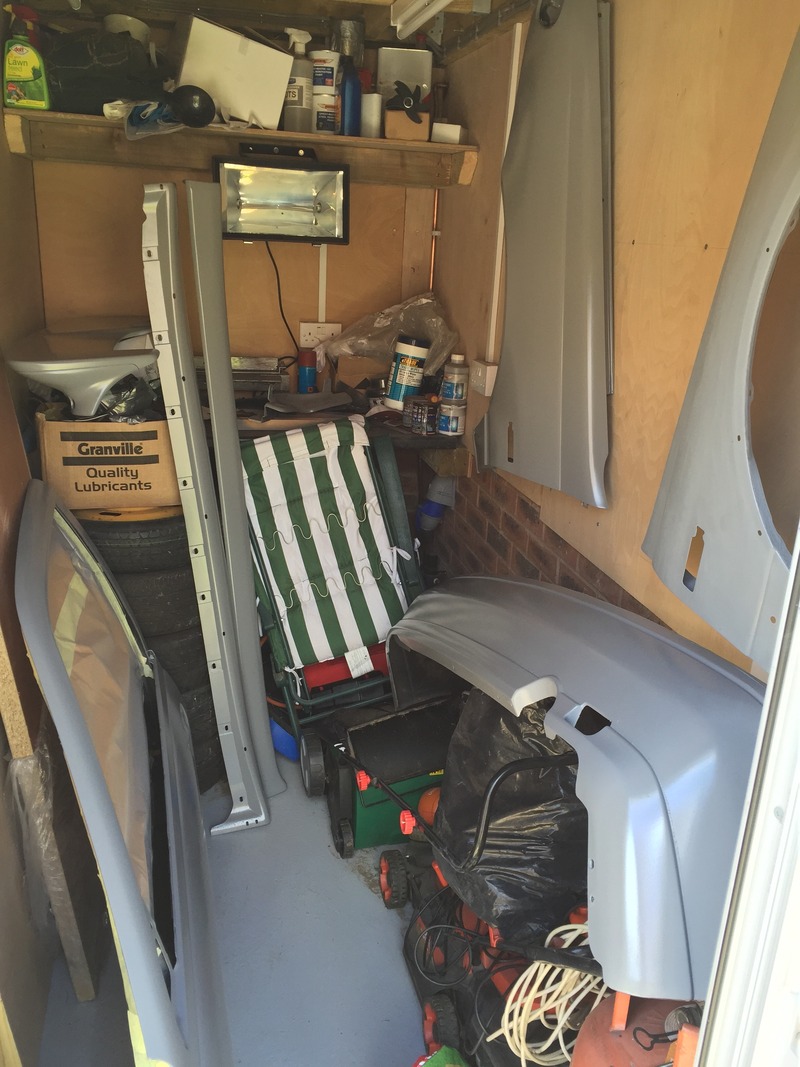
Got her back two weeks later only to find bits missing, damaged parts, bits not sprayed correctly….. Really pissed off, went back there loads of times over a month or so to no avail finding the parts.  Decided to cut my losses, it was starting to get me down and tbh I think my temper wouldn't remain calm for much longer..  There's more to it but not going into great detail other than I lost my trust with them, the things I'm finding is shocking, hindsight’s a wonderful thing but hey still living to tell the tale!

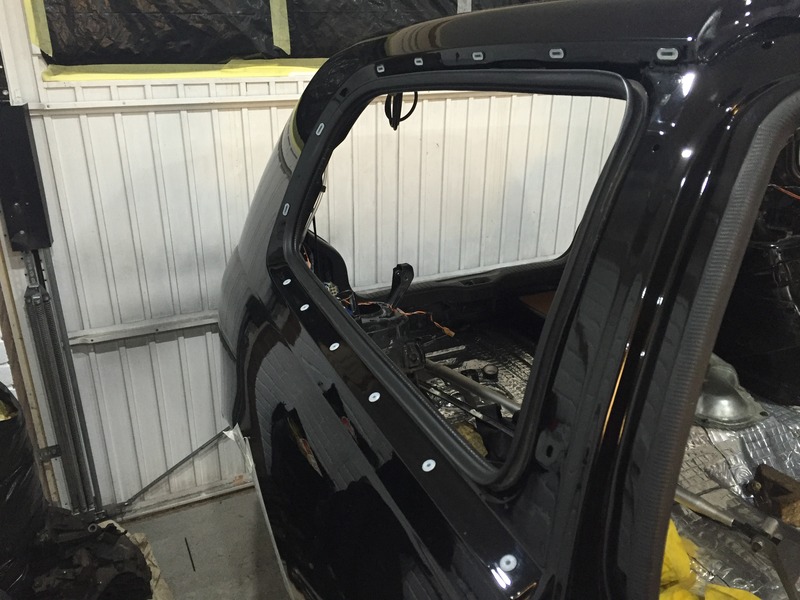
The boot lid needed redoing due to finger prints in the paint! Yep finger prints!!

Restoration Project - Page 2 IMG_2133_zpsf7mch5iq

And the top right corner wasn’t painted. I found another spray shop to respray the boot lid, they couldn't get over how bad it was! The finish is outstanding now, wish the whole car looked like it! I'm taking it back to them next year for a full colour sand and buff, should get rid of most of the problems.

Restoration Project - Page 2 IMG_2143_zpsuwqhj5ql

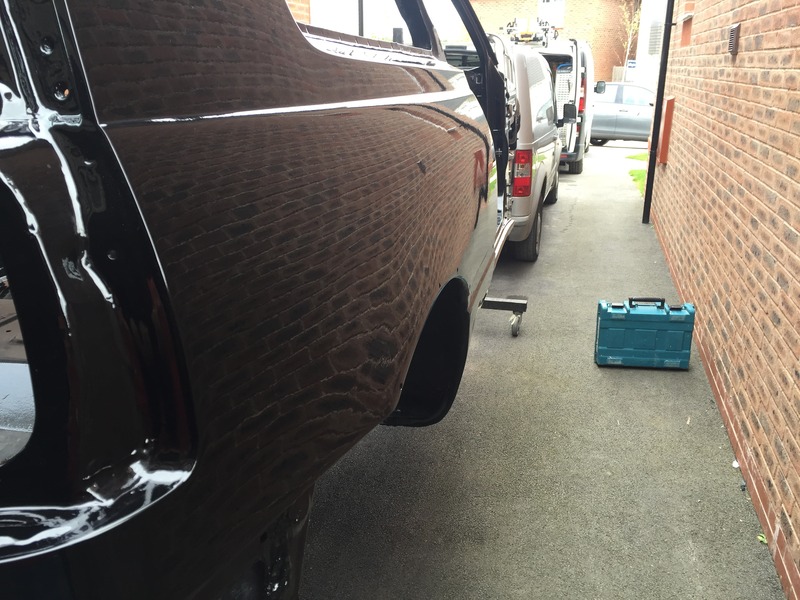
Don't get me wrong the photos and NOT looking closely the paint does look good! It's when you get up close and see how much dust and shit that's in the paint, and where they’ve rubbed it down after and not buffed it properly grrrr  OK black is a nightmare colour to paint and does show every fault up, but I expected much better professional job than what I got back.

Restoration Project - Page 2 IMG_1797_zpsldtuxpuj

Restoration Project - Page 2 IMG_1818_zpsjpeg9mrt

Restoration Project - Page 2 IMG_1820_zpsedmuefnf

Restoration Project - Page 2 IMG_1822_zpsrr1xfky0

Restoration Project - Page 2 IMG_1828_zpskekva8jc

Restoration Project - Page 2 IMG_1834_zpsmnvy0iqu

Restoration Project - Page 2 IMG_1831_zpsh3ab28n4

Restoration Project - Page 2 IMG_1836_zpsz6wwfgik

Anyway so after nearly saying fuck it sell the shell and bits and start a kit car, and hit the painter, my attitude changed when me and the wife found we we've got a new project:

Restoration Project - Page 2 8FE2E9B3-D57A-4205-8257-F6AAD9BAE685_zps2bwaqzlf

This news changed everything for me, it's my first kid, and I don't wanna be one of them dads with an unfinished project Laughing of course its going to be unfinished, lucky if it will ever get the engine back in  affraid

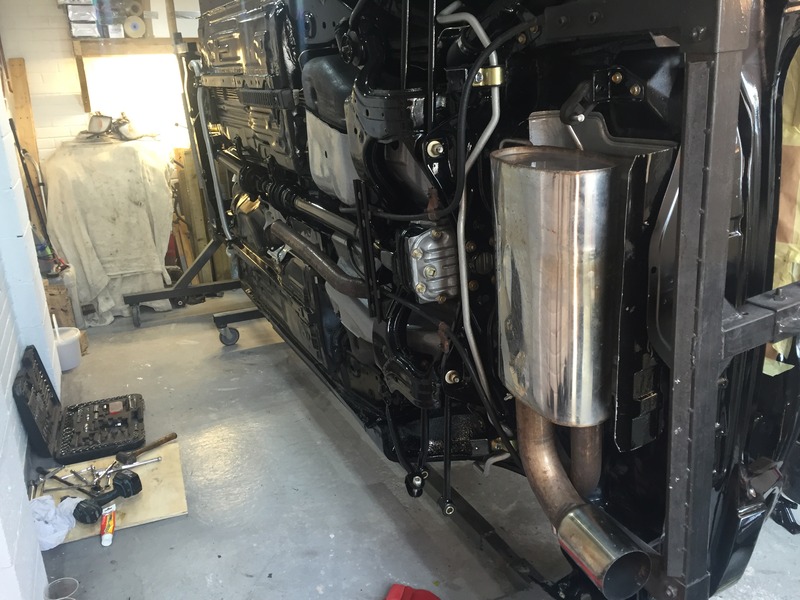
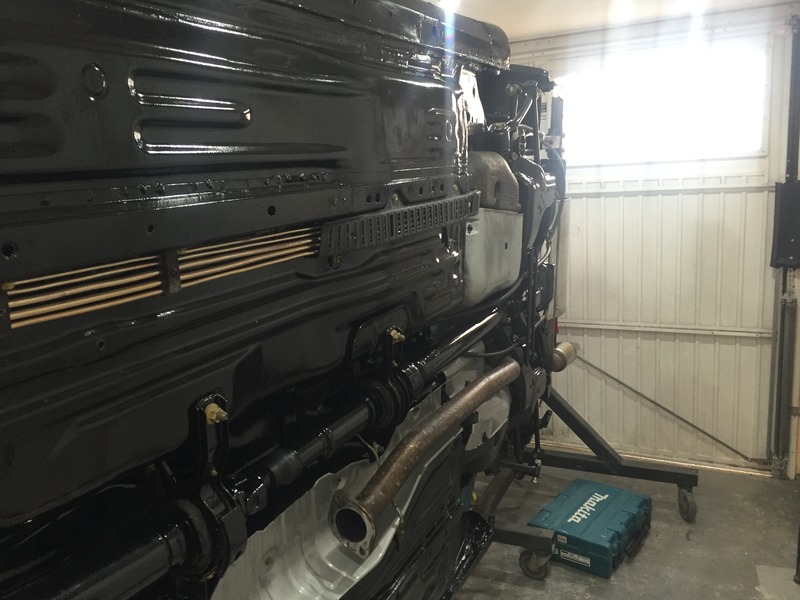
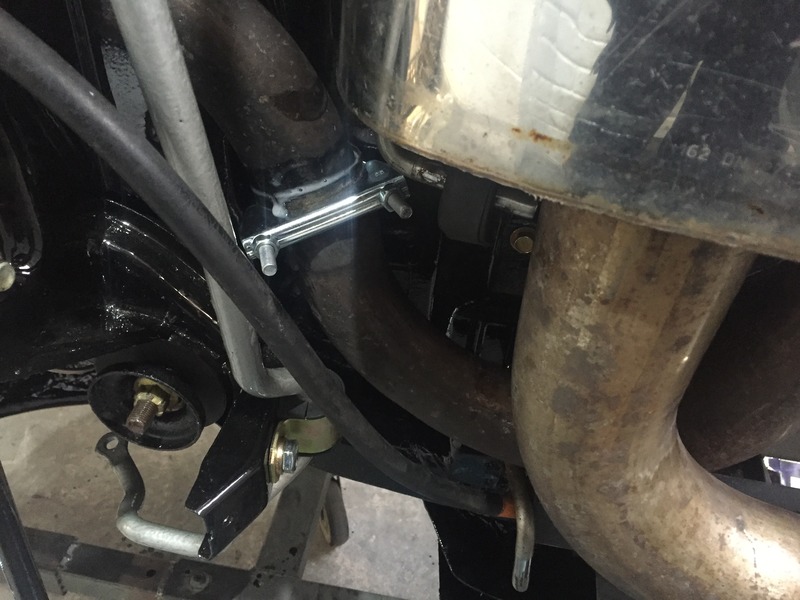
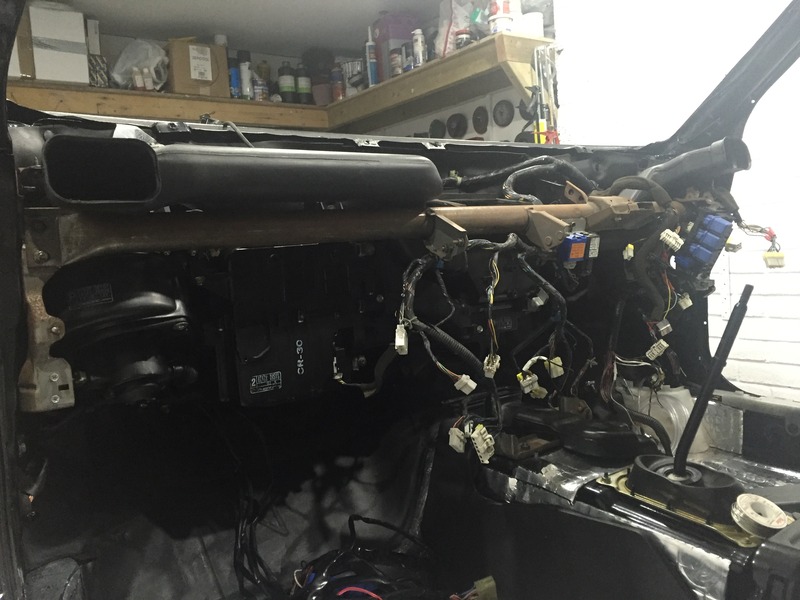
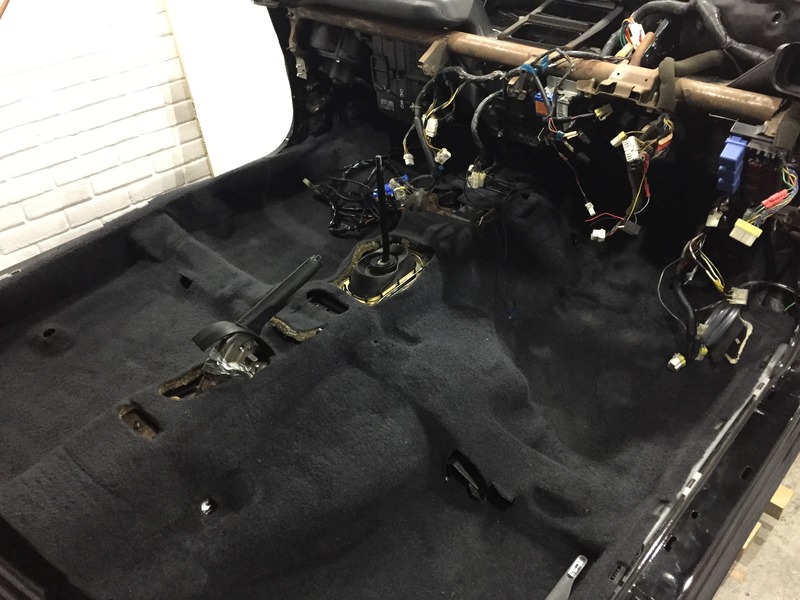
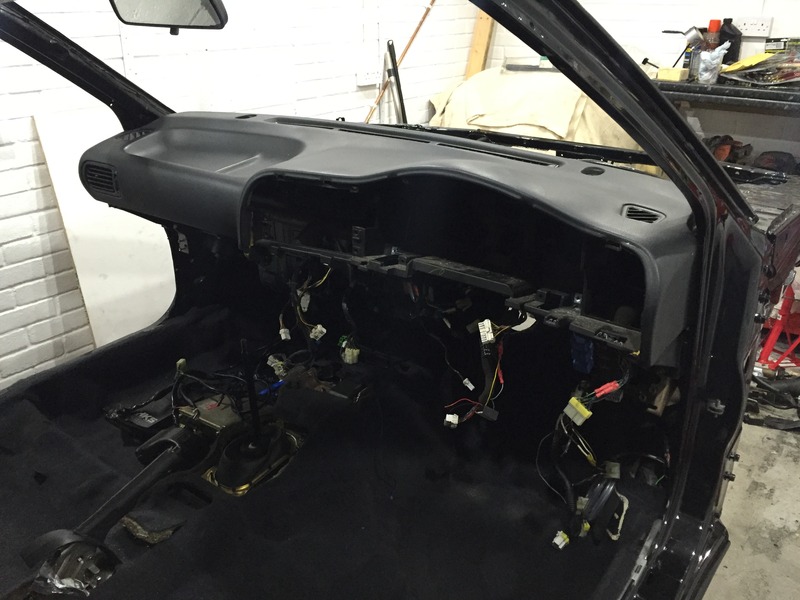
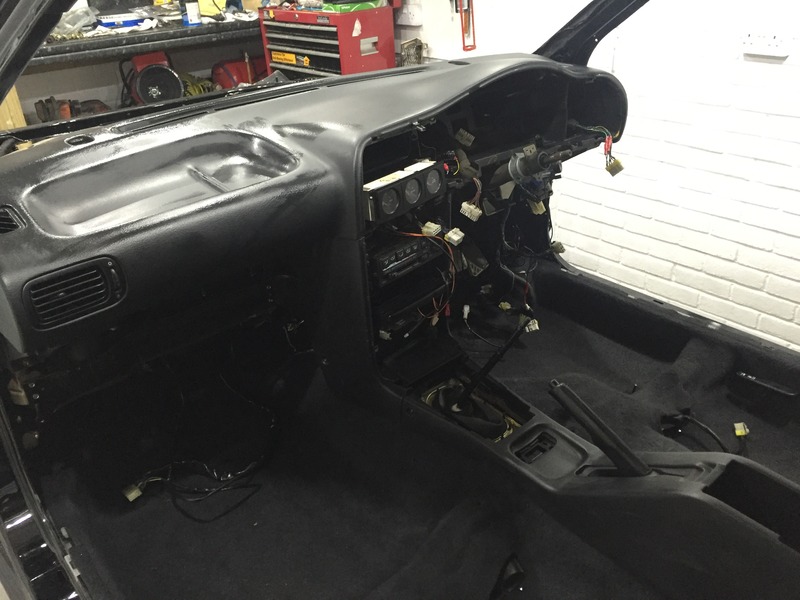
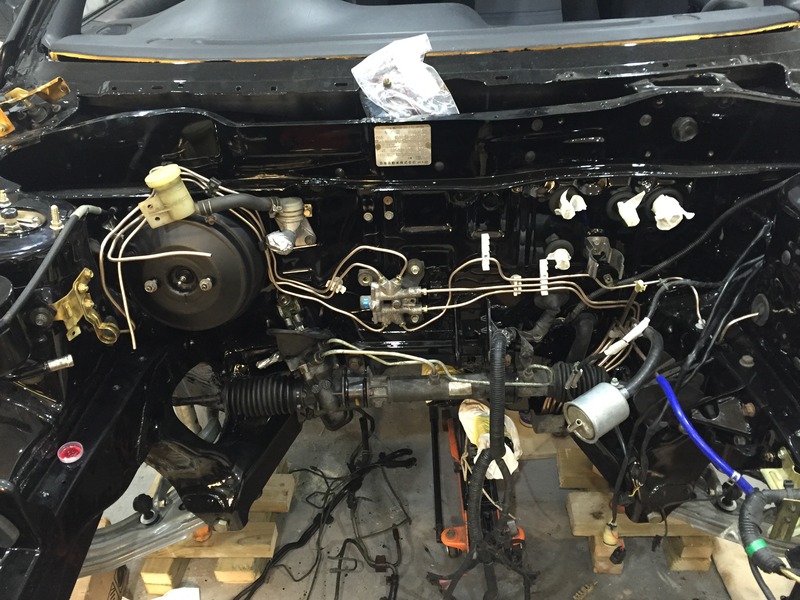
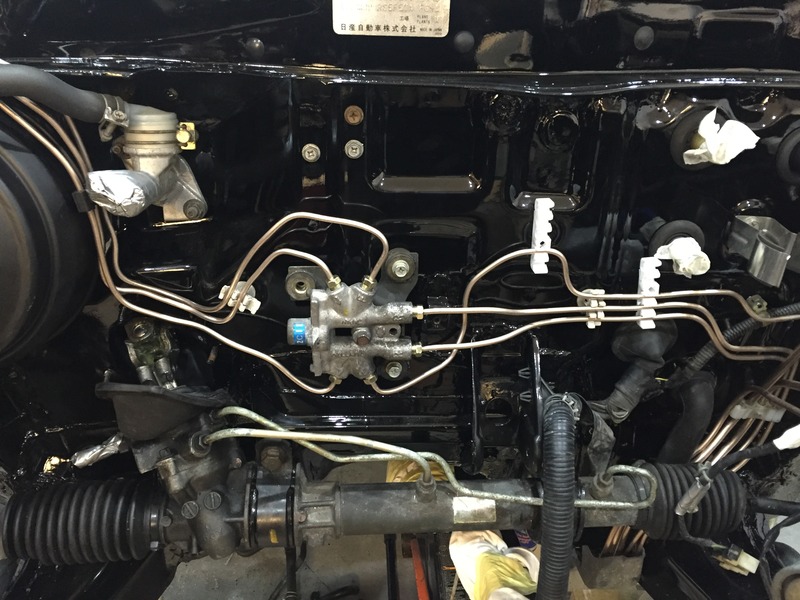
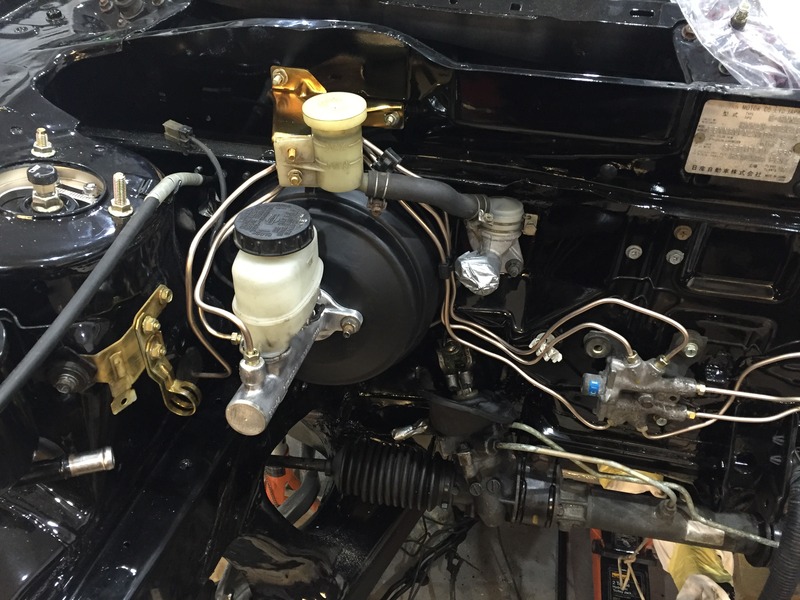
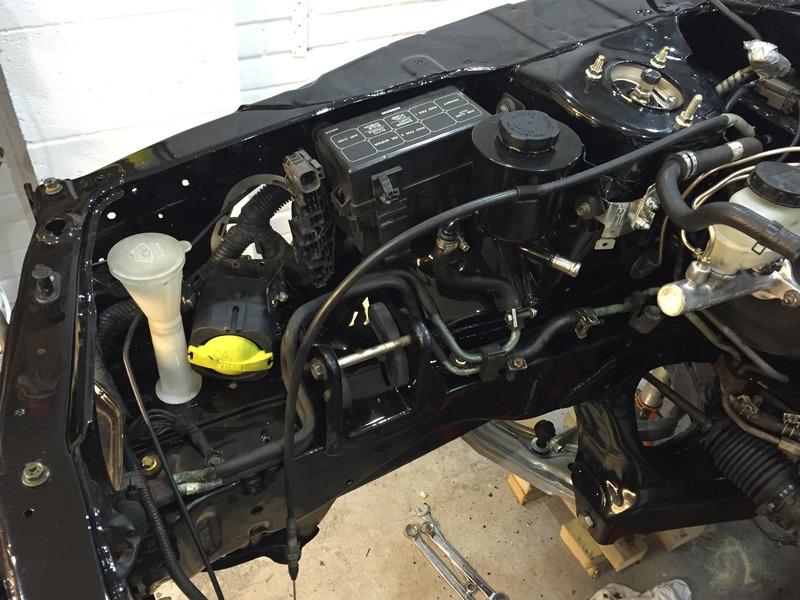
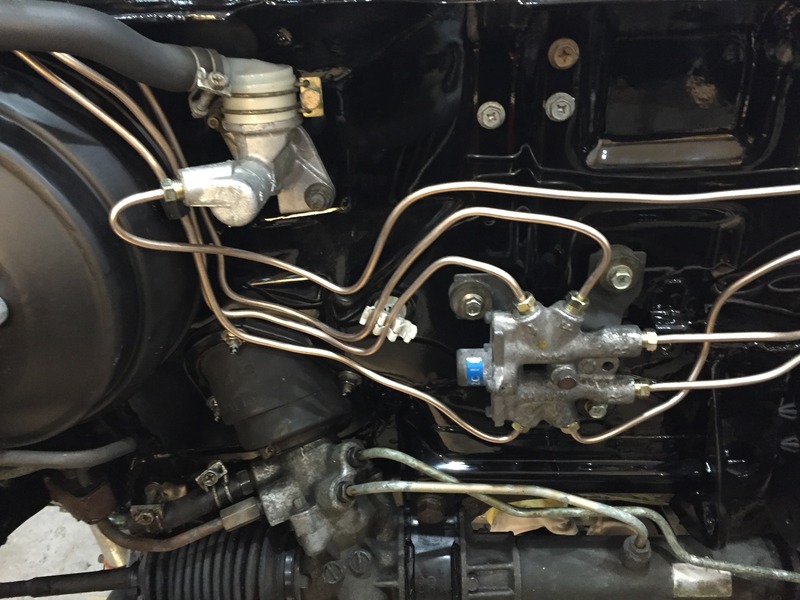
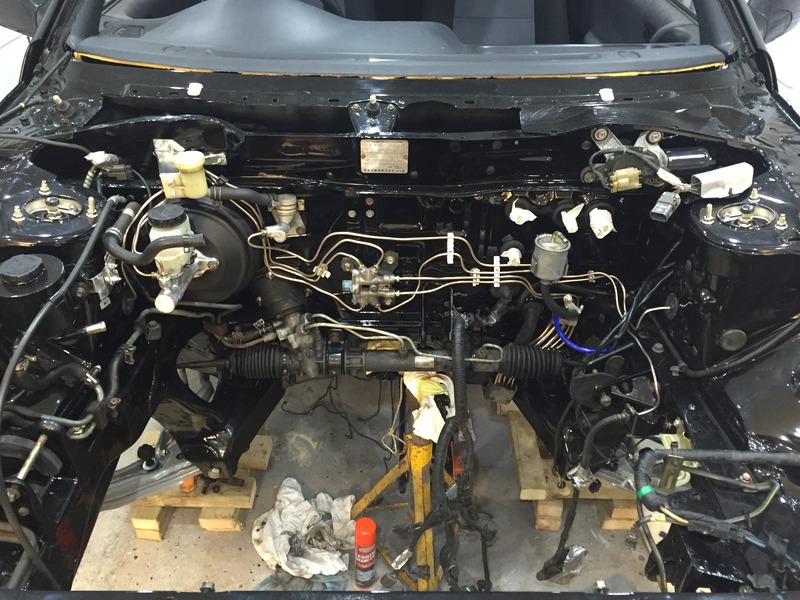
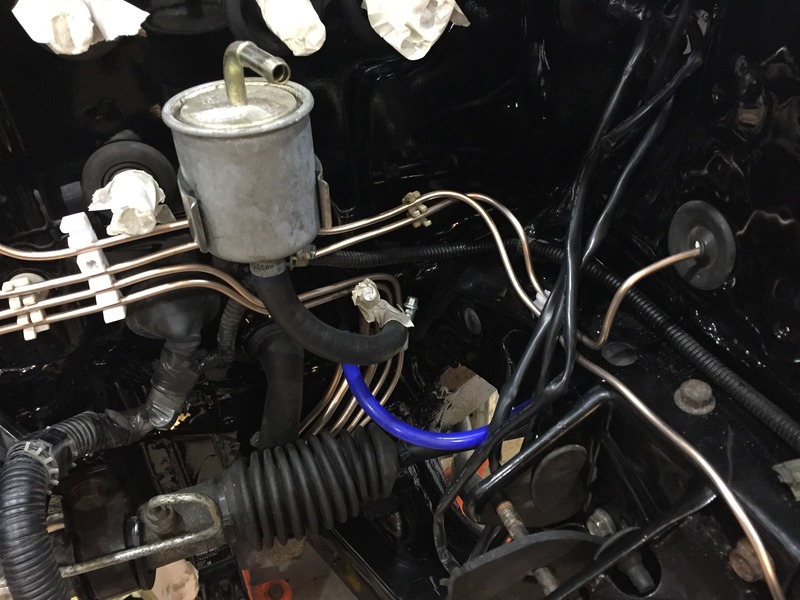
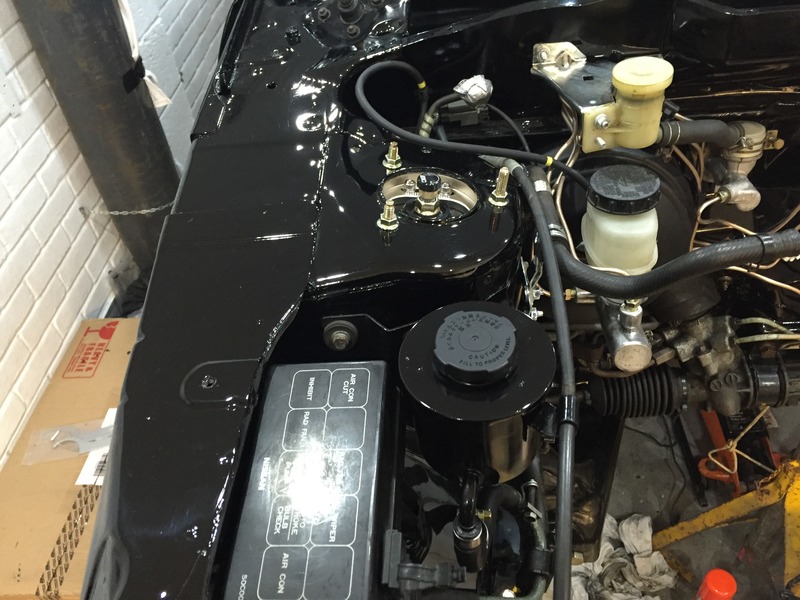
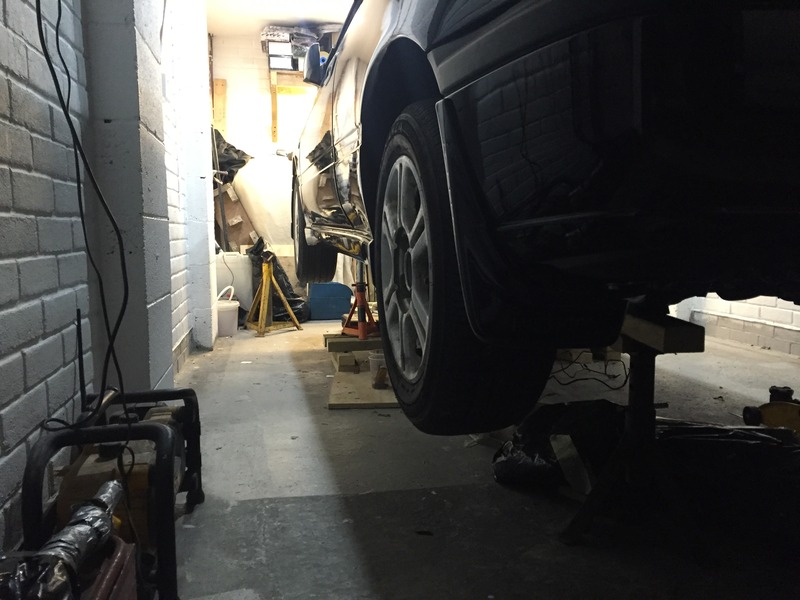
I booked a week off work and hammered the rebuild Laughing  the plans of course have now changed for the car, big brake kit is being delayed standard refurb calipers going on, radtec fmic delayed in favour of the standard tmic, standard clutch last one lasted 9 years running 330bhp @1.3bar, standard turbo rebuilt and the bare essentials replaced on the engine, oh and of course clean and paint it Laughing  Keeps the cost down for now, just so I can get it back on the road then all the above can be addressed further on! Otherwise it’ll never get finished
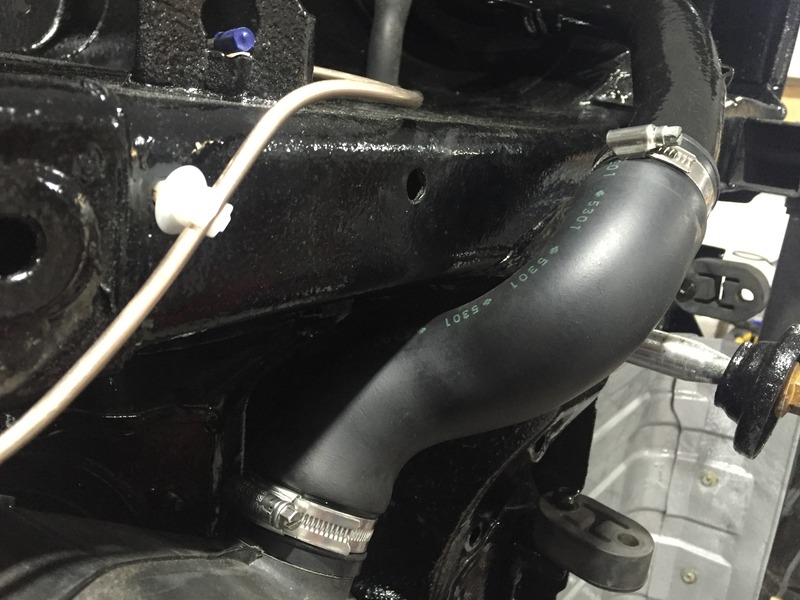
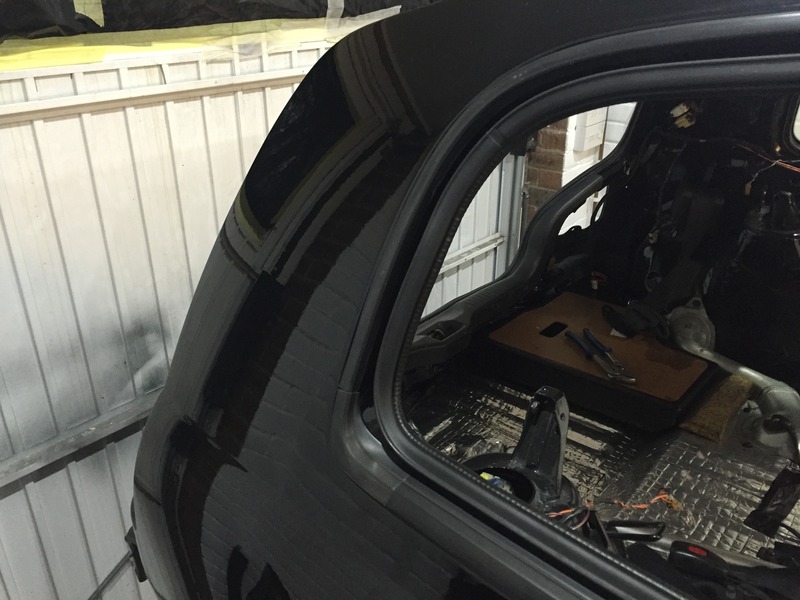
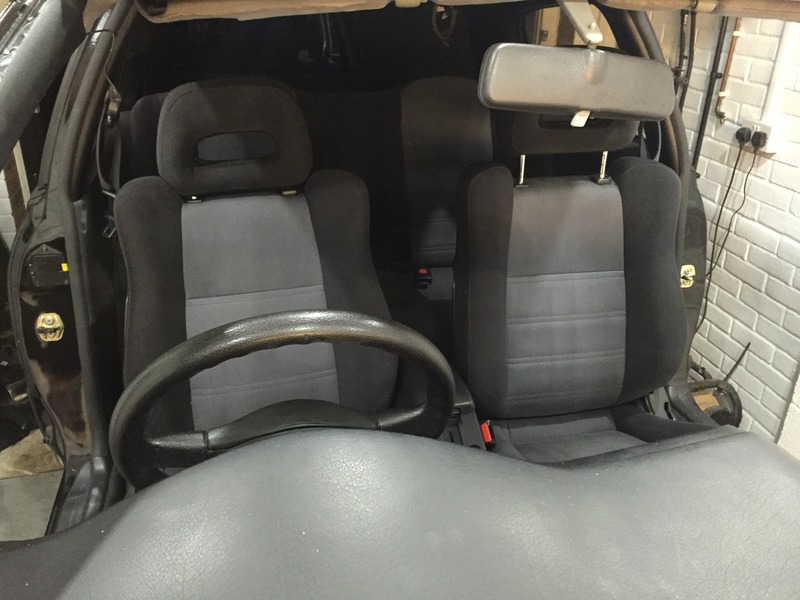
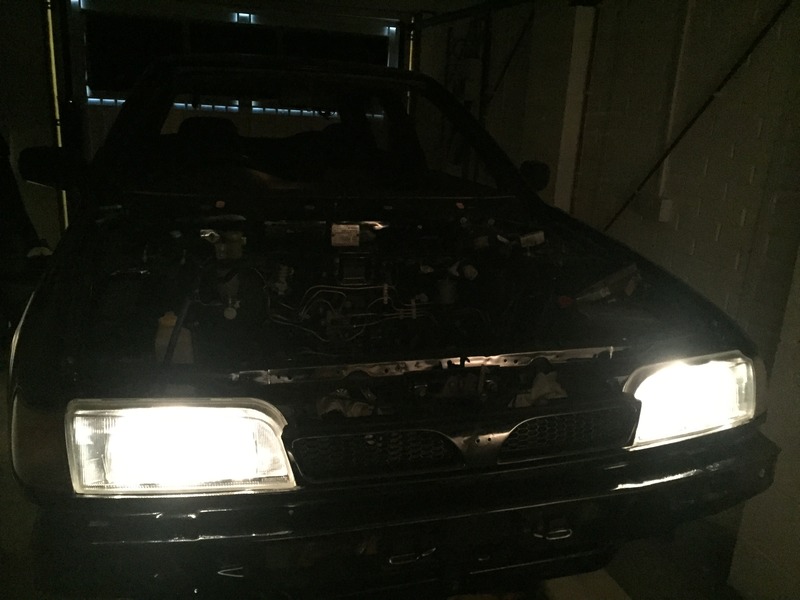
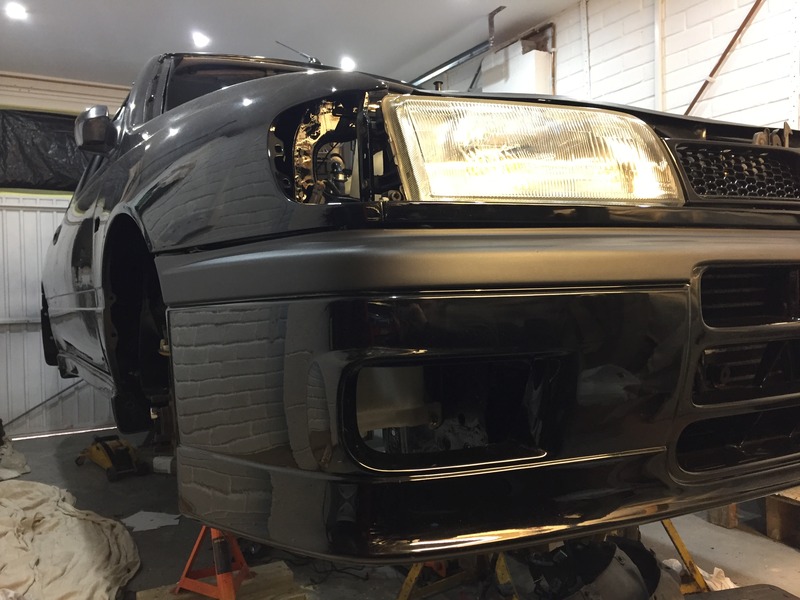
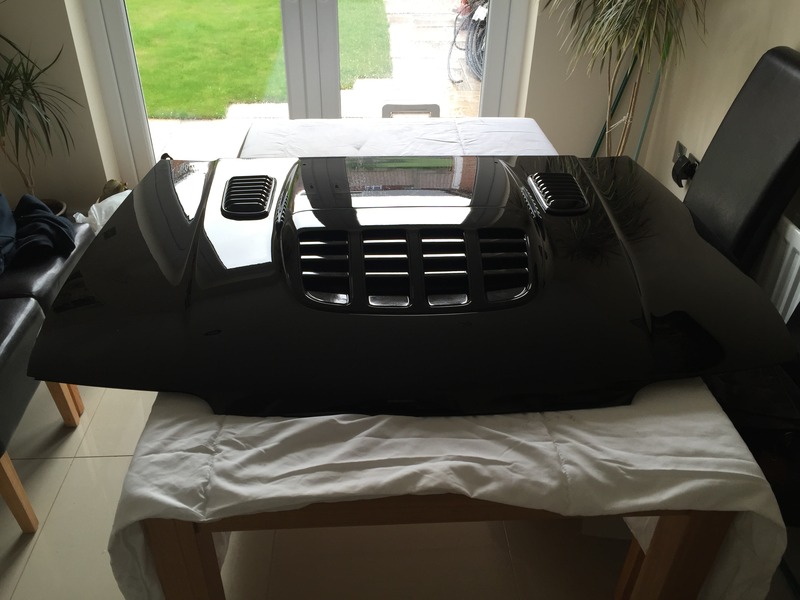
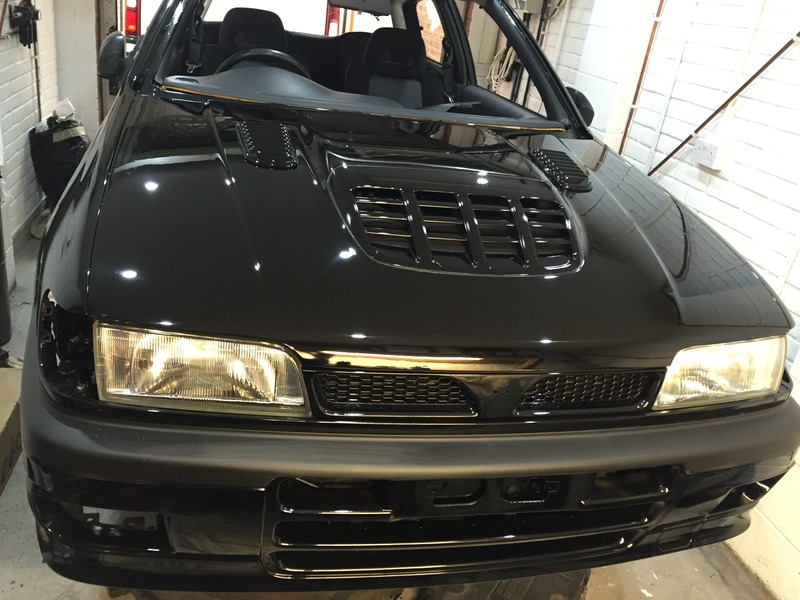
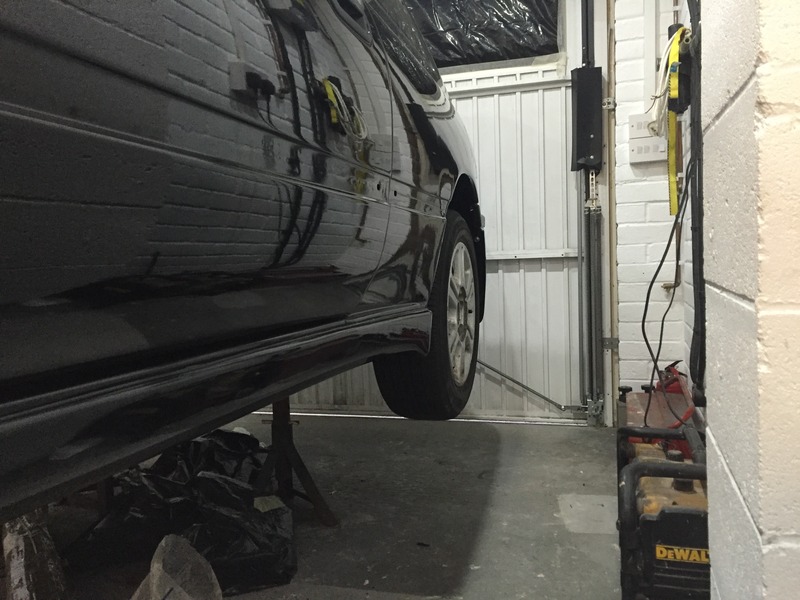
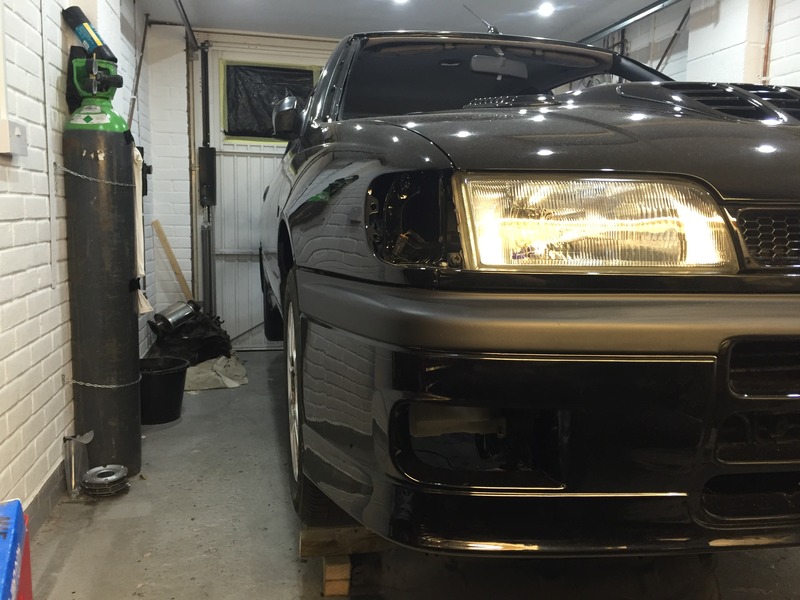
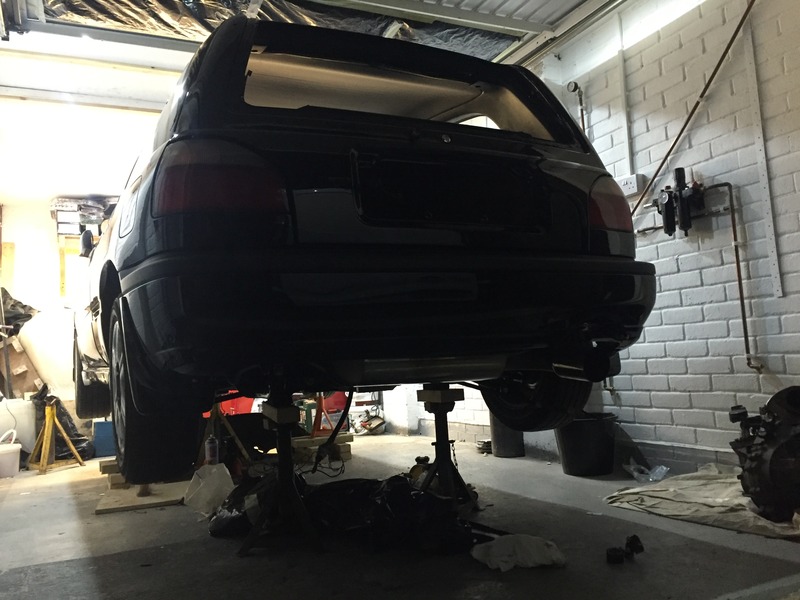
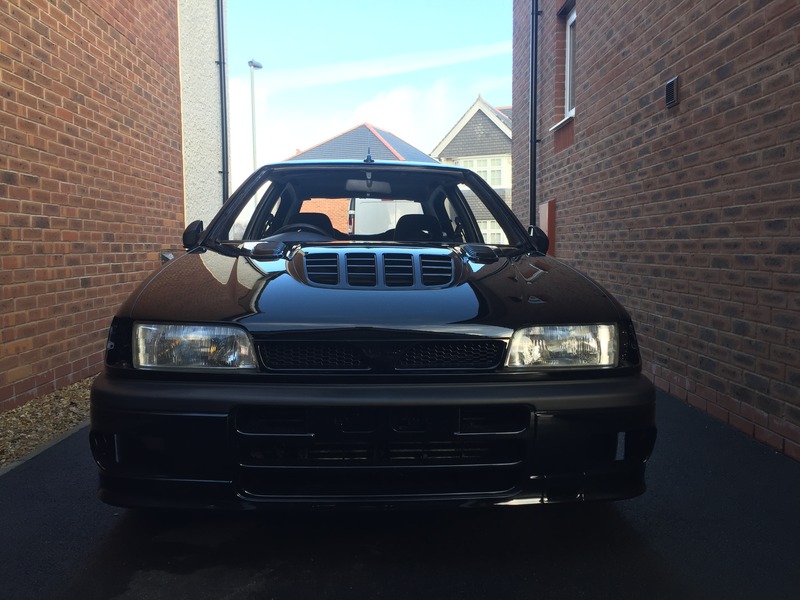
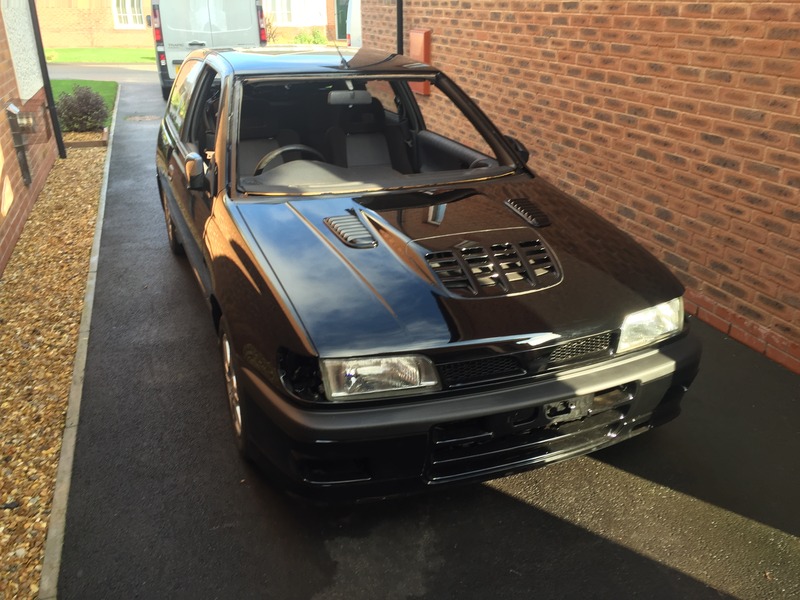
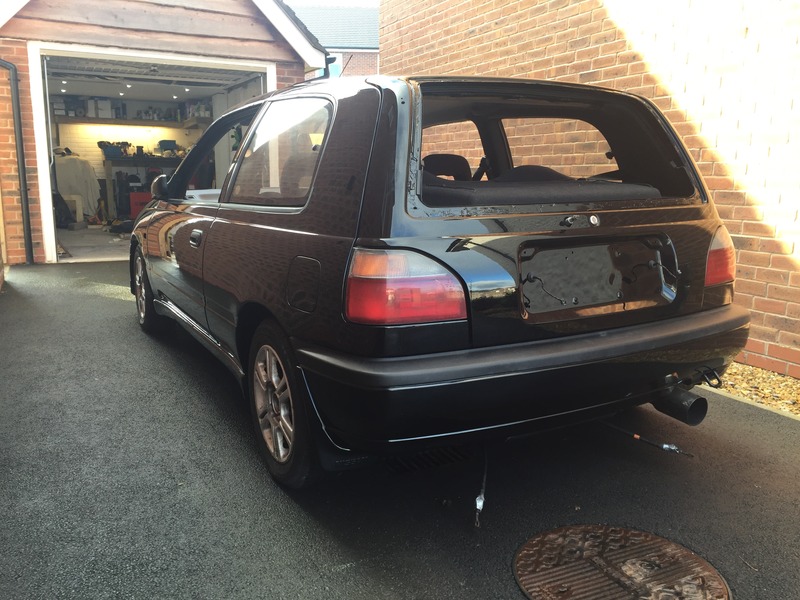
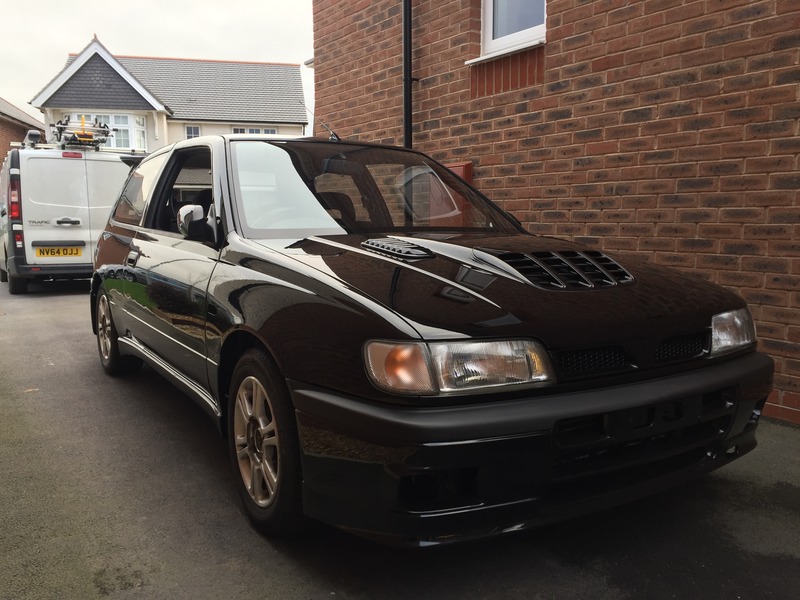
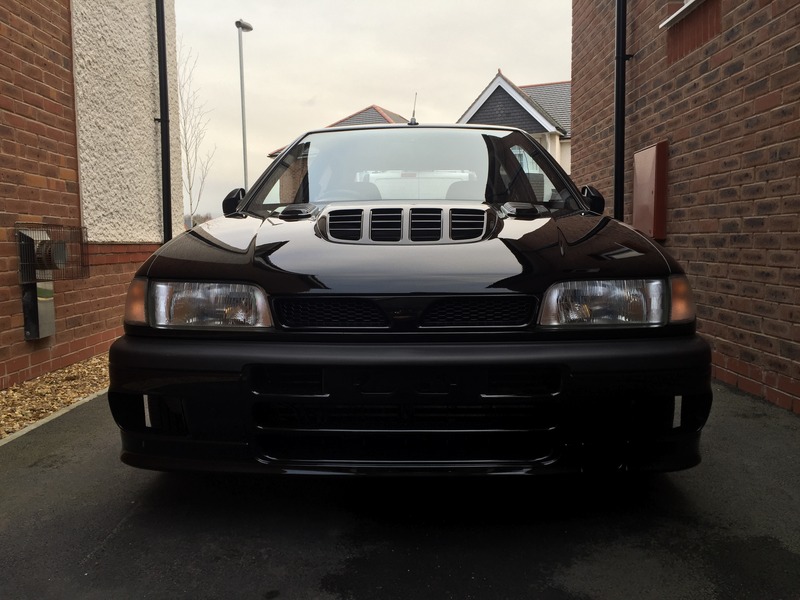
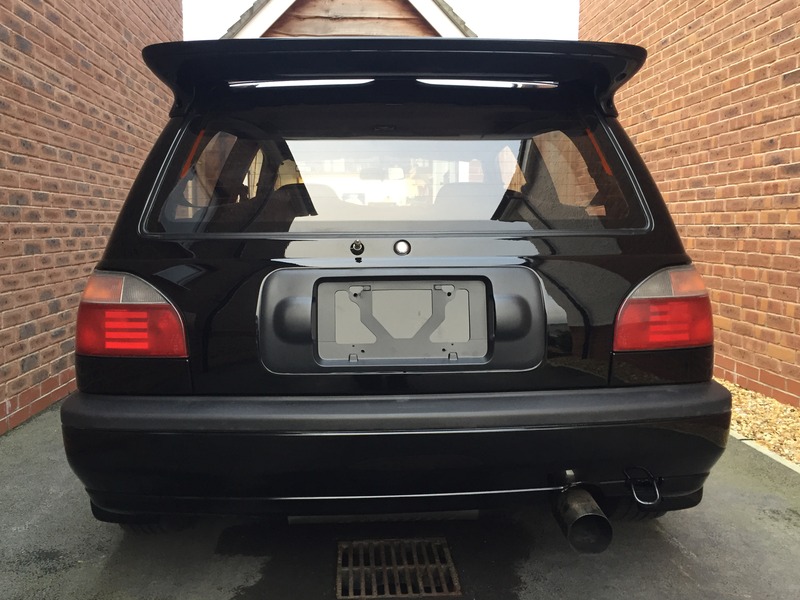
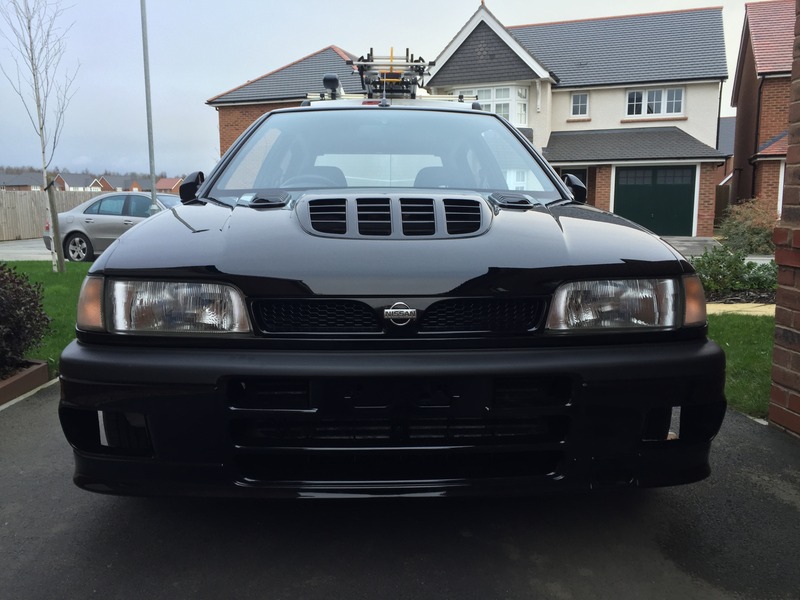
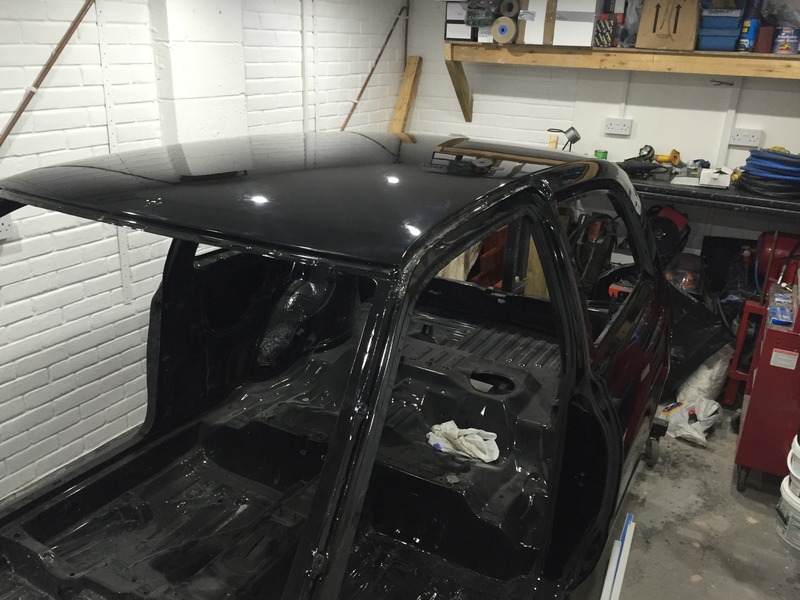
 Laughing

37Restoration Project - Page 2 Empty Re: Restoration Project 27th November 2015, 4:53 pm

burrows1980

burrows1980

So heres the build photos over a few weeks:

Got the interior cleaned with the vax, all carpets, trim, seats basically everything was washed, washed the trim in the bath while she was in New York Laughing

Restoration Project - Page 2 IMG_1843_zpswbbwy3cn

Restoration Project - Page 2 IMG_1488_zpspycptnym

Still missing the drivers mat!

Restoration Project - Page 2 IMG_1844_zpswmrk3vt1

Water was minging!

Restoration Project - Page 2 IMG_1485_zpsbdxsem20

Restoration Project - Page 2 IMG_1618_zpscmxmi3v6

Restoration Project - Page 2 IMG_1644_zpsdrst2gr1

Restoration Project - Page 2 IMG_1641_zpskchnarpo

Restoration Project - Page 2 IMG_1689_zpsqtx7q4vs

Restoration Project - Page 2 IMG_1695_zpsb4ybbuqq

Restoration Project - Page 2 IMG_1847_zpsgtfiozsa

Restoration Project - Page 2 IMG_1857_zpso33xsvht

Restoration Project - Page 2 IMG_1872_zpsuz3fwgnh

Restoration Project - Page 2 IMG_1876_zpseo0ctxqw

Restoration Project - Page 2 IMG_1882_zpshgyfuicb

Restoration Project - Page 2 IMG_1904_zpsramaswty

Now I can guarantee a lot of you are going to cringe and shout WHY, WHY WOULD YOU DO THIS Laughing but yeah, im not arsed with 1/4 mile times etc just a nice quiet drive...

Restoration Project - Page 2 IMG_1907_zpsyelg5wly

Restoration Project - Page 2 IMG_1911_zpsersbn8dh

Restoration Project - Page 2 IMG_1927_zps9dcsv0th

Restoration Project - Page 2 IMG_1936_zpsd10vgxr4

Even with all the sound deadening I put in I reckon it only added around 20kg more than standard. The product I used is called Silent Coat, basically same if not better than Dyna Mat. Insulated the roof space as well, stuff that Nissan put up there had kinda gone crap.

Restoration Project - Page 2 IMG_1937_zpsdhnm9k9k

Restoration Project - Page 2 IMG_1940_zps94qbf4kx

Unbelieveable how many times I had to take the support bar out! each time I went to put something in it was in the way Laughing

Restoration Project - Page 2 IMG_1946_zpsalnq5tbv

All pipes on fuel tank replaced

Restoration Project - Page 2 IMG_1955_zpswof9hruk

Restoration Project - Page 2 IMG_1956_zps3srjbytu

Restoration Project - Page 2 IMG_1957_zpsx03uhmes

Restoration Project - Page 2 IMG_1959_zpspmrbdfie

Restoration Project - Page 2 IMG_1960_zps3kxmasgz

Restoration Project - Page 2 IMG_1961_zps5cdt8syy

Restoration Project - Page 2 IMG_1968_zpsjrxkq9t2

Restoration Project - Page 2 IMG_1971_zpsgnvncuup

Restoration Project - Page 2 IMG_1974_zps785yl6wv

Restoration Project - Page 2 IMG_1977_zpsc34xc9u3

Restoration Project - Page 2 IMG_1978_zpsxtbkrwxu

Restoration Project - Page 2 IMG_1983_zpsrywi6820

The beading tool I made worked a treat!!

Restoration Project - Page 2 930DE414-96E3-42D1-8C96-8163360170AB_zpsrdku33gd

Restoration Project - Page 2 IMG_2003_zpsvrrrfu1r

Restoration Project - Page 2 IMG_2005_zps0vppkxcy

Not sure what to set this to, originally it wasnt at this angle. Counting from the last line on the right it was 3 lines in

Restoration Project - Page 2 IMG_2046_zpsu2q82cyd

Restoration Project - Page 2 E6D7BF41-A0EB-4794-9AD7-6DFF63923A6A_zpsqag3m3z7

New fuel pipe finally turned up

Restoration Project - Page 2 IMG_2047_zpszykkb1en

Restoration Project - Page 2 IMG_2050_zpst9r10bk5

Restoration Project - Page 2 IMG_2053_zpsgohb5lzv

Restoration Project - Page 2 IMG_2055_zpsakuxqjkc

Restoration Project - Page 2 IMG_2057_zpsuo6nayam

Restoration Project - Page 2 IMG_2059_zpso3gx4uni

Restoration Project - Page 2 IMG_2061_zpscwuwok4a

Restoration Project - Page 2 IMG_2062_zpshgocgstw

Restoration Project - Page 2 IMG_2065_zpszwwavbmn

Last time going outside on the rotiserie, turned it around on the street needed car other way round.

Restoration Project - Page 2 IMG_2074_zpsnzdxcghp

Underside built up as much as I dare weight wise on the rotiserie, some serious weight in it now!!

Restoration Project - Page 2 IMG_2086_zpshjtoc9al

Restoration Project - Page 2 IMG_2089_zps3dmmtcr3

Man juice holding exhaust together Laughing

Restoration Project - Page 2 IMG_2091_zps2uzcjsep

Finally off rotiserie, spent two years on that!

Restoration Project - Page 2 IMG_2097_zpsvccleto9

Restoration Project - Page 2 IMG_2108_zpshf89p0hd

Restoration Project - Page 2 IMG_2111_zpsmslymtql

Restoration Project - Page 2 IMG_2141_zpsi1lghyms

Restoration Project - Page 2 IMG_2146_zpspovyf3ve

Restoration Project - Page 2 IMG_2192_zpsx7hwvhk0

After seeing the photo of Stu's consol I realised I have put my swts upside down Laughing

Restoration Project - Page 2 IMG_2204_zpscqr7ruzs

Restoration Project - Page 2 IMG_2205_zps9cy6rayh

Restoration Project - Page 2 IMG_2206_zps3fo2fd2a

Restoration Project - Page 2 IMG_2207_zps4hnyzcma

Restoration Project - Page 2 IMG_2212_zpsmztdor43

Restoration Project - Page 2 IMG_2214_zpsqx2xdlxv

Restoration Project - Page 2 IMG_2224_zpscriqyhuc

Restoration Project - Page 2 IMG_2225_zpsvaeu0bks

Restoration Project - Page 2 IMG_2226_zpshj0emzwx

Doesnt Look that bad in the photo, but I put the wrong trim on, had a few dents in it, oops, buggered if im trying to take that top trim off again!!

Restoration Project - Page 2 IMG_2227_zps0ygbhefm

Restoration Project - Page 2 IMG_2231_zpspku1jpii

Restoration Project - Page 2 IMG_2233_zps1l651q6w

Well excited sitting in it again Laughing

Restoration Project - Page 2 IMG_2237_zpsyd8gywh2

Restoration Project - Page 2 IMG_2243_zpsoehqtd7f

Restoration Project - Page 2 IMG_2286_zpsni5sn9zt

Engine Bay time now, replaced all hydraulic lines, looking to replace tie rods before engine goes back in, track rod ends, drop links, bearings, suspension, cv boots etc all new, will be like a new car.

Restoration Project - Page 2 IMG_2291_zpsyww0powf

Restoration Project - Page 2 IMG_2292_zpsk11fmyuw

Restoration Project - Page 2 IMG_2293_zpsybqognur

Restoration Project - Page 2 IMG_2295_zpszvvcj7ba

Restoration Project - Page 2 IMG_2303_zps5dzibsaz

Restoration Project - Page 2 IMG_2306_zpsqc1fmimn

Restoration Project - Page 2 IMG_2307_zpsa5sajo6t

Restoration Project - Page 2 IMG_2309_zpsahim581m

Restoration Project - Page 2 IMG_2310_zpsqhqd237w

Restoration Project - Page 2 IMG_2313_zpsugurnpiu

Restoration Project - Page 2 IMG_2315_zps6e0ypfny

Restoration Project - Page 2 IMG_2327_zpsvtnuoc7l

Restoration Project - Page 2 IMG_2329_zps2ozbtjxo

Chucked battery on to see what works, the heated seats do!!

Restoration Project - Page 2 IMG_2331_zpsiy60amgf

Restoration Project - Page 2 IMG_2334_zpscslzhiyk

Painted scuttle trim, same as door handles and any other plastic piece, looks new

Restoration Project - Page 2 IMG_2339_zpscrpcqsmr

Restoration Project - Page 2 IMG_2343_zps8dtaqpo2

Restoration Project - Page 2 IMG_2341_zps8g6tzfle

Had to measure and drill sills, scary moment! but alls good!

Restoration Project - Page 2 IMG_2348_zpssfuomux9

Restoration Project - Page 2 IMG_2351_zpsliugorvh

Restoration Project - Page 2 IMG_2357_zpsweb186yh

Bonnet built up, big thanks to Jay for sorting me out with the center vent, my rubber gasket was knackered, and also the washer jets as some how Ive managed to loose them within the last month drink

Restoration Project - Page 2 IMG_2358_zpsxpsofwzm

Restoration Project - Page 2 IMG_2360_zpsfx6lgdsa

Restoration Project - Page 2 IMG_2362_zpsaidwsyti

Im going to refurb the old wheels, save a bit more money, defo need attention though!

Restoration Project - Page 2 IMG_2366_zpsvon1g3qn

Took the cv joint off the shaft, just to keep bearing together while engine is out

Restoration Project - Page 2 IMG_2368_zpsi34djsvu

Ready to be lowered to the ground now!

Restoration Project - Page 2 IMG_2379_zpsnpsqa4yv

Restoration Project - Page 2 IMG_2387_zps138jt6mm

Restoration Project - Page 2 IMG_2384_zpszxeig4re

Finally back on her wheels

Restoration Project - Page 2 1E799293-F2C9-4E8A-B0B6-B8DC5EBA57A0_zpsu7fkatet

Restoration Project - Page 2 9B8E2848-79F2-42C5-8A73-63401B0E4124_zpseonoz8w9

Restoration Project - Page 2 665AA840-6C47-454C-97F8-05DC8335039D_zpsuxxjeyim

Just waiting for the screens to be fitted, which happened today:

Restoration Project - Page 2 IMG_2447_zpsmop3zbtq

Painted up the the side trims, sligtly bent the drivers side when taking it off, doesnt cover glass completely at the bottom, should be able to sort that out fairly easily. Painted the trims in matt black before putting them on

Restoration Project - Page 2 IMG_2453_zpsxrhk591d

Got the trims fitted and lobbed the spoiler on temporary as the painter strikes again and missed a bit underneath Laughing gotta laugh really eh! pushed it outside for some pictures before the rain starts:

Restoration Project - Page 2 IMG_2457_zpsk1mp2cy1

Restoration Project - Page 2 IMG_2463_zpsnmfrczqj

Restoration Project - Page 2 IMG_2469_zpsuecx51ay

Restoration Project - Page 2 IMG_2470_zpsytmyhjfa

Restoration Project - Page 2 IMG_2473_zps80egpcgq

Dont know which badge to put back on the grille, P or the Nissan

Restoration Project - Page 2 IMG_2479_zpslvuzfktw

Restoration Project - Page 2 IMG_2483_zpsgvbz2bbc

Thinking of running less boost maybe around the 1bar, currently using an apexi avcr. Hopefully should get the engine back in late summer depending how much spare time and money I have.. Got a load of copper to weigh in so that should cover the cost of what I need to finish the build or buy a top notch push chair Laughing Laughing

One bit I am struggling with is the mounting points for the power steering cooler at the front, when I had the FMIC I had to bend the cooler up out of the way but I'm buggered if I can remember where it goes.

Hope you've enjoyed this update, I'm happy it's back together and not too many bolts left over Shocked Laughing Not putting any more trim on until it's been machine polished nxt year.

One thing Im pissed off about, gotta take dash out, the little plastic arm that closes the flap for outside air, has snapped again Evil or Very Mad

I fixed it when I had it off but stupidly didn't try it till the other day, oh well!

Gaz

38Restoration Project - Page 2 Empty Re: Restoration Project 27th November 2015, 6:11 pm

Stu

Stu
Admin
Admin

Wow
This is an amazing restoration project.
You have done an amazing job Smile


_________________
Back againTwisted Evil
http://www.j10-meets.co.uk

39Restoration Project - Page 2 Empty Re: Restoration Project 27th November 2015, 6:25 pm

burrows1980

burrows1980

Cheers Stu, can't wait to get it back on the road now.. Don't think I would do this again but it's something I've always wanted to do.

40Restoration Project - Page 2 Empty Re: Restoration Project 27th November 2015, 6:29 pm

johnny gtir

johnny gtir
moderator
moderator

Great write up and well done

41Restoration Project - Page 2 Empty Re: Restoration Project 27th November 2015, 7:16 pm

nomad

nomad
Admin
Admin

Well done looks really great in the pictures .... fantastic write up even if it did take me a while to get through lol ....


_________________
"Official post whore" and all round superhero....

42Restoration Project - Page 2 Empty Re: Restoration Project 27th November 2015, 7:36 pm

GTI-R US

GTI-R US
Management
Management

this has to be the most involved restores ive ever seen, absolutely amazing and top notch work Gaz british


_________________
GTI-R-US.co.uk
 In association with
Torque Of The South Motorsport

Nissan Performance & Tuning Centre
Services provided

Forge Engine rebuilds to specification
Body Restoration, Fabrication, Repair
Paint refinishing facilities
Ecu re-mapping-Performance upgrades
Auto Diagnostics, Injector cleaning  
Race & Suspension setup
General Servicing, Mots, tyre fitting
Full workshop facilities
http://www.gti-r-us.co.uk www.force500.com

43Restoration Project - Page 2 Empty Re: Restoration Project 27th November 2015, 7:40 pm

Mr B

Mr B
gtir technician
gtir technician

Don't know how you found time do car, post on forum & make wife pregnant !
If you had sprayed it yourself thus spending more time in garage you could of saved yourself from project baby :-S lol
Do feel for you on paintwork issues. have seen some right shit respray work & it a total gamble who good unless really really know people involved.
Assume you will need buy a baby seat, never saw one in the nismo catalogue though ! :-/
have fun & best wishes ...

44Restoration Project - Page 2 Empty Re: Restoration Project 27th November 2015, 8:01 pm

wrc

wrc

If my car is barely half this good I will be a more than happy with mine mate, unreal work mate.

When are you due? The first year is the hardest mate but just get yourself through that and you will be absolutely fine Smile

45Restoration Project - Page 2 Empty Re: Restoration Project 27th November 2015, 8:54 pm

burrows1980

burrows1980

Cheers guys! The wife got excited seeing it with the glass in before, probably as it means I'm nearly finished and won't be in the garage much longer Laughing

46Restoration Project - Page 2 Empty Re: Restoration Project 27th November 2015, 9:10 pm

gtir_woody

gtir_woody
moderator
moderator

Wow, man this write is incredible, its so good I felt like I was standing next to you watching the entire resto project Laughing you have an amazing looking R now, great work. Congrats on the baby aswell mate

47Restoration Project - Page 2 Empty Re: Restoration Project 27th November 2015, 9:35 pm

burrows1980

burrows1980

Cheers woody, had to scale back how many photos I put in Laughing hopefully this helps anybody else doing a restore or similar. Must admit I was envious of your 5 studs the other night Shocked I'll get there one day..

48Restoration Project - Page 2 Empty Re: Restoration Project 27th November 2015, 9:55 pm

gtir_woody

gtir_woody
moderator
moderator

Its bad don't post anymore, I want to start stripping my car down completely and doing the same Laughing Cheers mate, mine is coming together slowly lol

49Restoration Project - Page 2 Empty Re: Restoration Project 31st January 2016, 9:59 pm

toaster55

toaster55

only just saw this! great write up and nicely done resto! keep it up she'll be a real beauty when done.
well done thumbsup

50Restoration Project - Page 2 Empty Re: Restoration Project 1st February 2016, 9:54 am

Cosmic73

Cosmic73

This is amazing and the standard of the work is real top drawer stuff Very Happy Very Happy
Amazing write up, looking forward to seeing your motor at one of the shows  thumbsup

Sponsored content


Back to top  Message [Page 2 of 6]

Go to page : Previous  1, 2, 3, 4, 5, 6  Next

Permissions in this forum:
You cannot reply to topics in this forum