Gtir Motorsport club
Would you like to react to this message? Create an account in a few clicks or log in to continue.
Gtir Motorsport club

Welcome to the largest Nissan Pulsar & Sunny GTI-R Forum. Masses of info, friendly members, cars for sale, lots of spares. Best forum on the net by far. Everything your gtir needs is here.


You are not connected. Please login or register

Restoration Project

+9
Cosmic73
DC313
steven_c
mike74
hagger
Ryaneg6freak
typeritr
nomad
johnny gtir
13 posters

Go to page : Previous  1, 2, 3, 4, 5, 6  Next

Go down  Message [Page 4 of 6]

76Restoration Project - Page 4 Empty Re: Restoration Project 29th June 2018, 8:07 am

gtir_woody

gtir_woody
moderator
moderator

Take a look at that! man that looks unreal, loving the progress thumbsup

77Restoration Project - Page 4 Empty Re: Restoration Project 29th June 2018, 10:37 am

Pulsartim

Pulsartim

Thanks guys, it’s made all those hours over the winter cleaning crap rusty bolts all seem worthwhile now.

78Restoration Project - Page 4 Empty Re: Restoration Project 1st July 2018, 6:54 am

steven_c

steven_c

Attention to detail and commitment is unreal. top work..

79Restoration Project - Page 4 Empty Re: Restoration Project 1st July 2018, 2:58 pm

Pulsartim

Pulsartim

Thanks everyone, the things I’m struggling to get are the original decals that are throughout the car. I’ve manage to track two down on EBay but the rest are obsolete at Nissan too, if any one has any pictures an dimensions of what they should be like that would be greatly appreciated as I’ll get them made up locally.

The other two items I’ve not decided how to tackle is the fuel tank and rear box heat shields I’m not sure mine are salvageable an there not available from Nissan either.......any ideas??

80Restoration Project - Page 4 Empty Re: Restoration Project 1st July 2018, 8:25 pm

nomad

nomad
Admin
Admin

Speak to pulsar Stu as he could make them up for you .. what's wrong with the tank they are plastic ? Wich Heat shield are you talking about ?

81Restoration Project - Page 4 Empty Re: Restoration Project 2nd July 2018, 9:08 am

typeritr

typeritr

That is an unbelievable rebuild. That engine bay looks better than when they came from the factory!! I love the grey colour too. Are all the parts fitting into the engine bay in the last 2 pictures brand new or did you just refurbish them?

The way I see it with your petrol tank heat shield. It is not an integral part of the car and it is easily replaceable. I would clean your original one up and get it painted, mine didn't look the best either but it seemed sturdy enough so I just cleaned it up and fitted it. Although your rebuild is going into a lot more detail than mine

82Restoration Project - Page 4 Empty Re: Restoration Project 2nd July 2018, 9:59 am

johnny gtir

johnny gtir
moderator
moderator

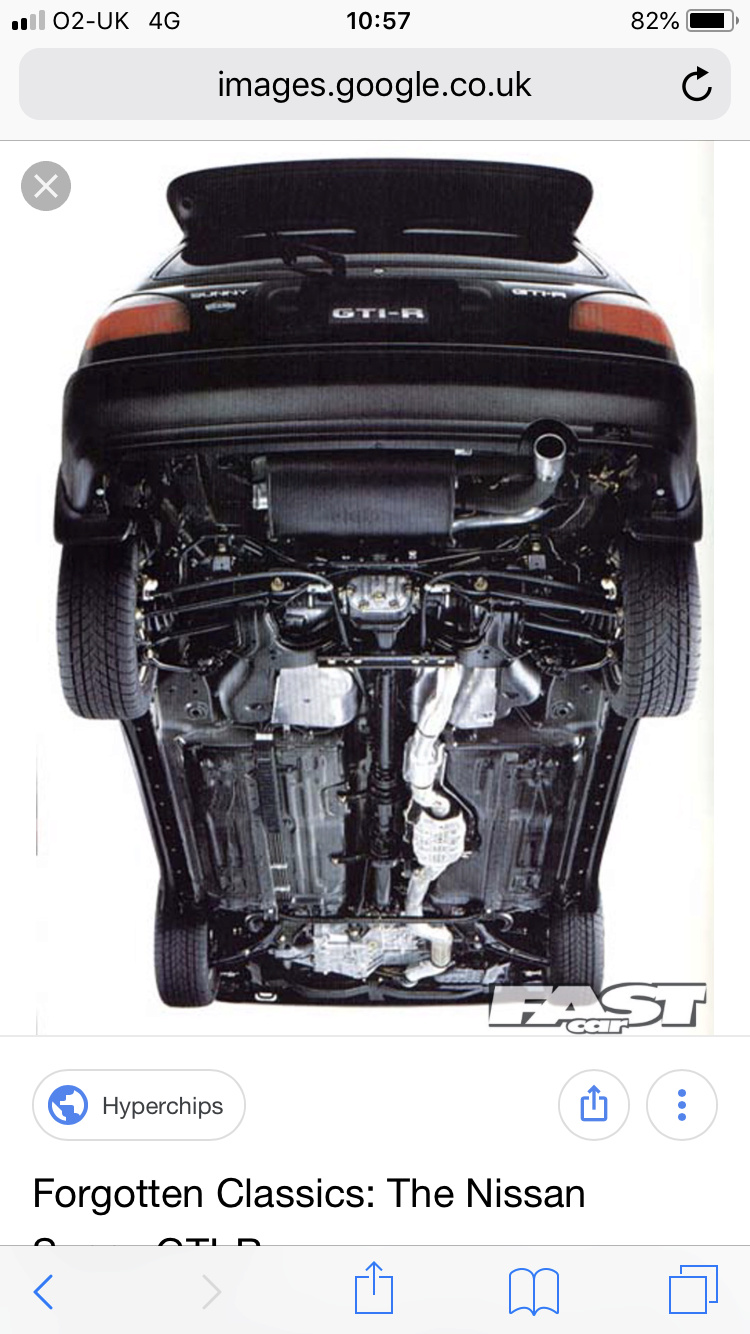
nomad wrote:Speak to pulsar Stu as he could make them up for you ..  what's wrong with the tank they are plastic ?  Wich Heat shield are you talking about ?

Restoration Project - Page 4 7f615110

83Restoration Project - Page 4 Empty Re: Restoration Project 2nd July 2018, 2:02 pm

Pulsartim

Pulsartim

In the engine bay pictures there’s one brake pipe with masking tape on which I’m making from new, all the other items I’ve refurb’d whilst the rebuilds been going on.

As I say I’m not sure what to do with the two heat shields I might see if I can get them chemicaly treated an either regalvanise them or chrome them with the intercooler shroud which needs doing.

84Restoration Project - Page 4 Empty Re: Restoration Project 2nd July 2018, 2:24 pm

typeritr

typeritr

I asked a company about getting the heat shields re galvanised and he said they were too thin. They would badly warp with the heat of the galvanising.

85Restoration Project - Page 4 Empty Re: Restoration Project 3rd July 2018, 7:43 am

Ryaneg6freak

Ryaneg6freak

I had mine powder coated, turned out just fine.

86Restoration Project - Page 4 Empty Re: Restoration Project 3rd July 2018, 11:30 am

Mr B

Mr B
gtir technician
gtir technician

Is a nice resto build this .

87Restoration Project - Page 4 Empty Re: Restoration Project 11th July 2018, 8:52 pm

Pulsartim

Pulsartim

I’ve managed to get a few more hours on the car between the F1 an World Cup.  The ridged brake pipes are made an fitted, I’ve also carried on with the engine bay rebuild an got most of the wiring looms installed in the car.

Restoration Project - Page 4 A1808d10

Restoration Project - Page 4 9cc13210

Restoration Project - Page 4 E87e2910

88Restoration Project - Page 4 Empty Re: Restoration Project 17th September 2018, 9:29 pm

Pulsartim

Pulsartim

Hi all so I’ve been a slack git over August an done very little on the GTiR but went to the local car show the other weekend to see what was about.  To end up seem a immaculate original Sunny GTi an spent ages talking to the owner, which got me straight home an under the car and continue with refitting all the refurbished parts.

Prop shafts fitted.
Restoration Project - Page 4 5933f710

Restoration Project - Page 4 F5873910

Fuel tank straps on waiting for me to finish changing all the hoses and clips before installing the tank.
Restoration Project - Page 4 Ed907410

Fuel tank all complete and installed, i'm just waiting for some new hose clamps for the filler pipe and tank installation is complete.

Restoration Project - Page 4 E35f5e10


Last edited by Pulsartim on 17th September 2018, 9:44 pm; edited 3 times in total

89Restoration Project - Page 4 Empty Re: Restoration Project 17th September 2018, 10:18 pm

typeritr

typeritr

Car is looking absolutely immaculate. I tried to restore my car to this standard but never stripped the engine bay.
Are you going to fit the fuel tank without the heat shield / harness thing? What underseal did you use? it looks a nice matte black shade.

90Restoration Project - Page 4 Empty Re: Restoration Project 17th September 2018, 10:23 pm

Pulsartim

Pulsartim

No I’m going to fit the fuel tank to rear differential shield once I decide how I’m going to restore it. The underneath of the car was primed and then Upol Raptor coated which was tinted with the exterior paint base coat so it looks as factory as possible.

91Restoration Project - Page 4 Empty Re: Restoration Project 28th November 2018, 9:49 pm

Pulsartim

Pulsartim

Hi all so after many weeks of long days at work an then evening's putting off working in the garage i've got my arse in gear today.  Before work this morning I installed the Whiteline bush kit into the rear subframe, luckily I had access to a plant bearing an bolt puller kit so installing them was a breeze.

Restoration Project - Page 4 Img_3111

Restoration Project - Page 4 Img_3110

Restoration Project - Page 4 Img_3113

Restoration Project - Page 4 Img_3112

I also managed to leave work at a reasonable time and get lots done this evening, I got the subframe, diff and rear suspension links all installed.

Restoration Project - Page 4 Img_3114

Restoration Project - Page 4 Img_3115

Restoration Project - Page 4 Img_3116

92Restoration Project - Page 4 Empty Re: Restoration Project 29th November 2018, 7:10 am

gtir_woody

gtir_woody
moderator
moderator

The sub frame came up looking awesome, so fresh!

93Restoration Project - Page 4 Empty Re: Restoration Project 29th November 2018, 7:22 am

DC313

DC313

Wow..... Better than new! Looking great, keep up the hard work!

94Restoration Project - Page 4 Empty Re: Restoration Project 29th November 2018, 10:28 pm

Pulsartim

Pulsartim

So I got stuck in again tonight an fitted the rear drive shafts, hubs assemblies and the rear brakes with new discs an pads. The right went on without a problem but when I came to fit the left hand disc I found it was rubbing the brake calliper bracket. So after a quick check on a old rear hub I found I’d mixed up one of the fronts with a rear. So after stripping both hubs of the assemblies and swapping to the correct position the disc went on without any further trouble.

Restoration Project - Page 4 19c58010

Restoration Project - Page 4 65298b10

95Restoration Project - Page 4 Empty Re: Restoration Project 30th November 2018, 9:12 am

gtir_woody

gtir_woody
moderator
moderator

Nice, glad it was an easy fix

96Restoration Project - Page 4 Empty Re: Restoration Project 1st December 2018, 7:58 am

Pulsartim

Pulsartim

Yeah it had me scratching my head at first but I have a spare rear hub which I measured up to work out what was wrong, the difference was minimal but there never the less.

97Restoration Project - Page 4 Empty Re: Restoration Project 1st December 2018, 3:57 pm

Cosmic73

Cosmic73

this is a top draw rebuild and very impressive!
One photo you put up caught my eye. Im replacing my rear brake lines and thought they extended all the way to the master cylinder, but your pic shows they dont get that far and finish at the part circled blue. Im just wondering what it is?
Restoration Project - Page 4 Image13

98Restoration Project - Page 4 Empty Re: Restoration Project 1st December 2018, 4:28 pm

Pulsartim

Pulsartim

Thanks for the comments.
It’s the brake proportioning valve, I’ve just had a look at the parts manual and they list it as only fitted with abs. This is a bit odd as mines not got abs, so I’m guessing it’s either missing off the non-abs parts catalogue or there’s some crossover between the non-abs an the abs models.

99Restoration Project - Page 4 Empty Re: Restoration Project 1st December 2018, 10:23 pm

steven_c

steven_c

amazing work bud.. thinking I might go the same route and fit the whiteline rear subframe bushes, and poly everything else.

100Restoration Project - Page 4 Empty Re: Restoration Project 1st December 2018, 10:28 pm

gtir_woody

gtir_woody
moderator
moderator

Pretty sure those proportioning valves come in ABS and non-abs ones. When I removed ABS from one of my old pulsars, I swapped to over to a non-abs one.

Sponsored content


Back to top  Message [Page 4 of 6]

Go to page : Previous  1, 2, 3, 4, 5, 6  Next

Permissions in this forum:
You cannot reply to topics in this forum