Latest images
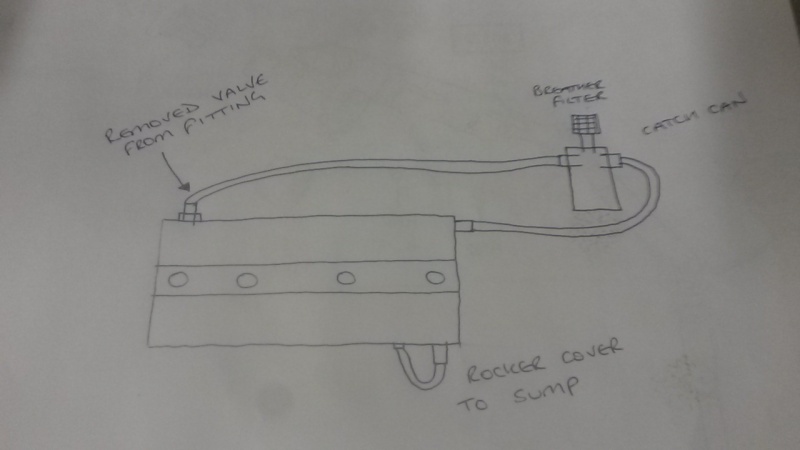
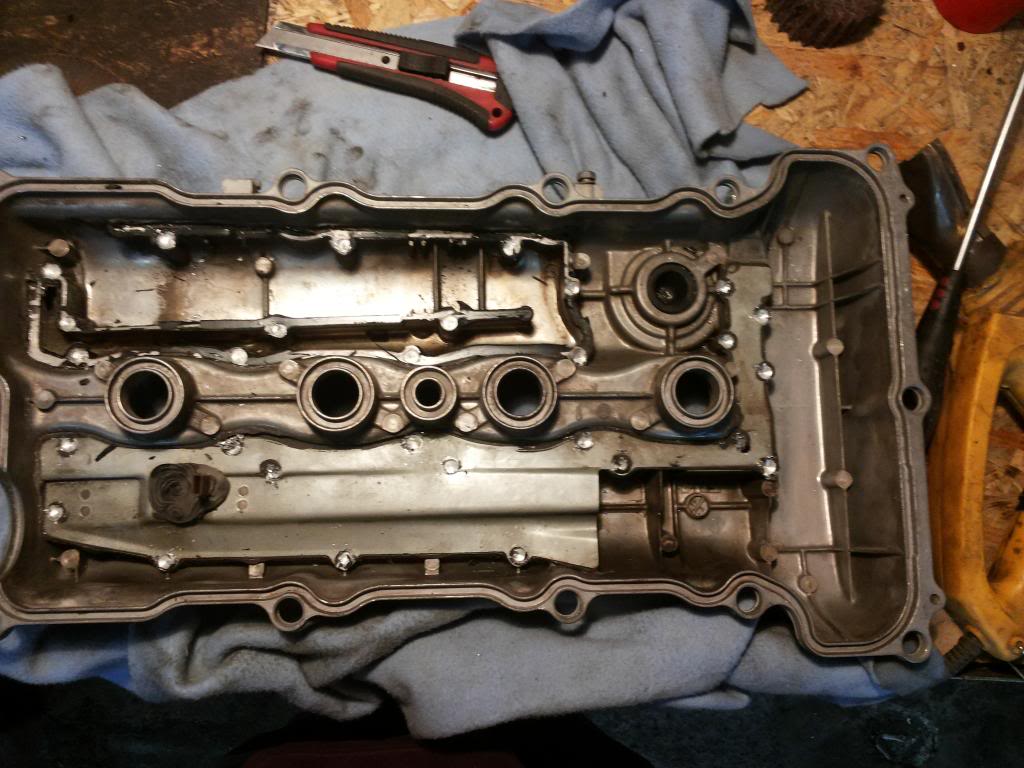
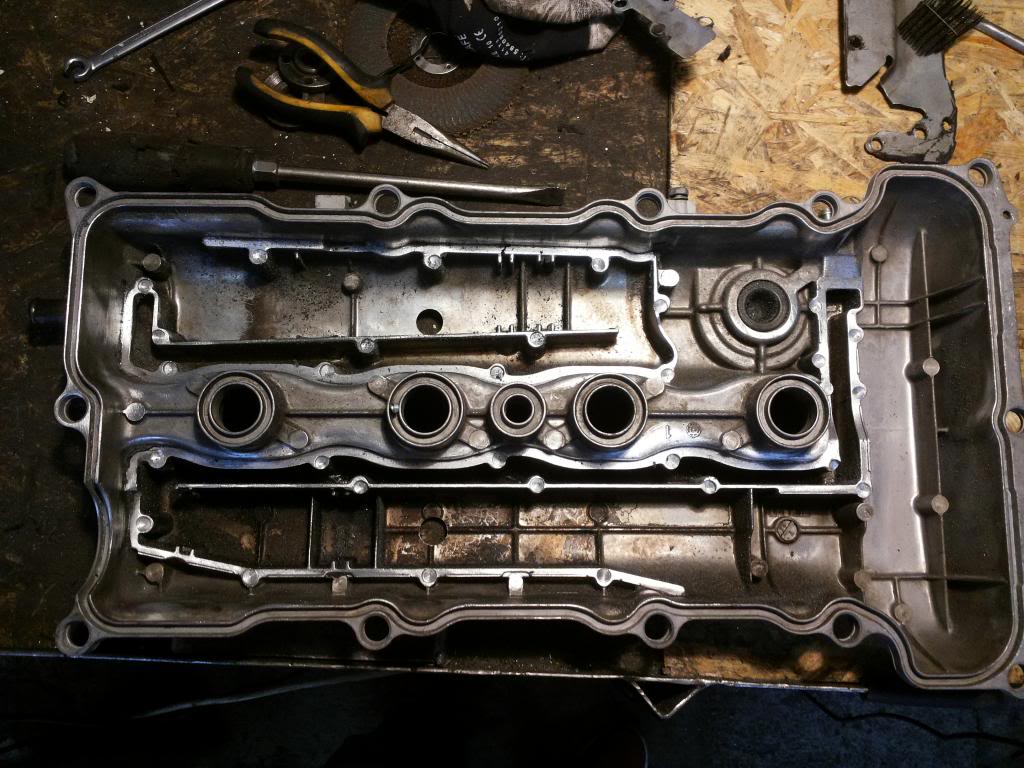
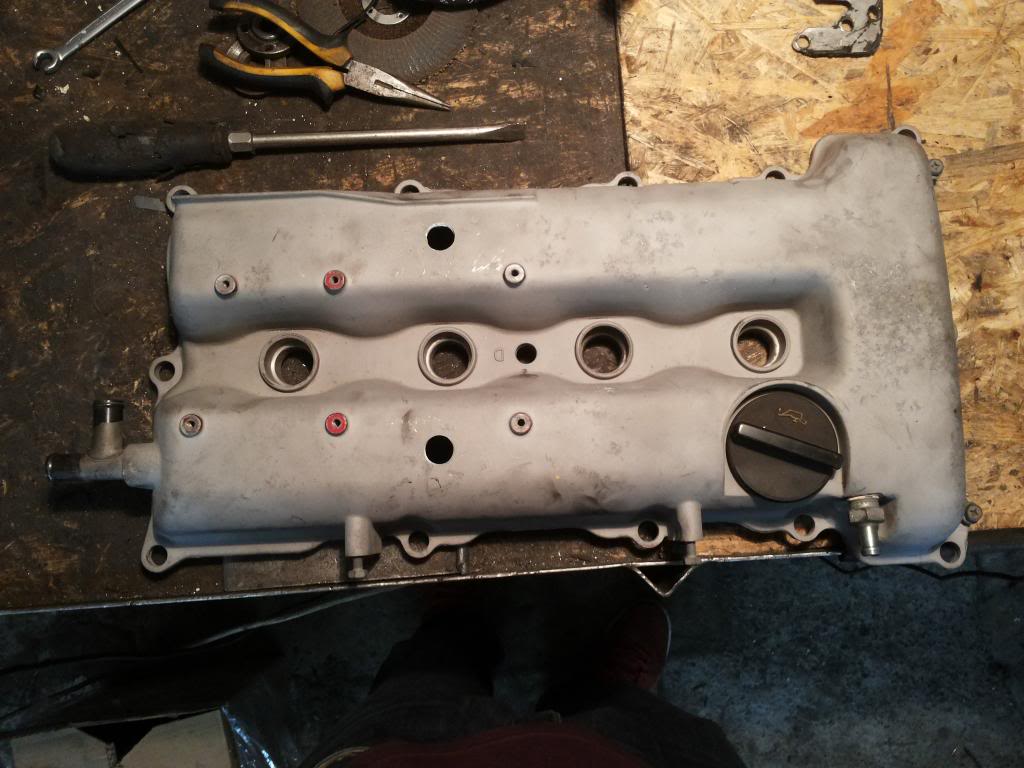
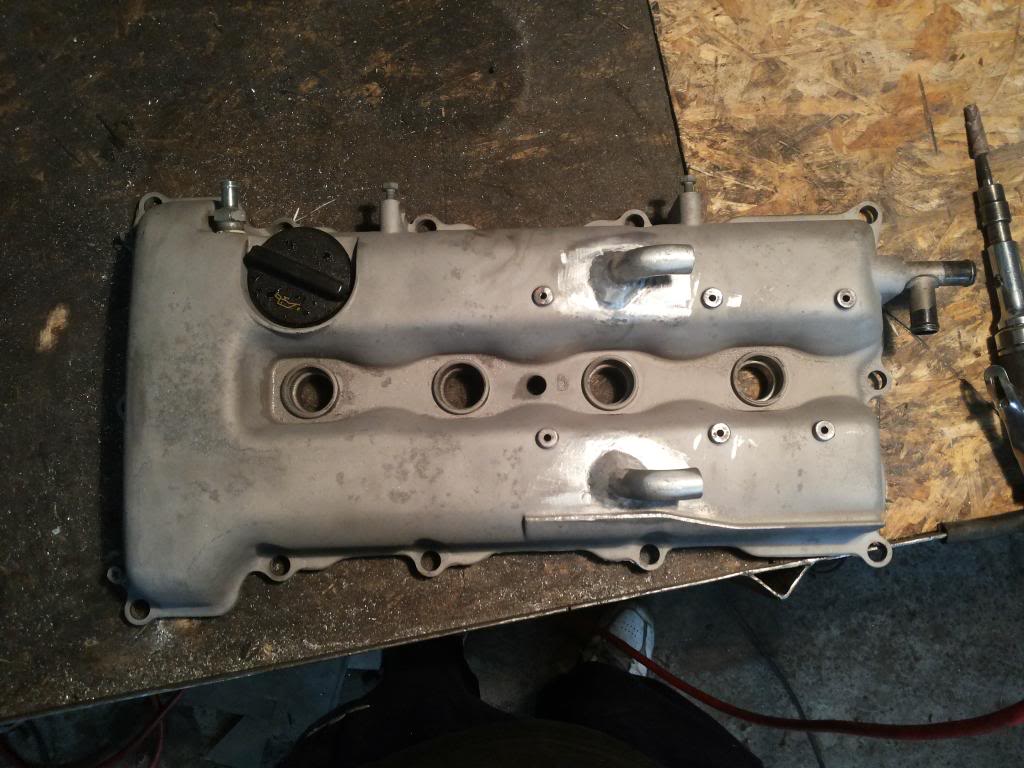
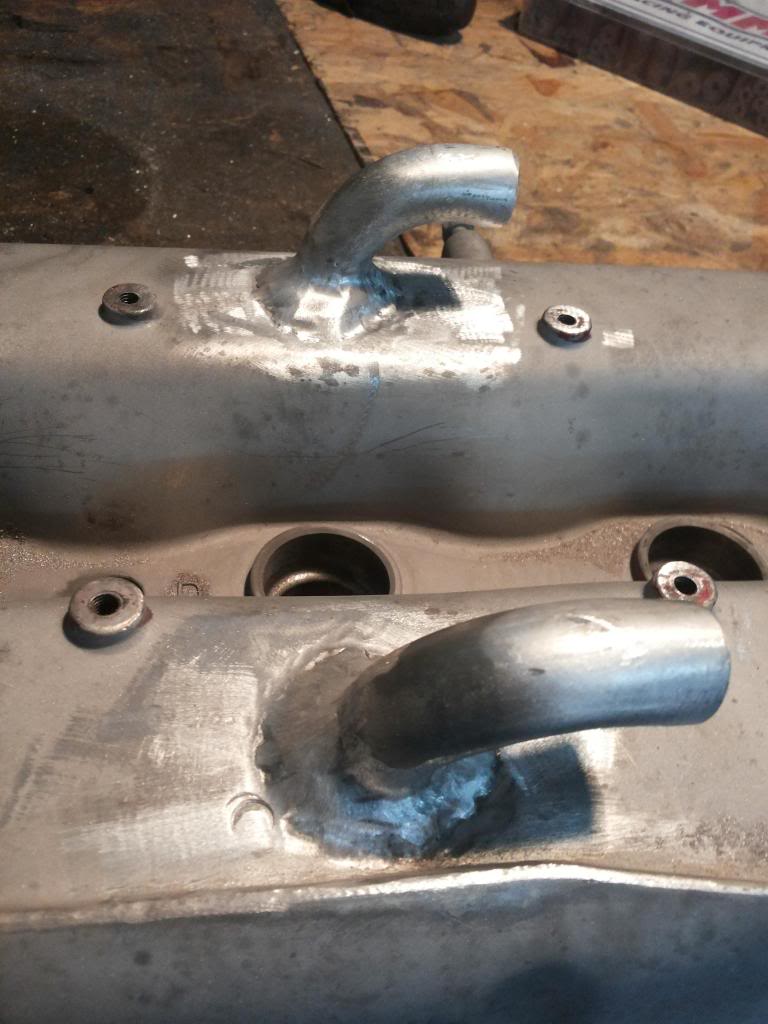
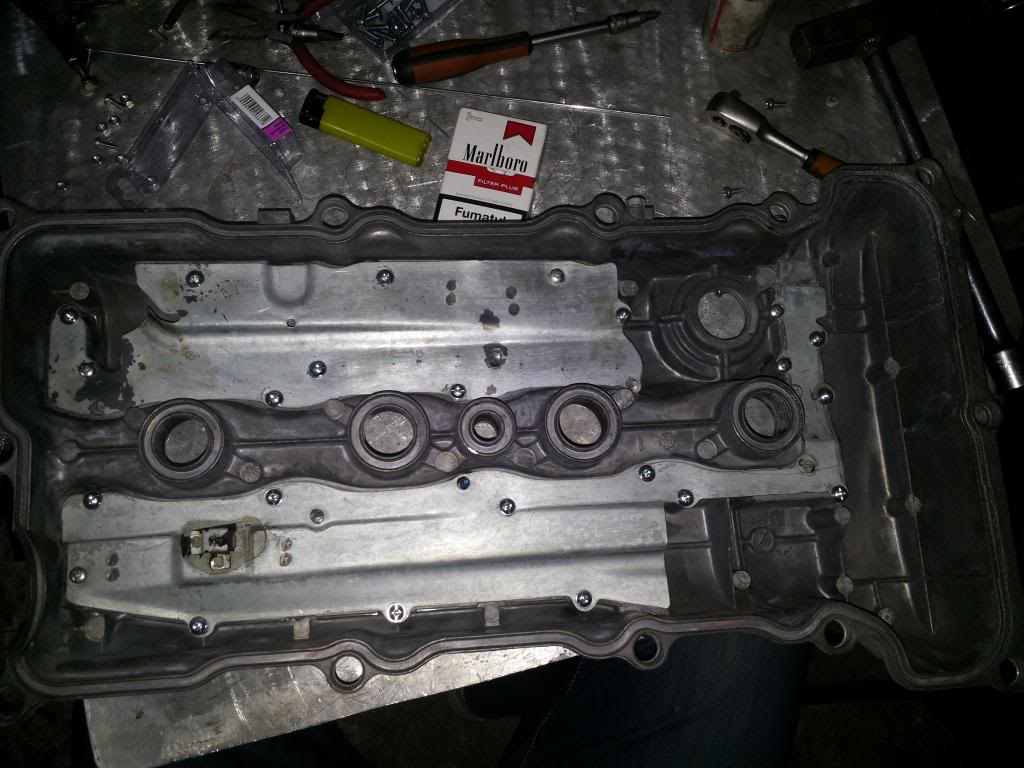
RO_SUNNY wrote:I have just drilled 2 extra breathers on top of the rocker cover!.....
2 x 16 mm ....I think they should be more than enough!
Pictures coming soon....
I might do that this weekend actually

Welcome to the largest Nissan Pulsar & Sunny GTI-R Forum. Masses of info, friendly members, cars for sale, lots of spares. Best forum on the net by far. Everything your gtir needs is here.
Go to page :  1, 2
1, 2
Message [Page 2 of 2]
Re: Definitive Breather setup 16th May 2014, 7:30 amRO_SUNNY wrote:I have just drilled 2 extra breathers on top of the rocker cover!.....
2 x 16 mm ....I think they should be more than enough!
Pictures coming soon....
Re: Definitive Breather setup 16th May 2014, 2:54 pm Re: Definitive Breather setup 16th May 2014, 6:34 pm
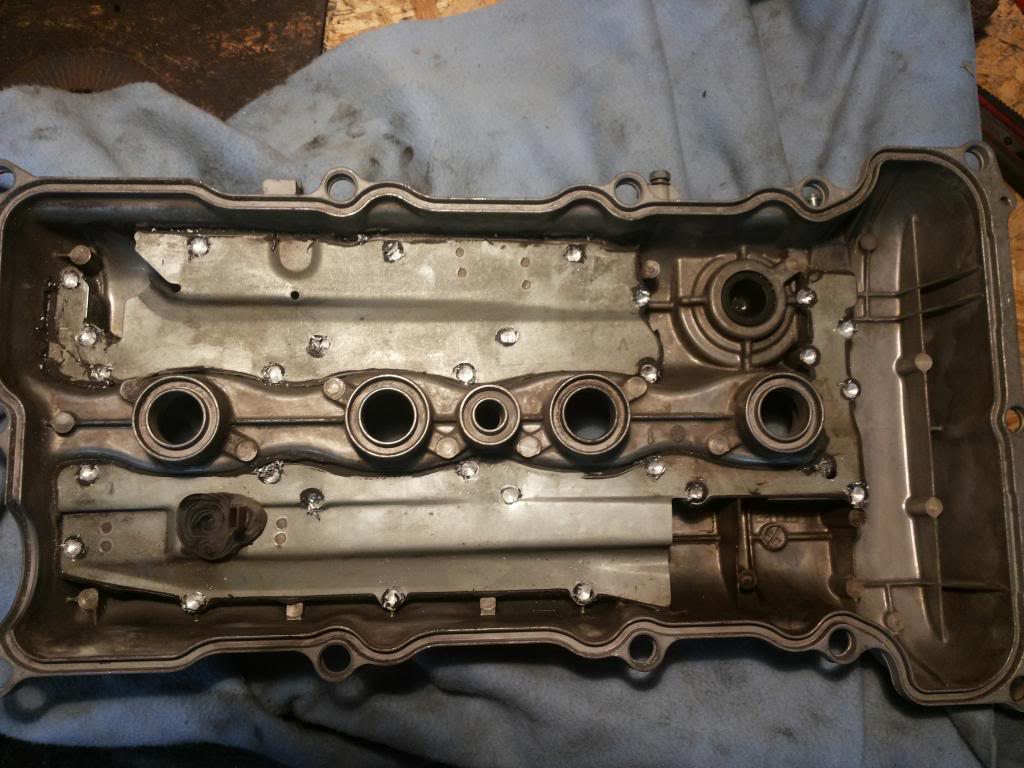

 Re: Definitive Breather setup 16th May 2014, 6:53 pm Re: Definitive Breather setup 17th May 2014, 3:28 pm
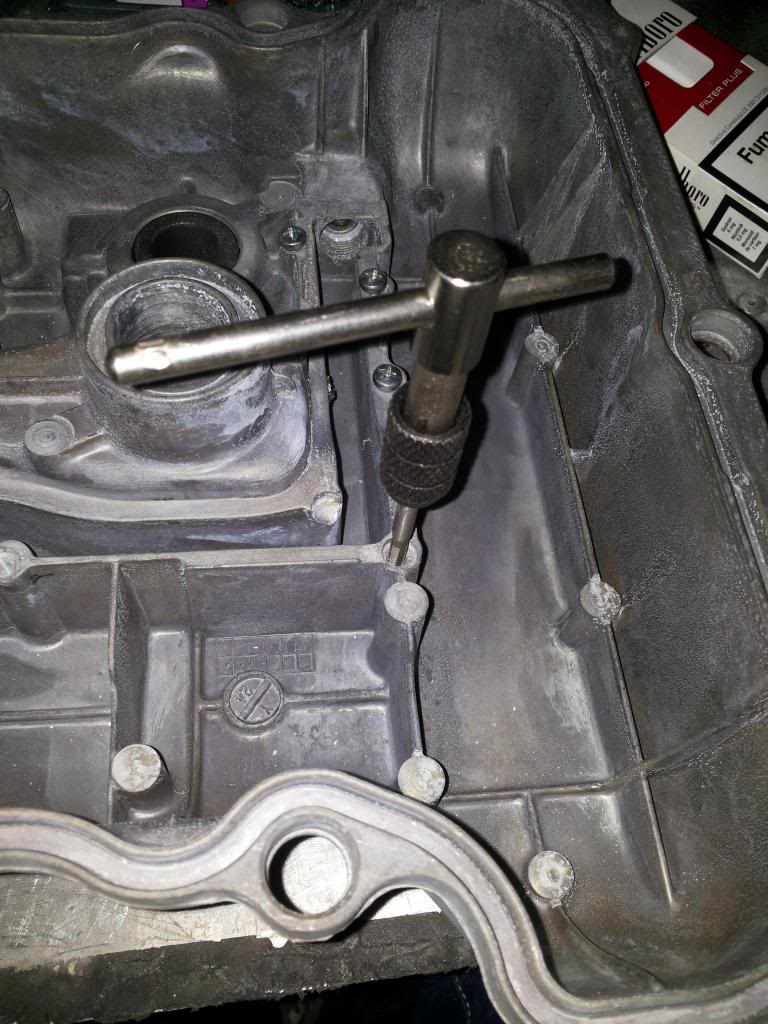
 Re: Definitive Breather setup 7th November 2014, 5:52 pm Re: Definitive Breather setup 7th November 2014, 7:02 pm
 Re: Definitive Breather setup 9th November 2014, 11:04 am Re: Definitive Breather setup 9th November 2014, 1:58 pm Re: Definitive Breather setup 11th February 2015, 2:40 pm


 Re: Definitive Breather setup 20th January 2016, 3:47 am
 Re: Definitive Breather setup 10th June 2016, 1:05 pm
 Re: Definitive Breather setup 10th June 2016, 1:37 pm Re: Definitive Breather setup 10th June 2016, 5:59 pm
Message [Page 2 of 2]
Go to page : 1, 2
Similar topics
![]()
Permissions in this forum:
You cannot reply to topics in this forum