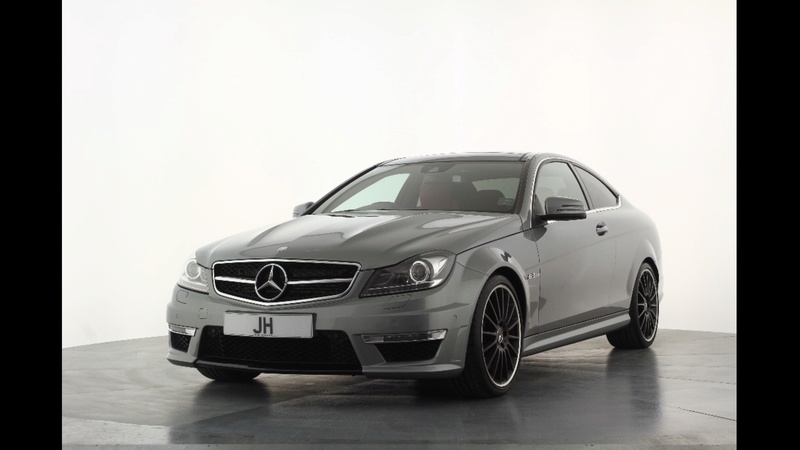
Hi All so I've not posted much for the last few months this is in part due to a impulse purchase which caused a big distraction, I decieded to treat myself to a C63 AMG.

I had great fun for thirteen days and then some theiving scum bag broke in to my house whilst I was in bed turned over downstairs and had the AMG away, god only knows how I didn't hear it start up. Anyway the insurance settled but the house insurance company became an arse and I had lots of hassle. Once I had the cheque in my hands I knew I'd not had enough fun courtesy of AMG so I went out and bought a Power Pack replacement, you can never have enough horsepower!!!!!!!!
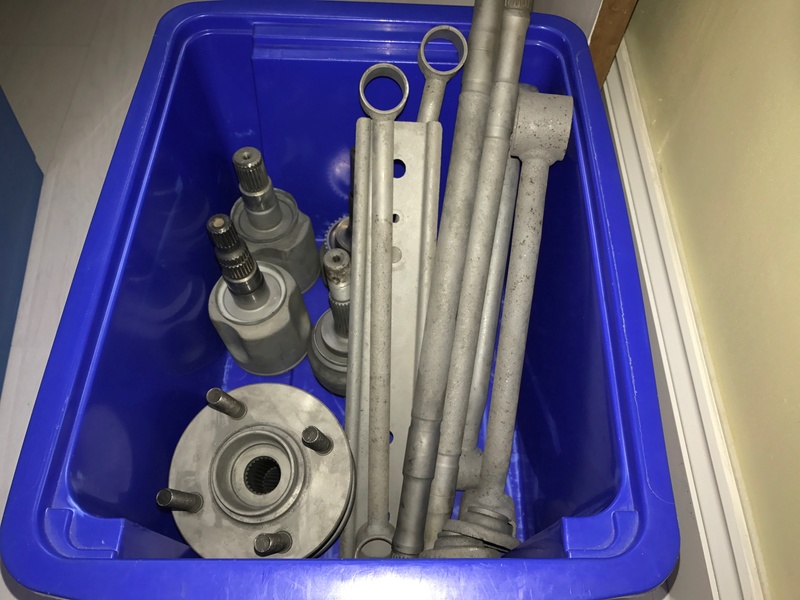
Anyway getting back to the GTiR I've just about finished cleaning all the running gear and engine bay brackets ready for the powder coaters, this has taken an age due to 26 years of crud and rust. I plan to nickel plate and passivate some of the brackets and all the nut and bolts, whilst researching this I discovered electro rust removal which is the reverse of electroplating........so it thought I'd give it a go. So I found a sacrifical bar and armed with a bucket, bag of washing soda, battery and battery charger I gave it a go.
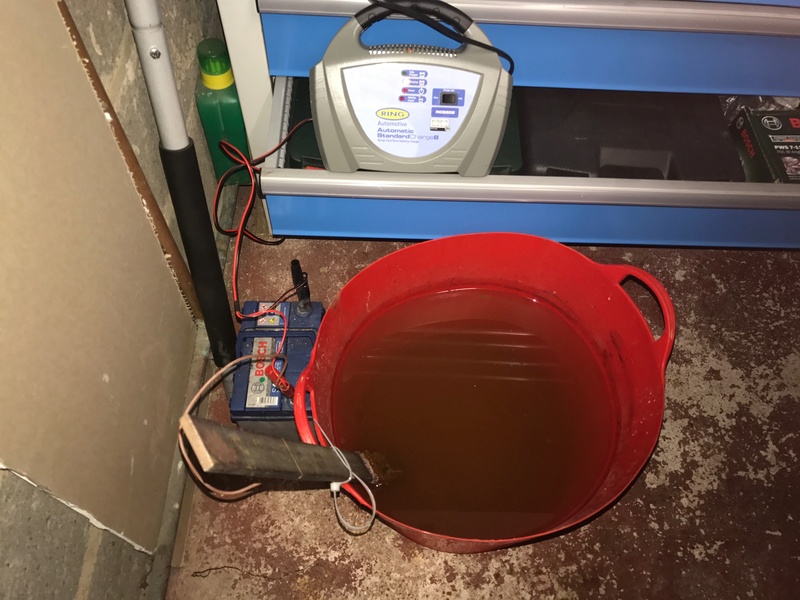
Add the washing soda crystals to the water in the bucket, there is a ratio but I just added till the effect was what I was wanting, then connect the positive on the battery to the sacrifical bar which I placed in to the bucket and secured with a tie wrap. Connect the negative to the part to be de-rusted then hook up the battery charger.........and leave. All the rust moves to the sacifical bar.

Hours later the rust, crud and any paint is ready for a light scrapping and the rust just all falls off, quick wash with some fresh water to neutralise the washing soda and hey presto the rust is converted and goes black.
So after having great results with the electro rust removal I've purchased a electro plating kit, I'm glad the delivery driver didn't open the box as I've had lots of buckets, powder and chemicals delivered, I can't wait to see the results.


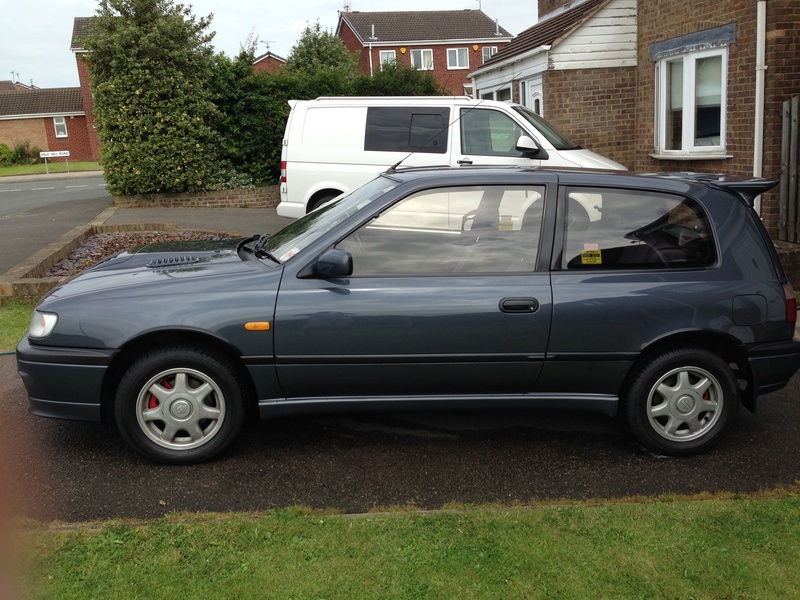
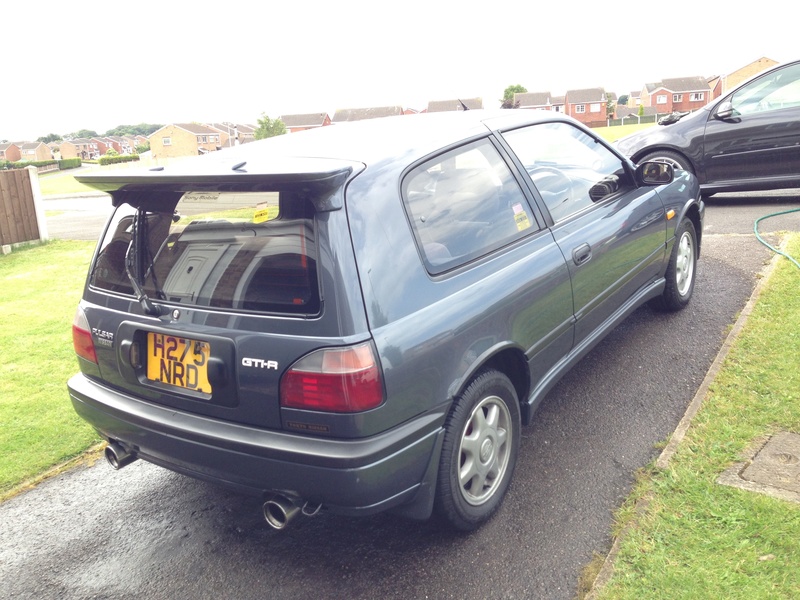
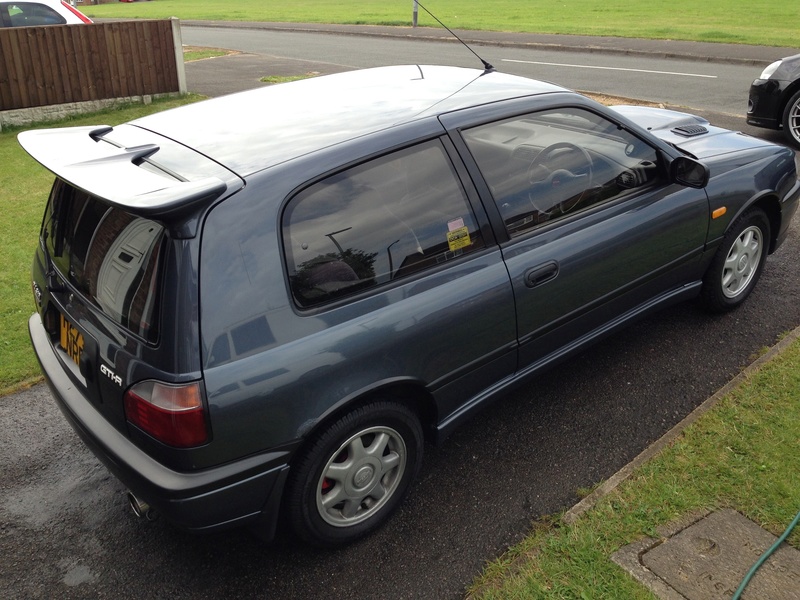
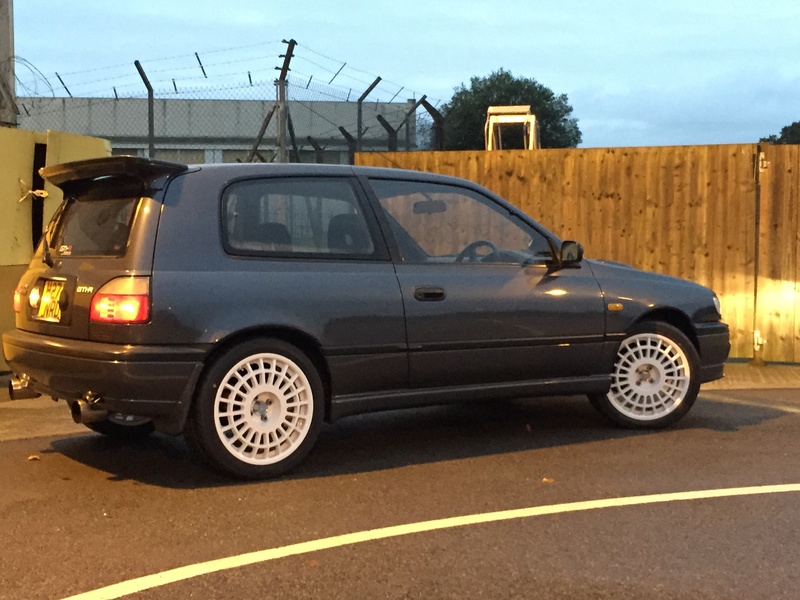
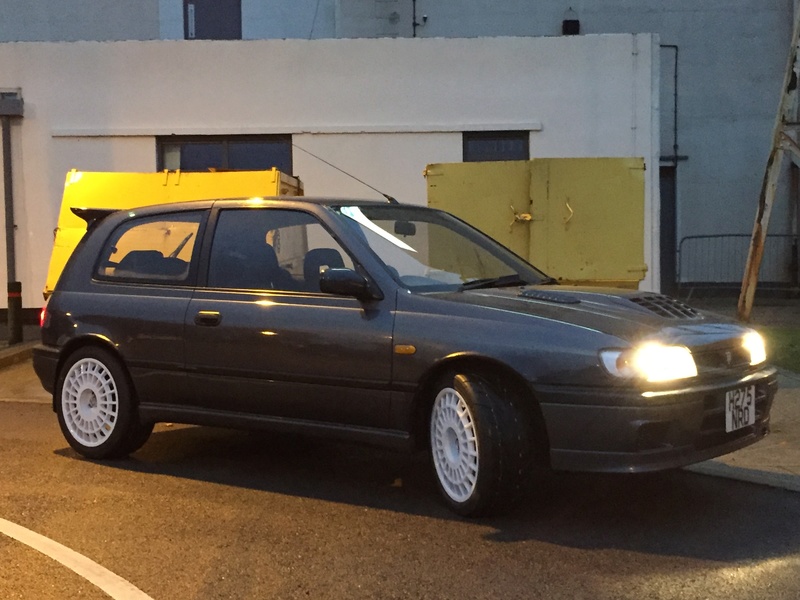
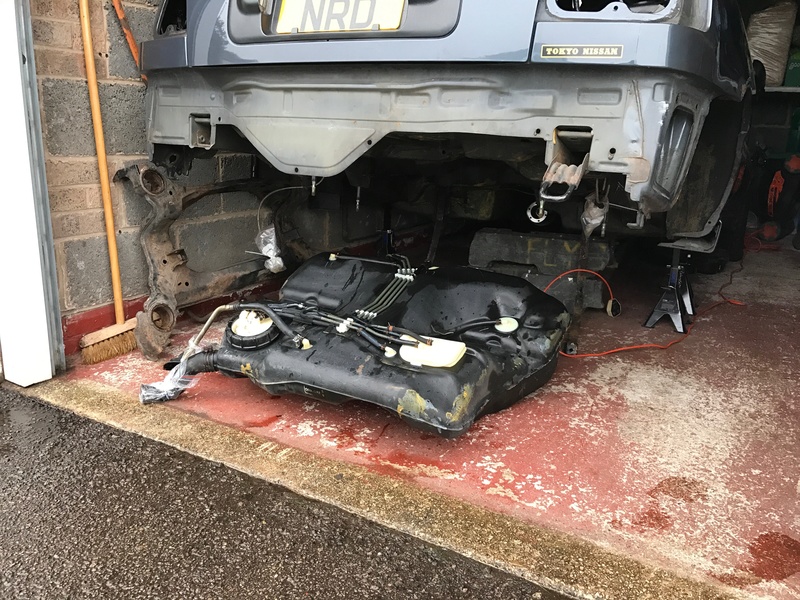
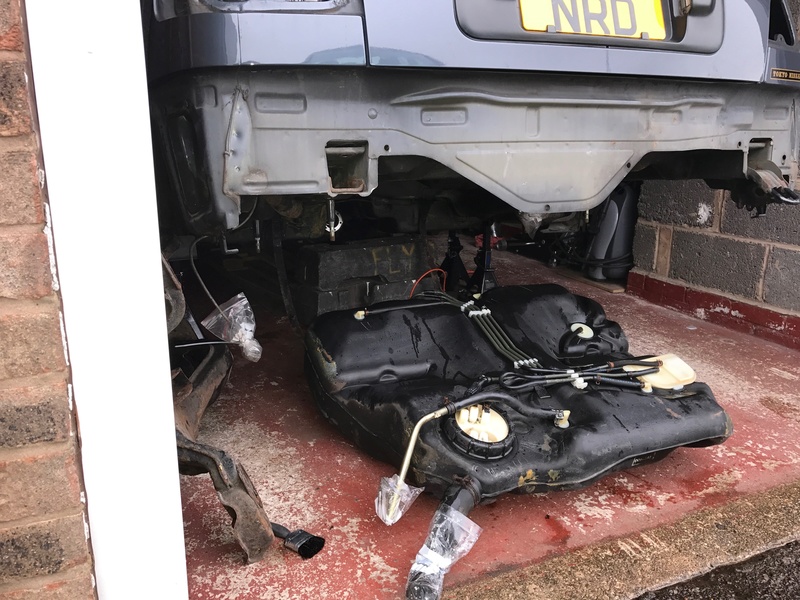
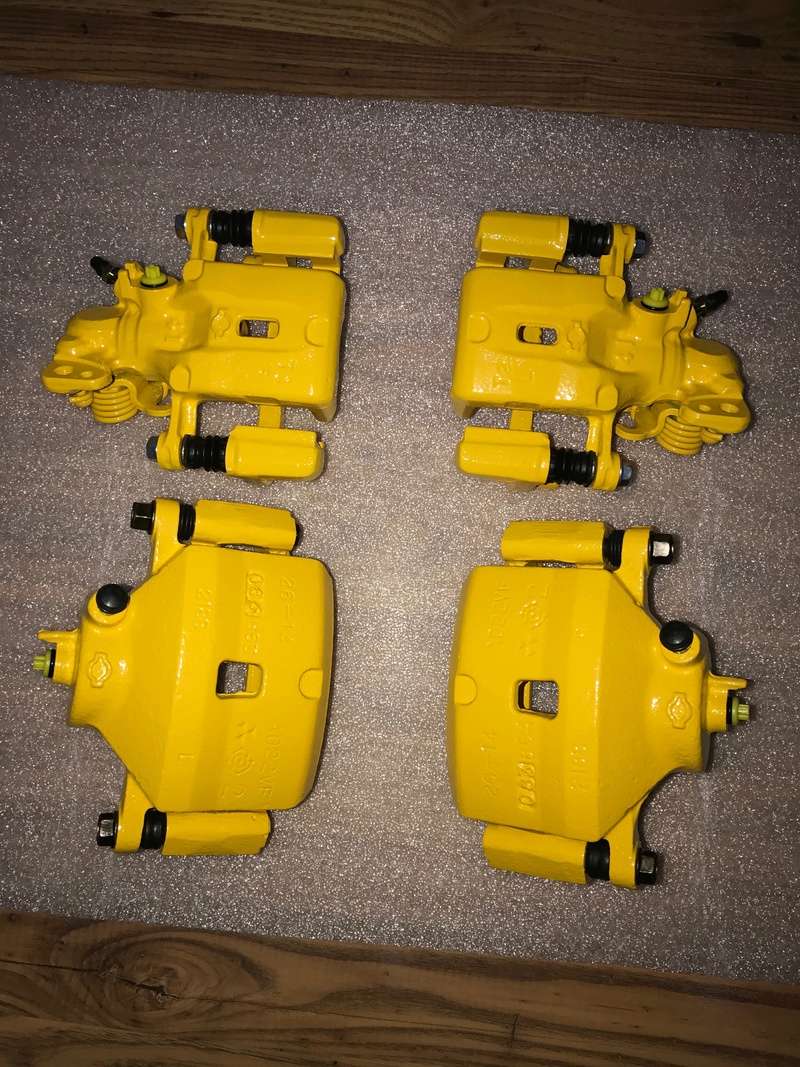
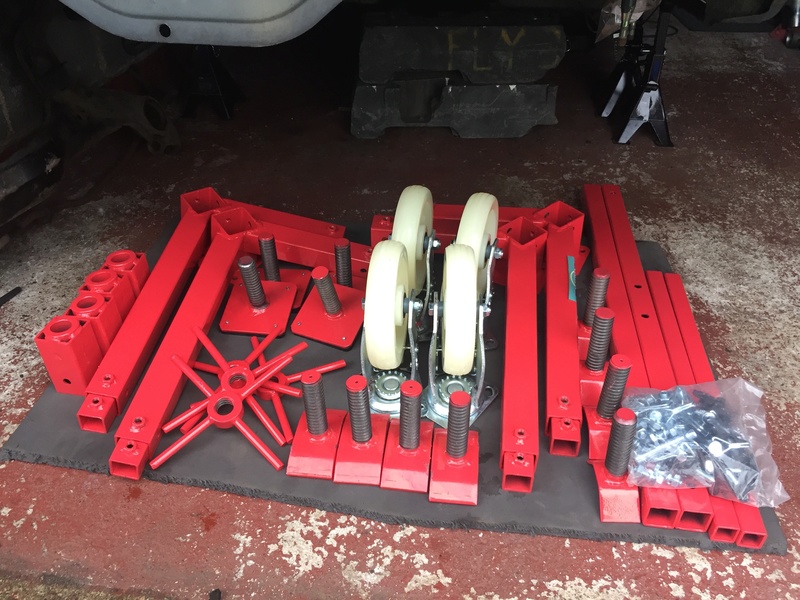
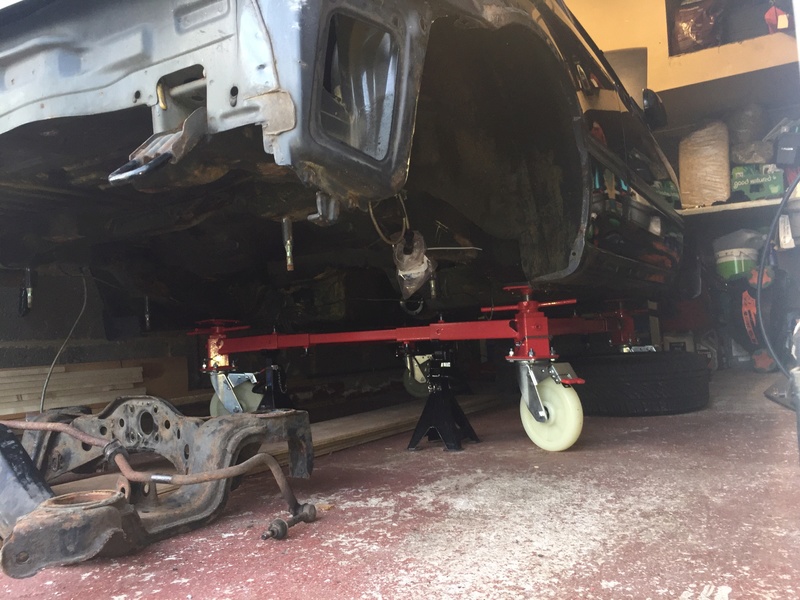
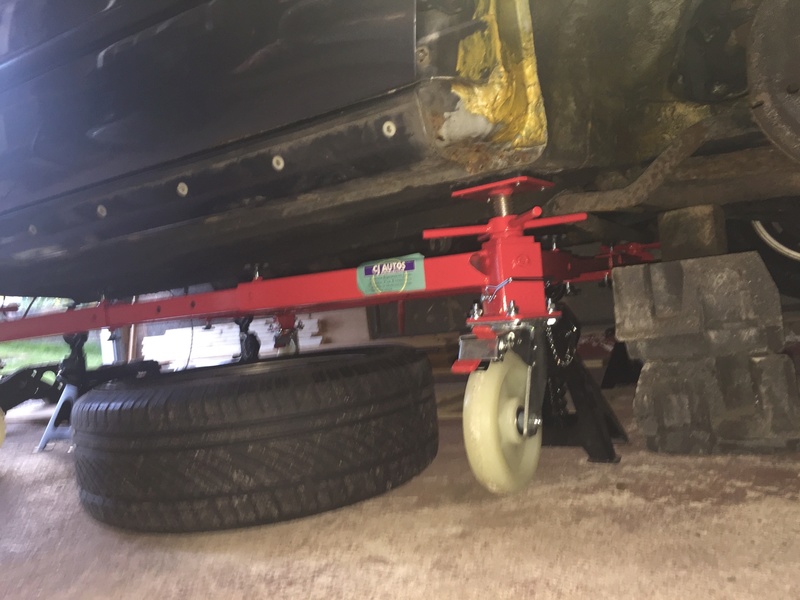
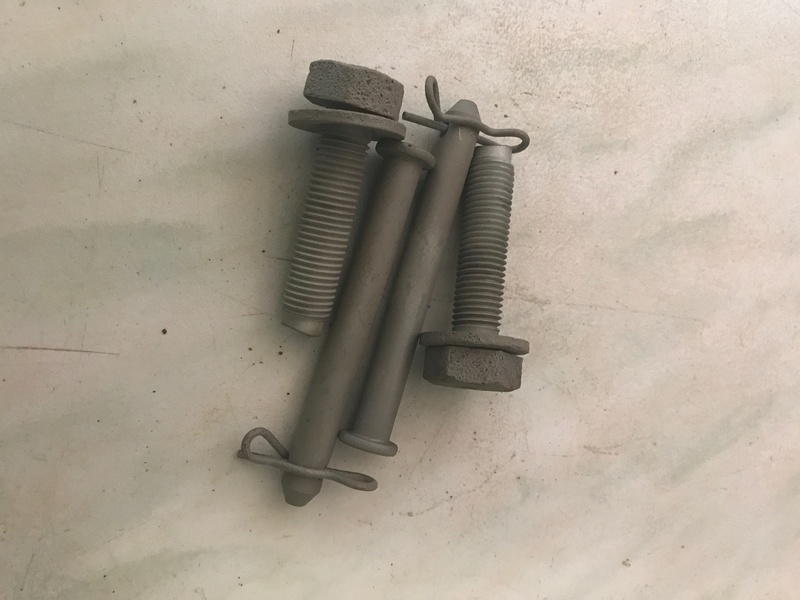
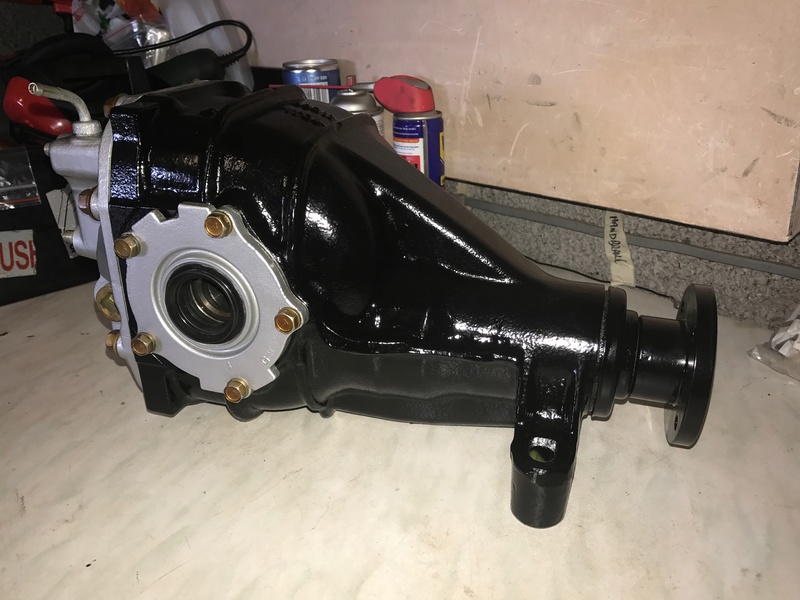
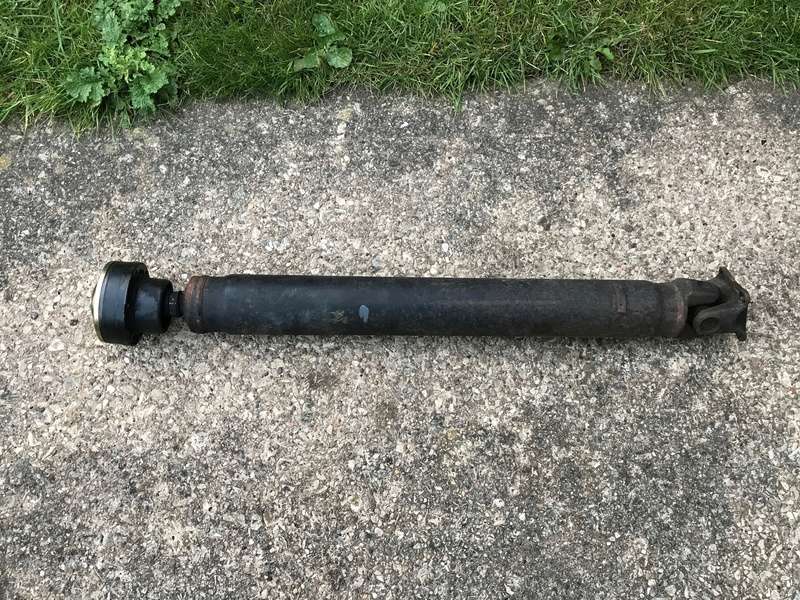
 Latest images
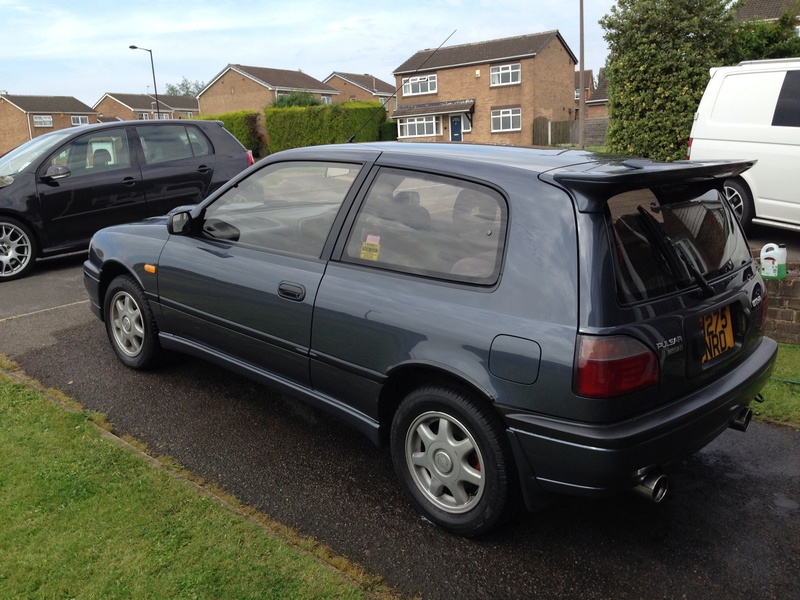
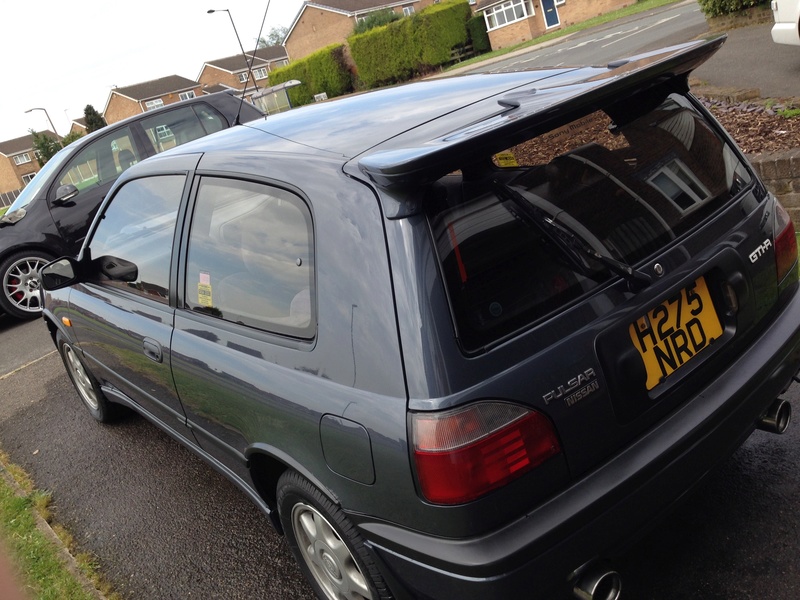
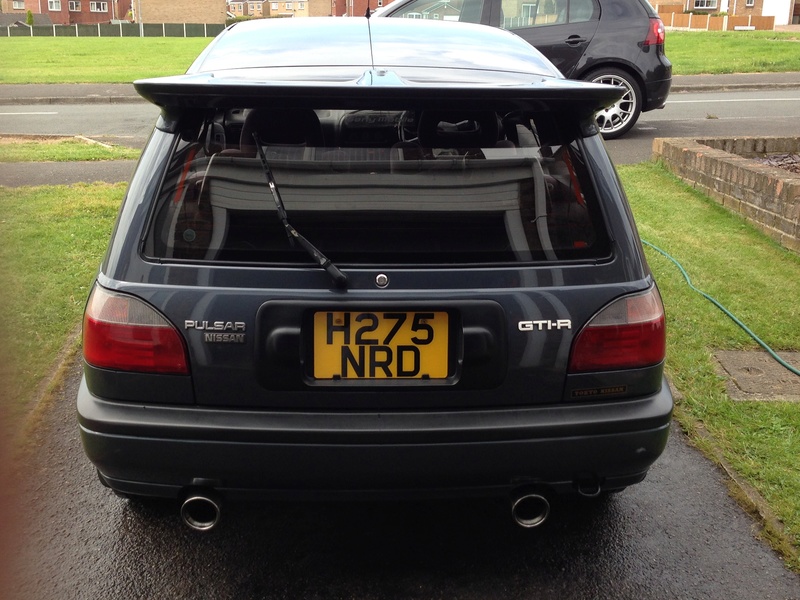
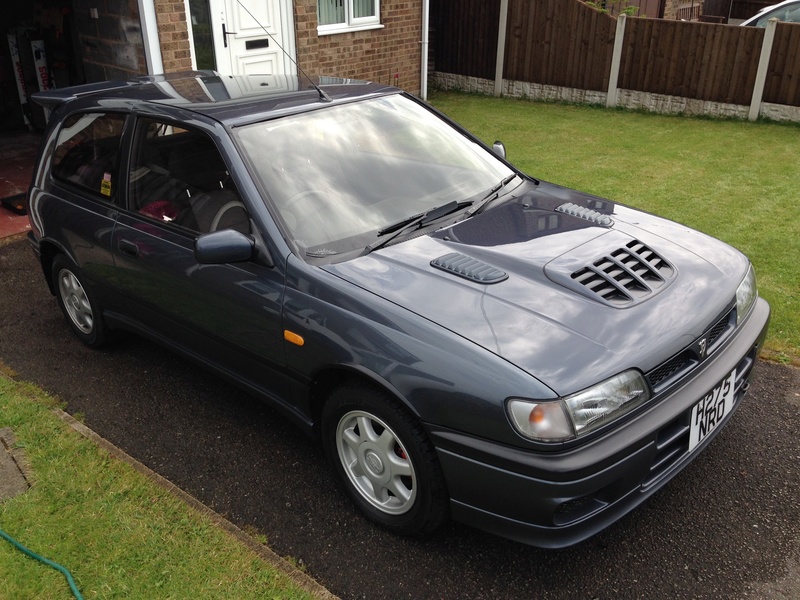
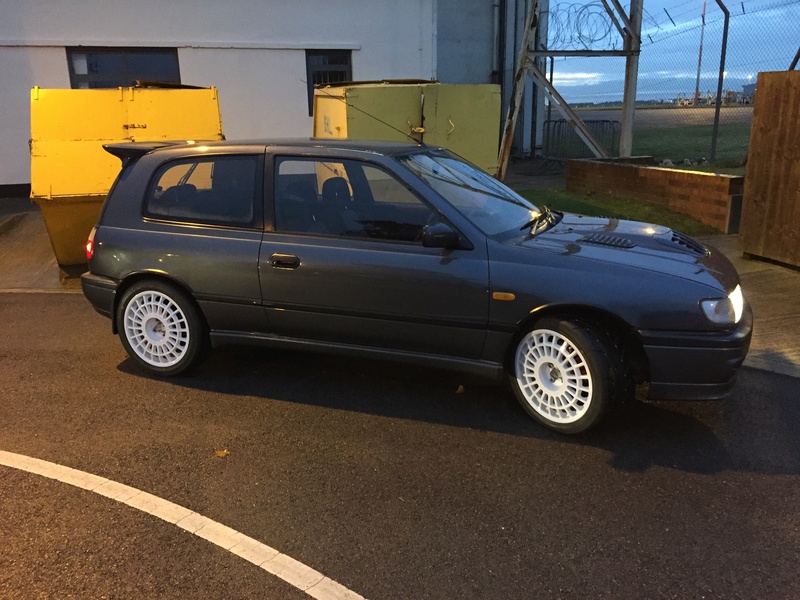
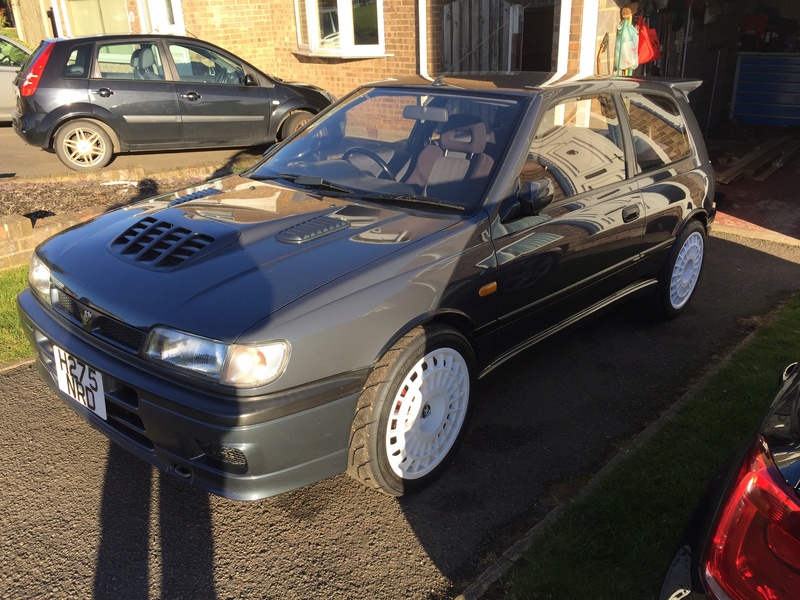
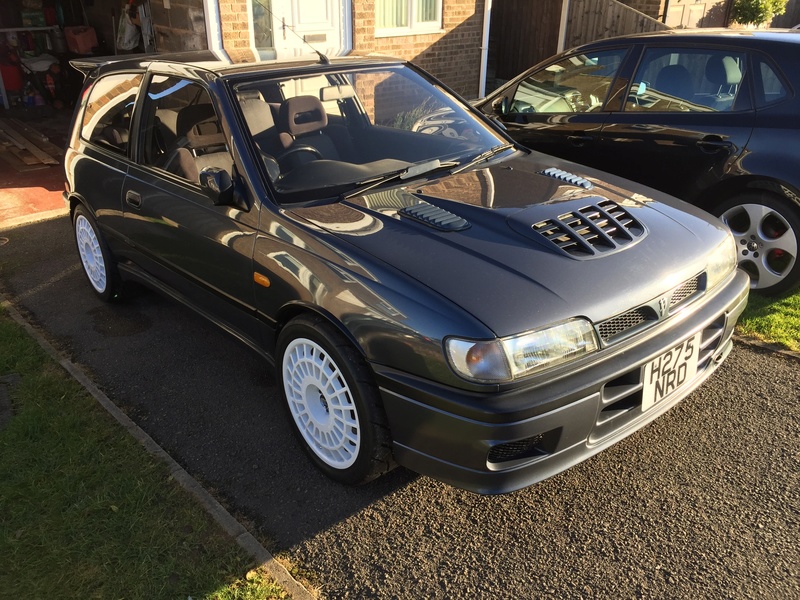
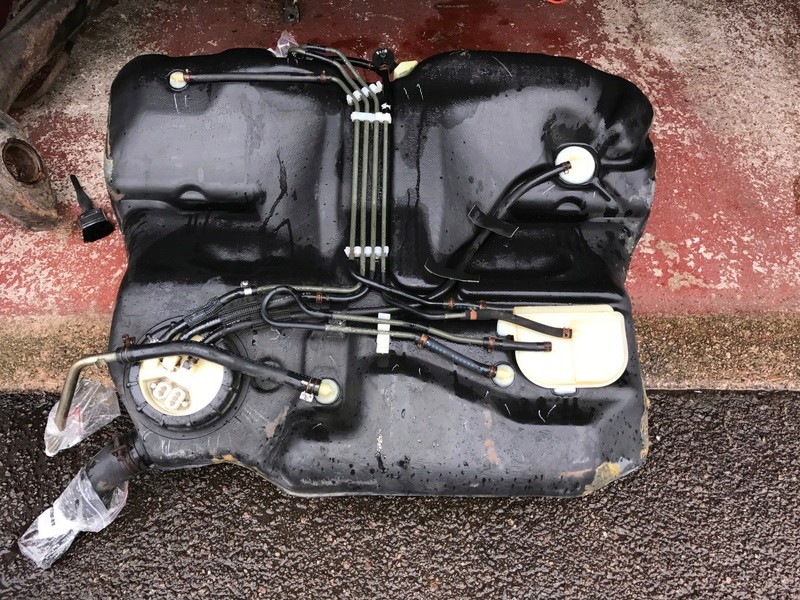