 Latest images
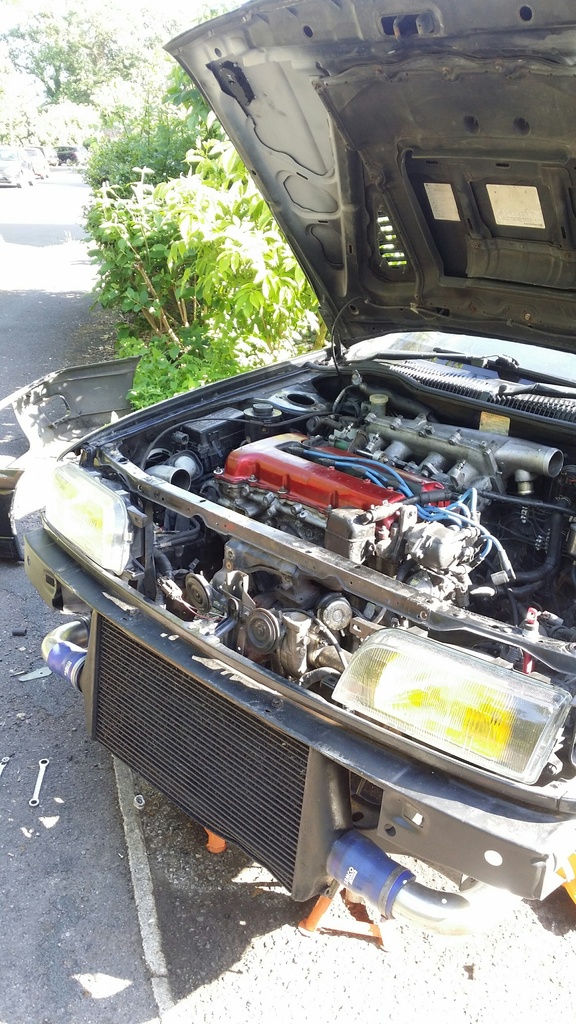
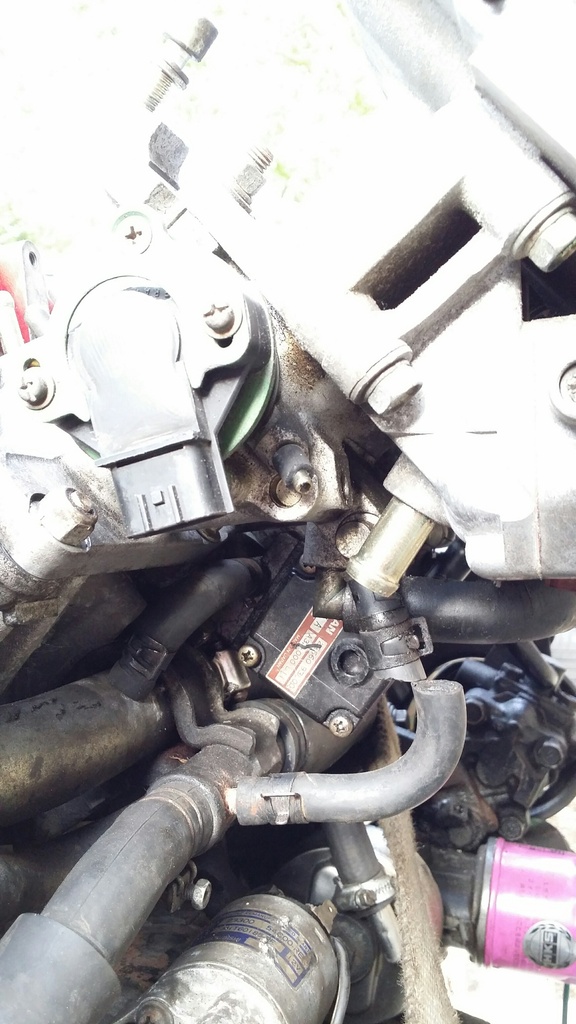
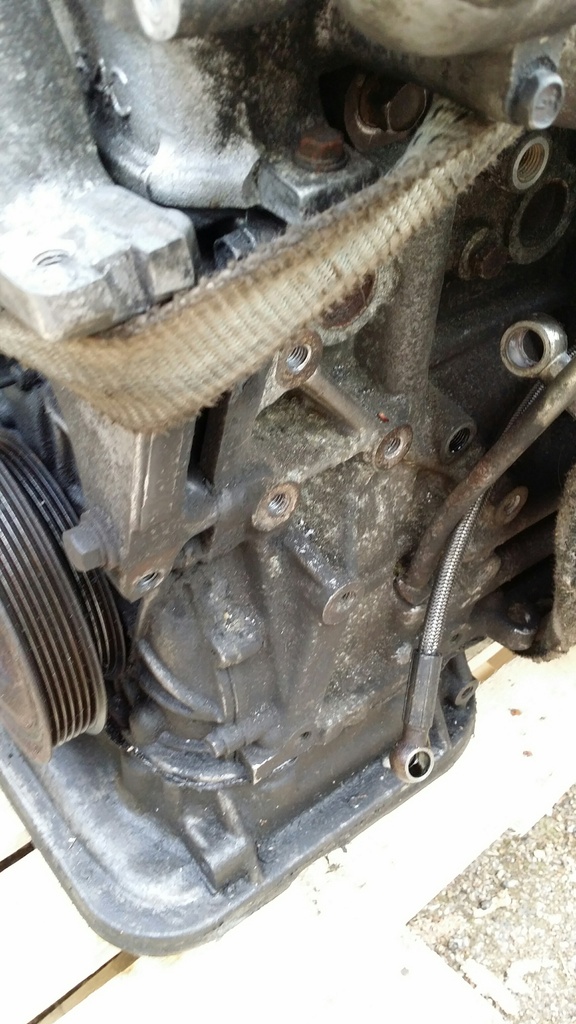
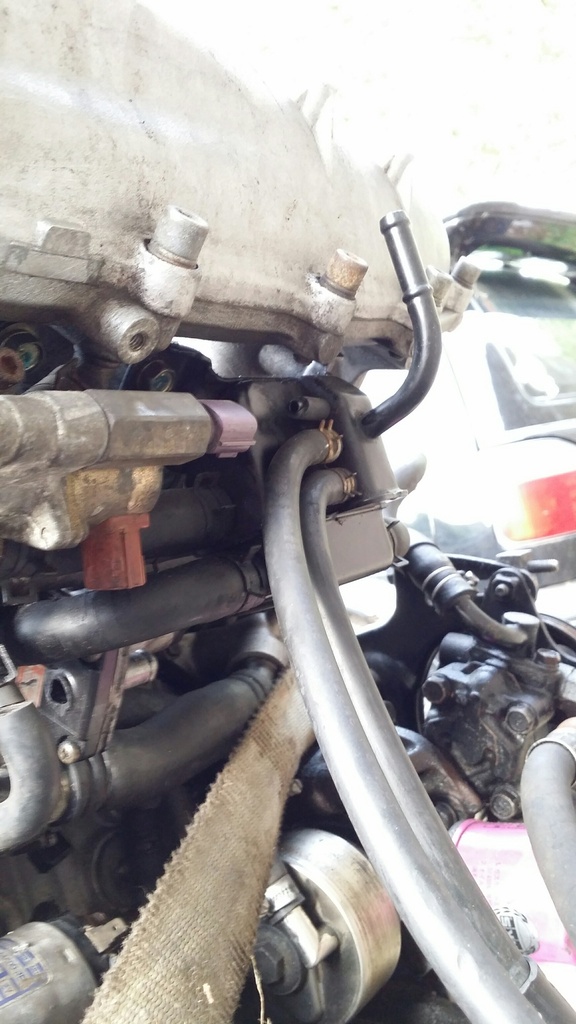
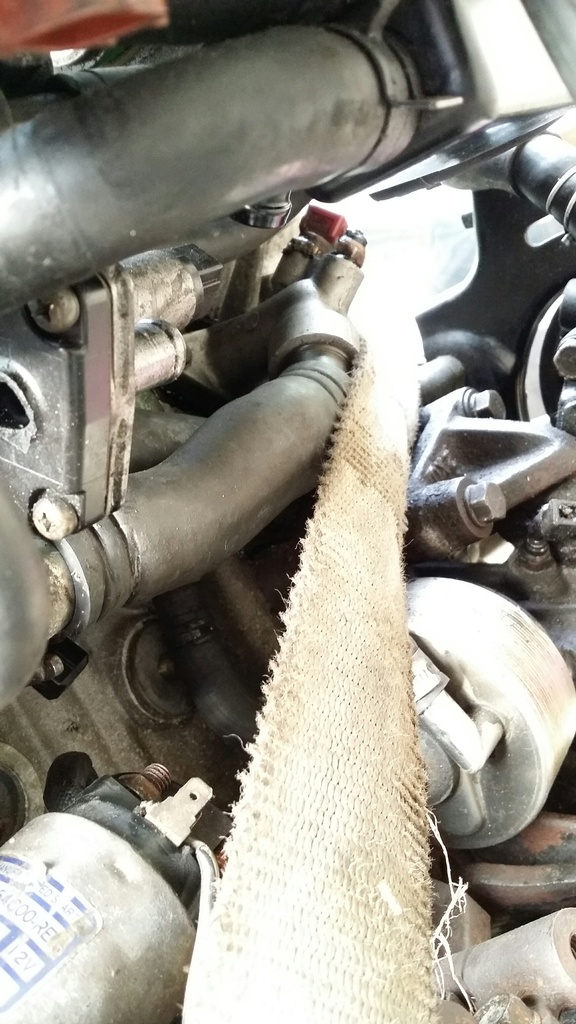
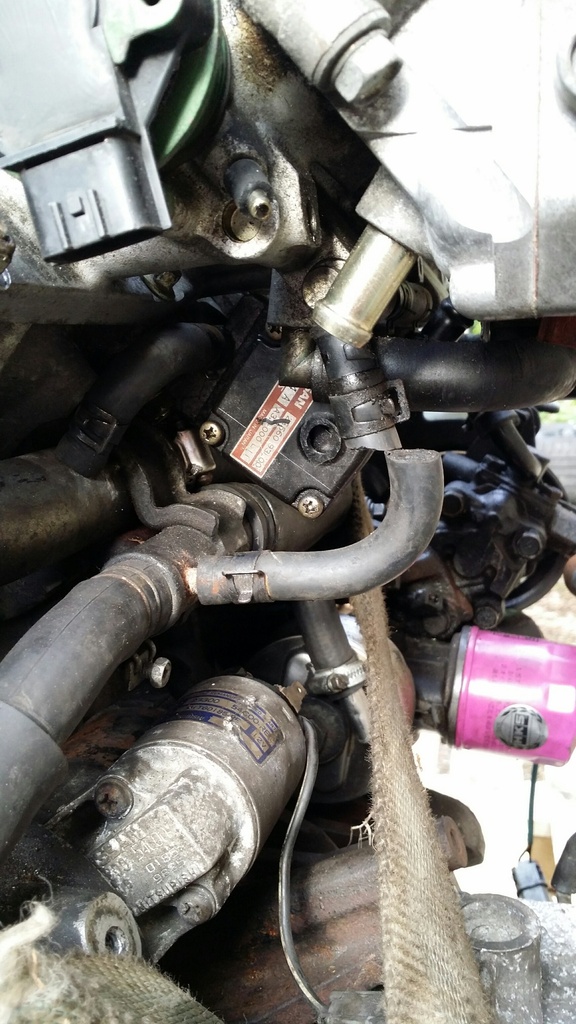
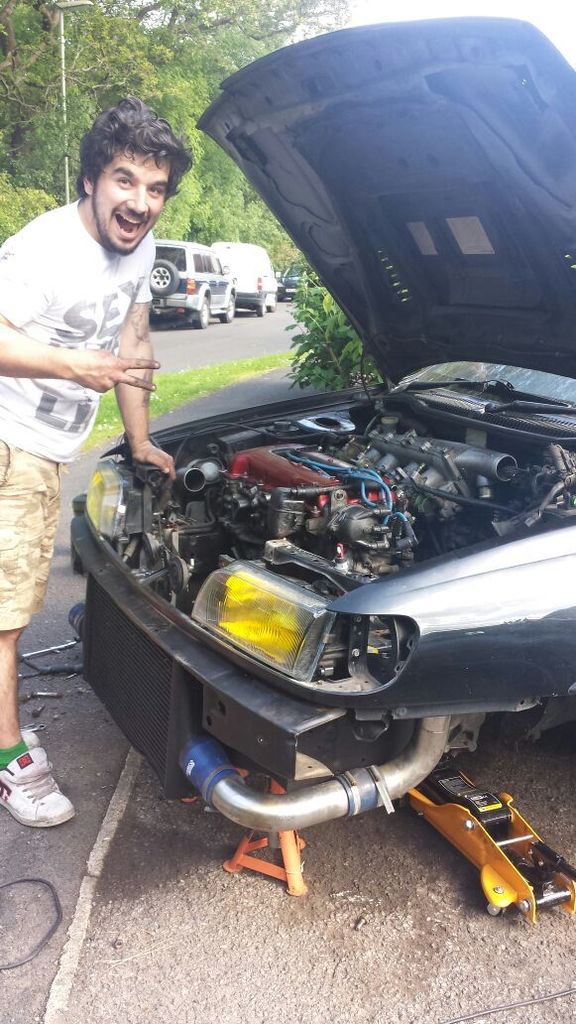
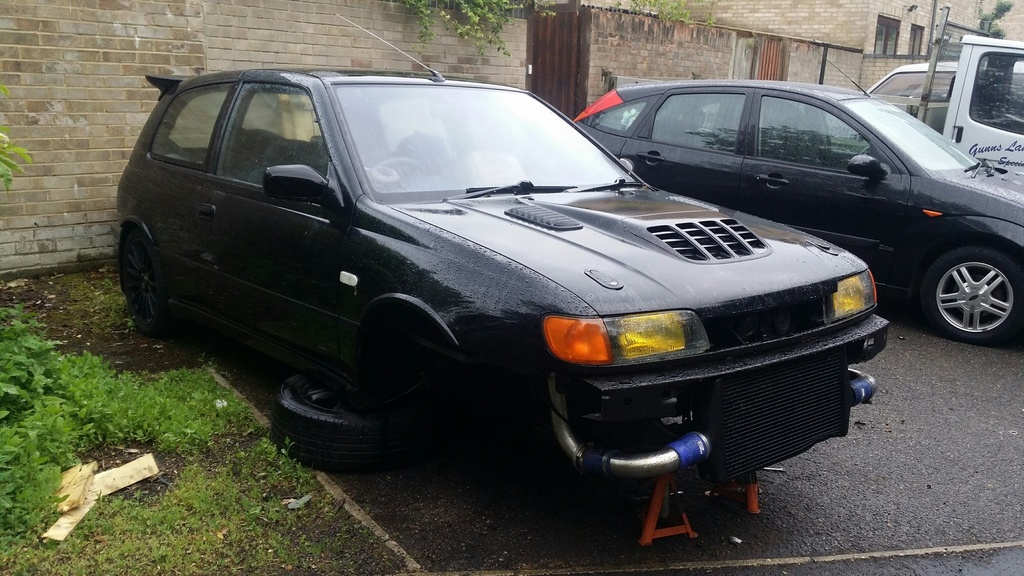
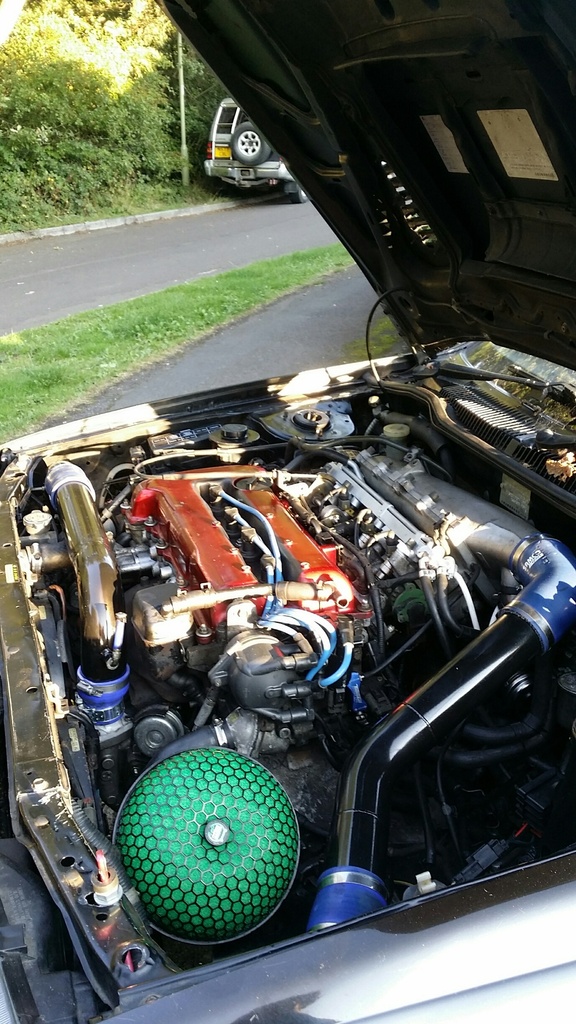
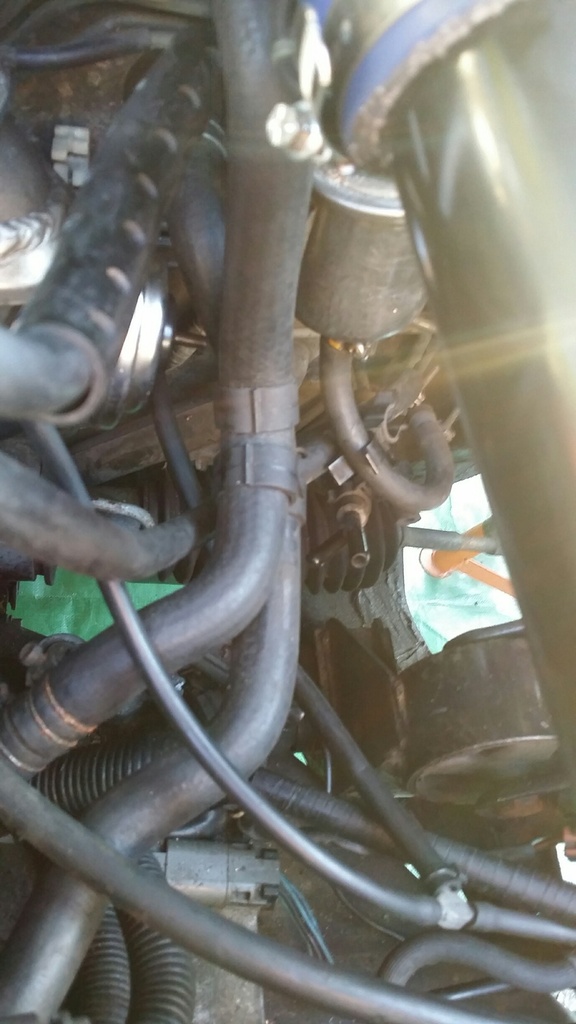
Progress Update - Engine now fitted
Gtir Motorsport club

Welcome to the largest Nissan Pulsar & Sunny GTI-R Forum. Masses of info, friendly members, cars for sale, lots of spares. Best forum on the net by far. Everything your gtir needs is here.
 Message [Page 3 of 6]
Re: JoetheEskimos GTIR Build 7th June 2015, 7:45 pm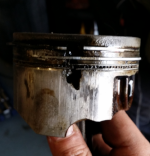 Re: JoetheEskimos GTIR Build 9th June 2015, 6:13 pm
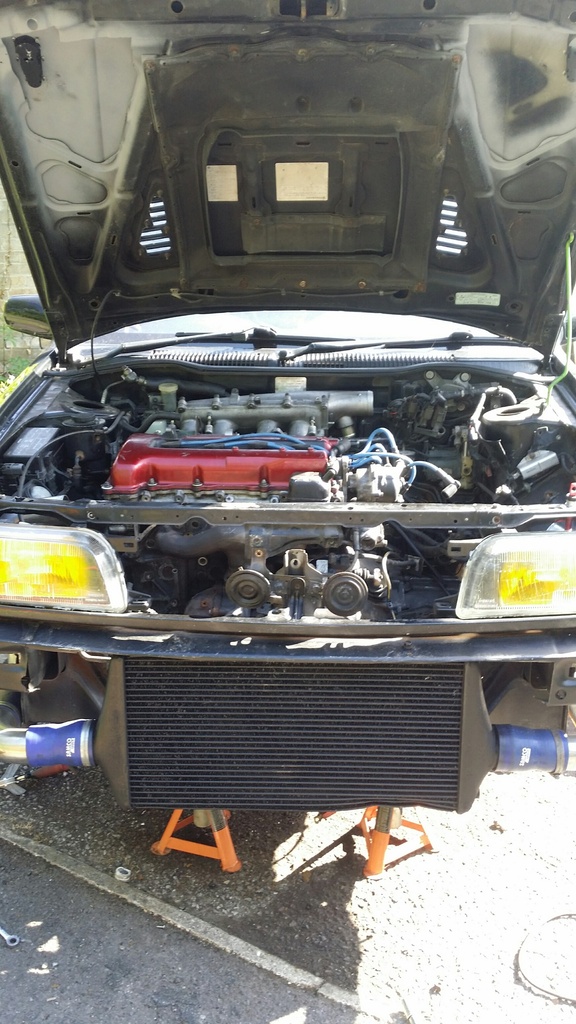
 Re: JoetheEskimos GTIR Build 9th June 2015, 6:15 pm
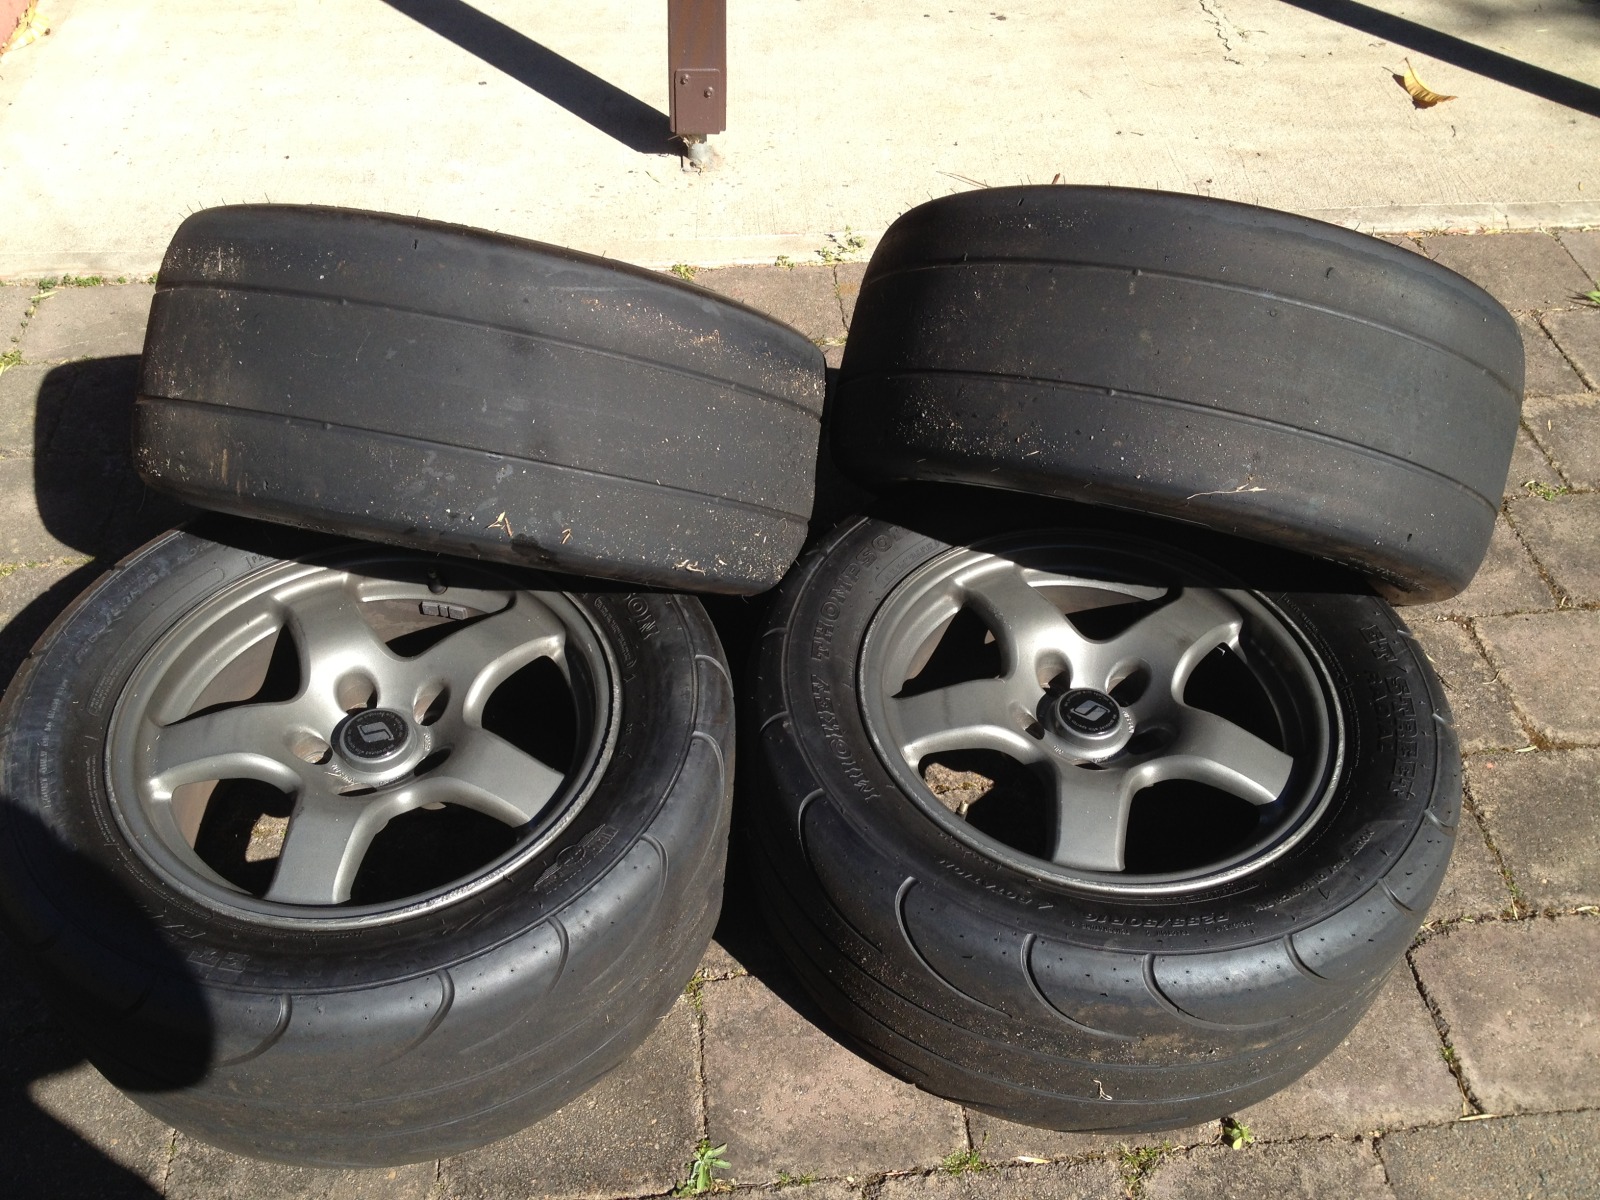 Re: JoetheEskimos GTIR Build 9th June 2015, 7:47 pm
 Re: JoetheEskimos GTIR Build 9th June 2015, 8:35 pm
 Re: JoetheEskimos GTIR Build 9th June 2015, 8:43 pm
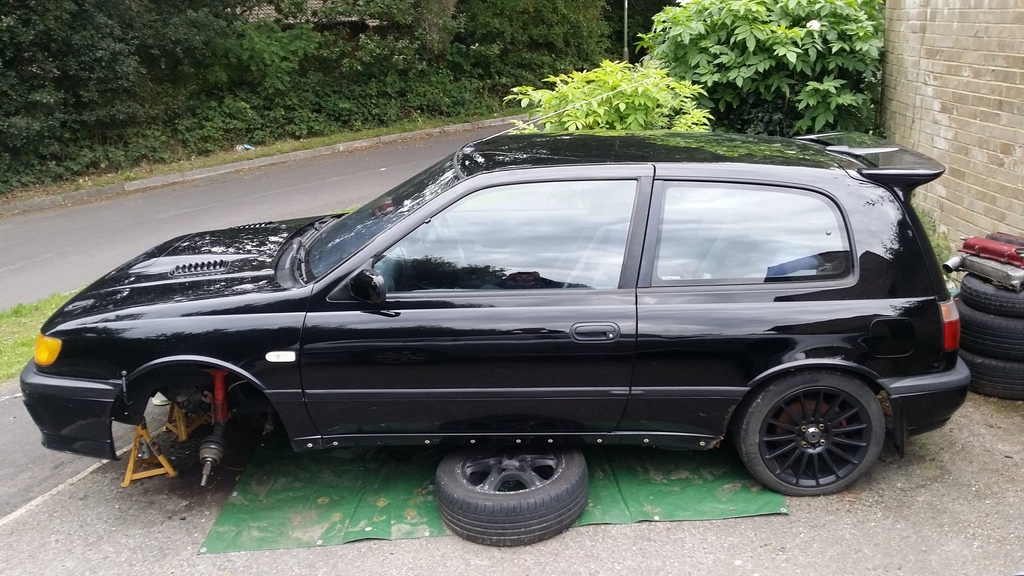
nomad wrote:Well done for doing this on your own joe .... its always better job with two of you on it to share some of the lumping about did you chuck it on a trolley then roll it under the car then lift the car up ???
Re: JoetheEskimos GTIR Build 9th June 2015, 9:06 pm
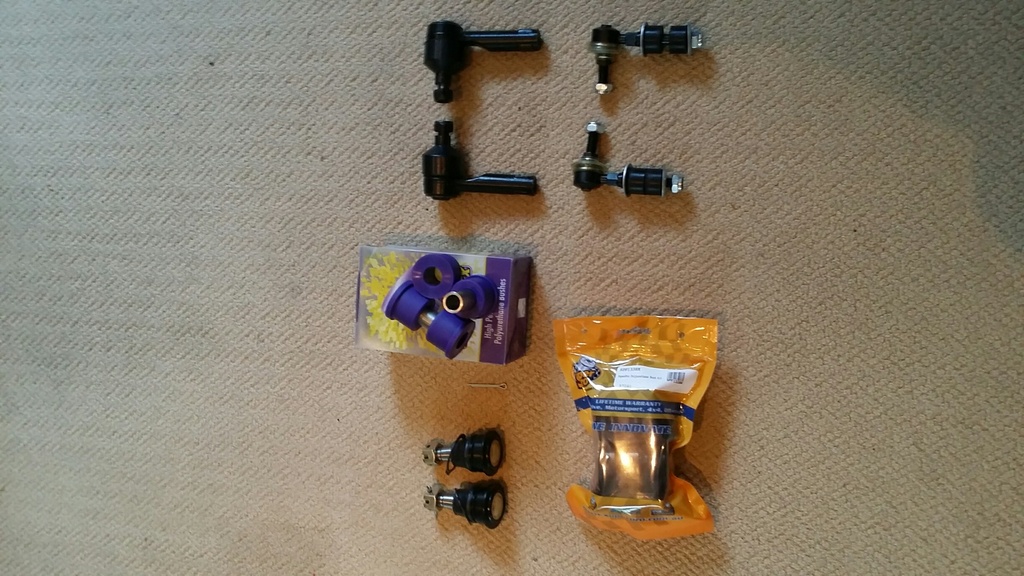
 Re: JoetheEskimos GTIR Build 12th June 2015, 7:48 pm
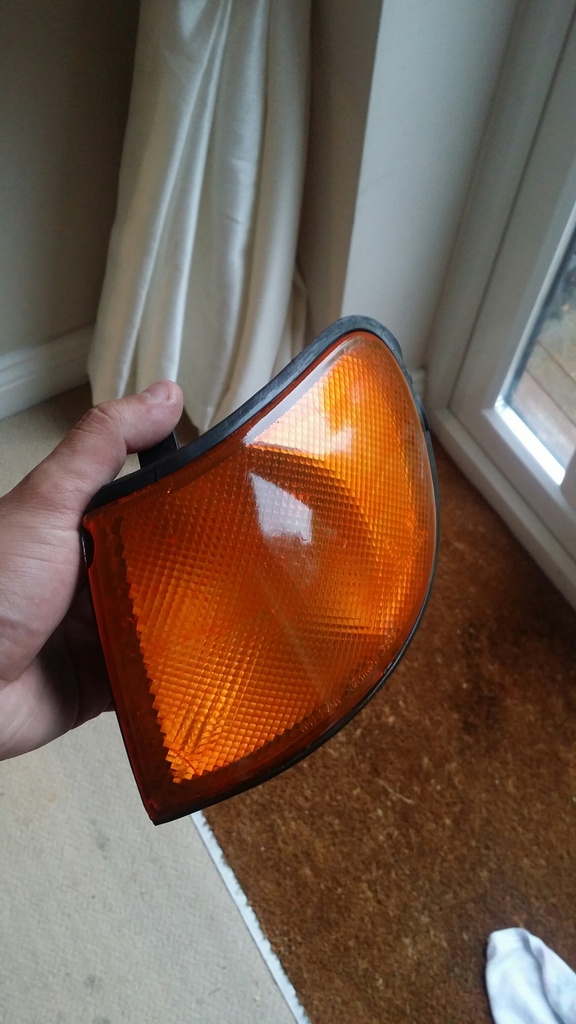
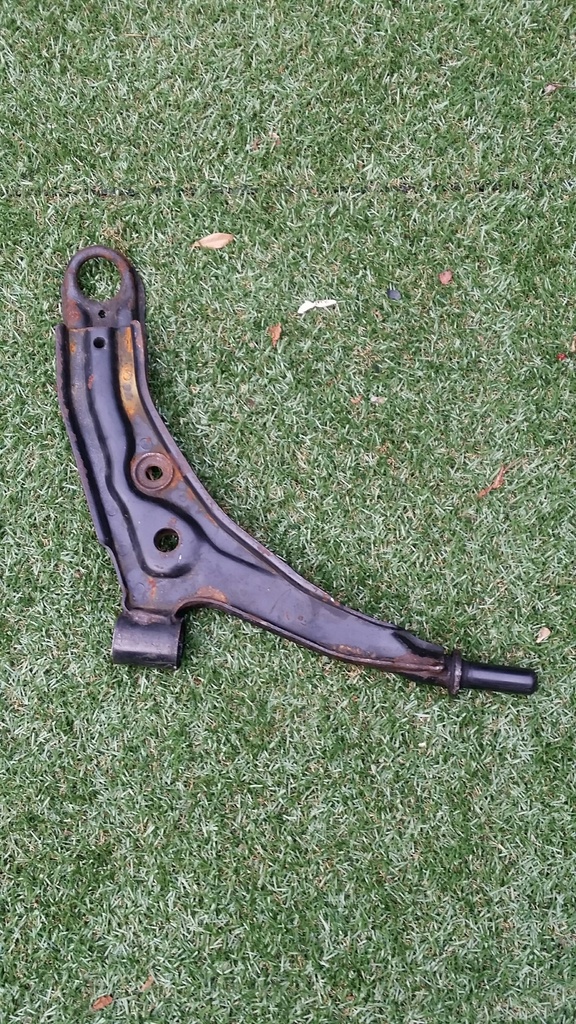
 Re: JoetheEskimos GTIR Build 12th June 2015, 8:03 pm
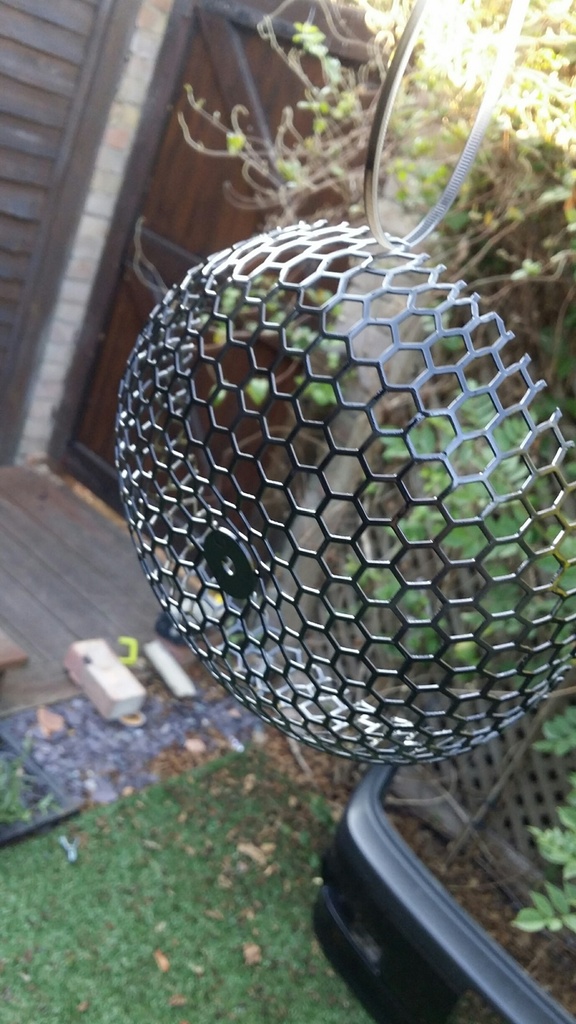
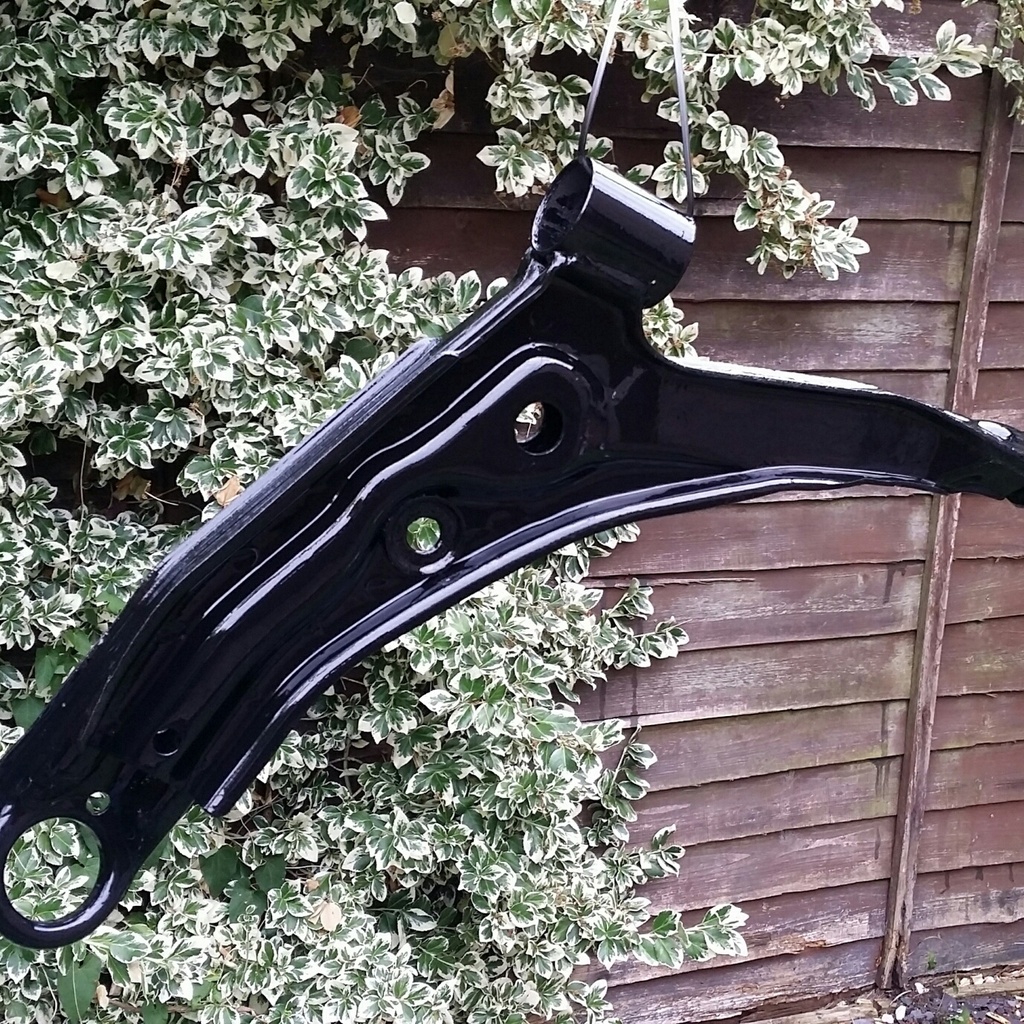
 Re: JoetheEskimos GTIR Build 26th July 2015, 3:45 pm
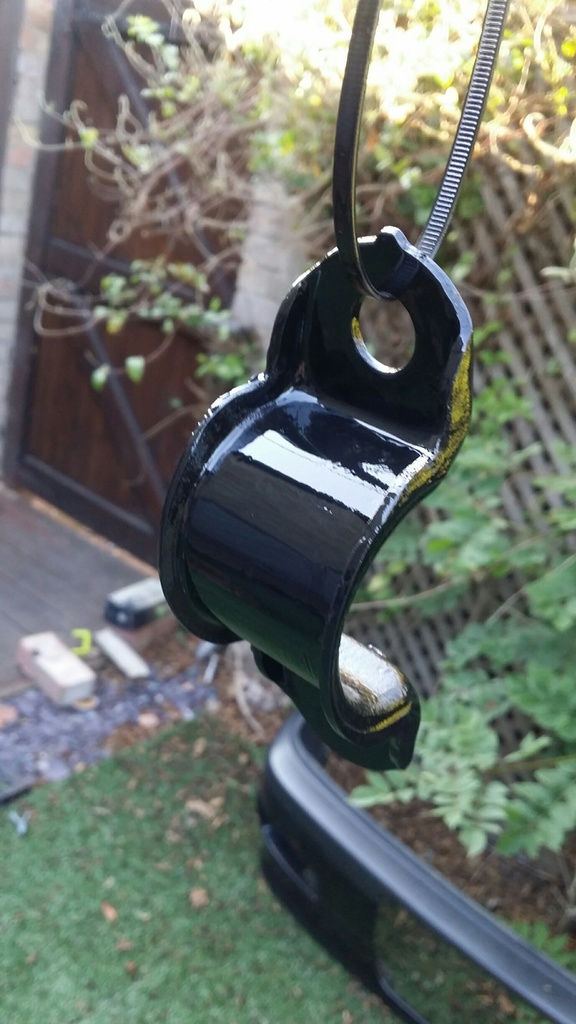

 Re: JoetheEskimos GTIR Build 26th July 2015, 8:19 pm Re: JoetheEskimos GTIR Build 26th July 2015, 9:02 pm
 Re: JoetheEskimos GTIR Build 26th July 2015, 9:04 pm
 it's always good having a list, gives you more motivation every time you cross something off Re: JoetheEskimos GTIR Build 26th July 2015, 9:49 pm
 Re: JoetheEskimos GTIR Build 27th July 2015, 4:42 pm
 Re: JoetheEskimos GTIR Build 21st August 2015, 6:25 pm
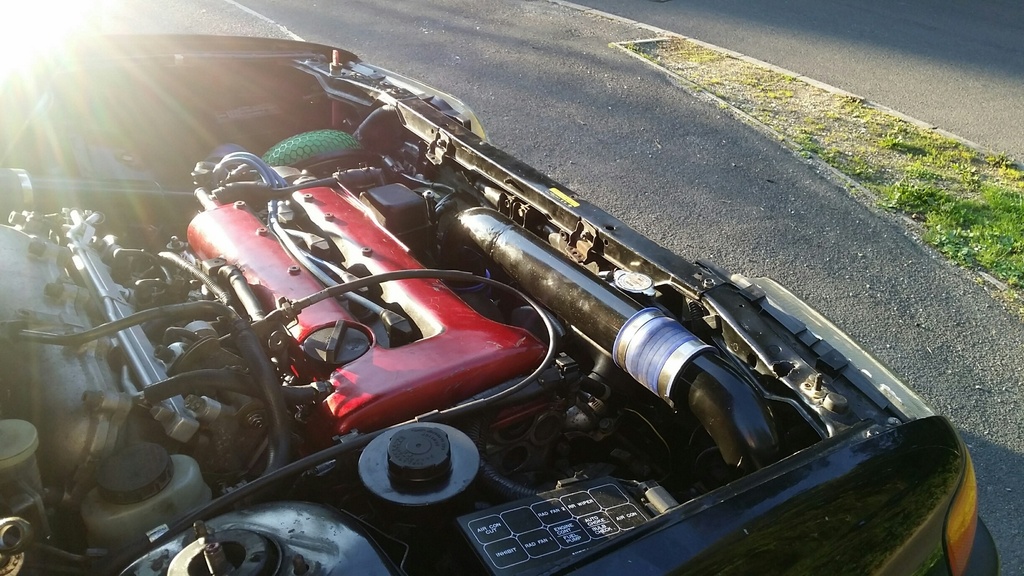

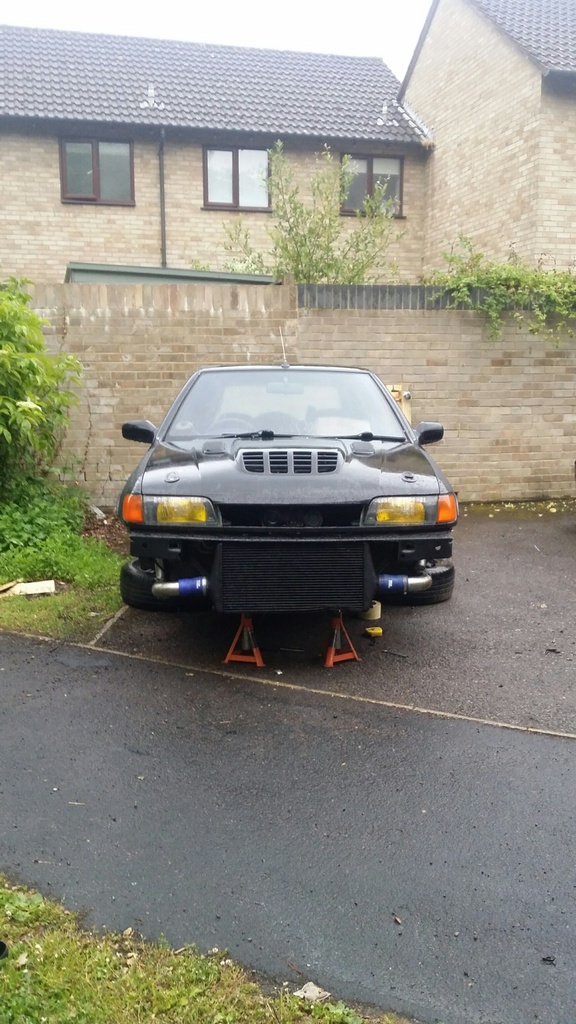
 Re: JoetheEskimos GTIR Build 4th September 2015, 6:38 pm
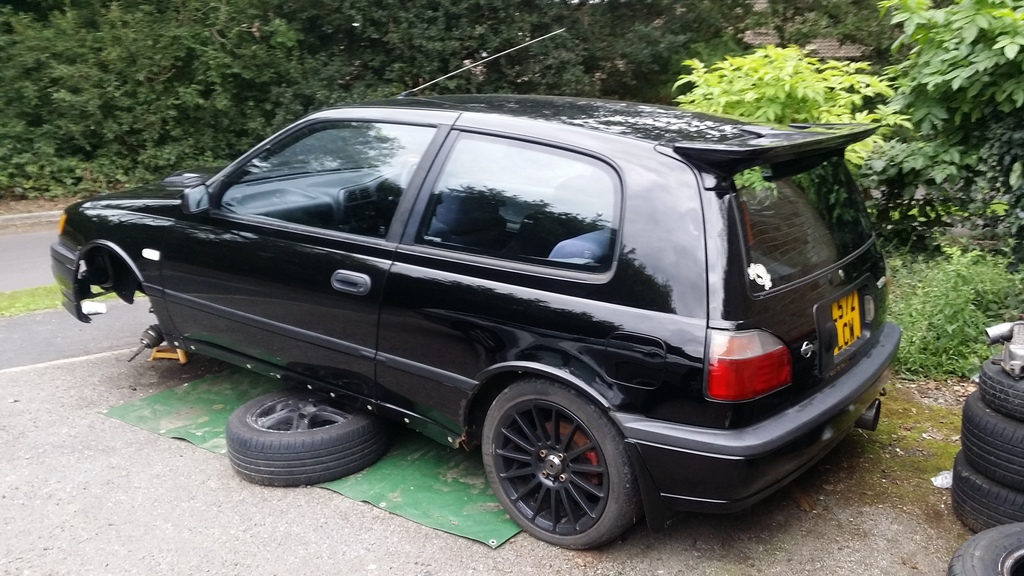


 Re: JoetheEskimos GTIR Build 4th September 2015, 6:52 pm
 Re: JoetheEskimos GTIR Build 4th September 2015, 7:22 pm Re: JoetheEskimos GTIR Build 5th September 2015, 6:46 pm
 Re: JoetheEskimos GTIR Build 23rd September 2015, 6:55 pm

 Re: JoetheEskimos GTIR Build 23rd September 2015, 8:00 pm Re: JoetheEskimos GTIR Build 23rd September 2015, 8:09 pm Re: JoetheEskimos GTIR Build 23rd September 2015, 8:26 pm Re: JoetheEskimos GTIR Build 23rd September 2015, 11:02 pm
 Message [Page 3 of 6]
Similar topics
![]()
Permissions in this forum:
You cannot reply to topics in this forum
|
|
|